The temperatures are finally dropping here, and we’re enjoying the beginning of fall. Normally, it’s November before I dig out the autumn crafts. This year, I’m a whole month ahead!
(This post contains affiliate links, which means I make a small commission at no cost to you. Thanks!)
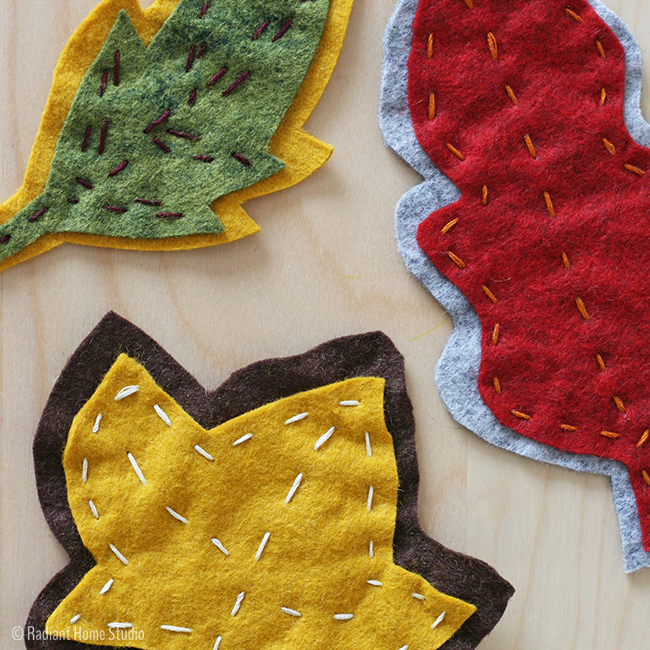
My mother-in-law encouraged me to do some seasonal crafts with the kids on Thanksgiving day a few years ago. While the adults are busy catching up with family (or watching football, if that’s your tradition…), the kids have something to occupy them. We started these embroidered autumn leaves 3 years ago. I intended to make them into a garland. Last year, we finally had enough…just in time to put up the Christmas decorations.
My children have been able to make these leaves as early as age 5. Just make sure you teach them to use the needle correctly and stay nearby until you are confident that they can use it safely.
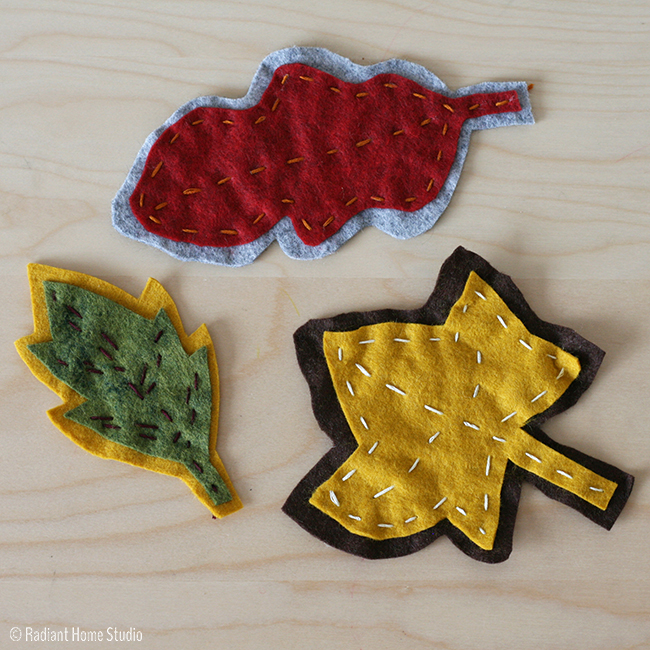
I’ve created an autumn leaves template that you can download and use to make your own leaves! There are 5 different leaf shapes, each with 2 sizes. You can use them for this embroidered autumn leaves project, paper crafts, or anything else you can think of! You are welcome to share the link and sell items you make using the pattern, but please direct people back to my site for the download.
Embroidered Autumn Leaves Garland Tutorial:
Materials:
Wool felt in several autumn colors (usually found on a bolt, not in the kids’ craft section of the store)
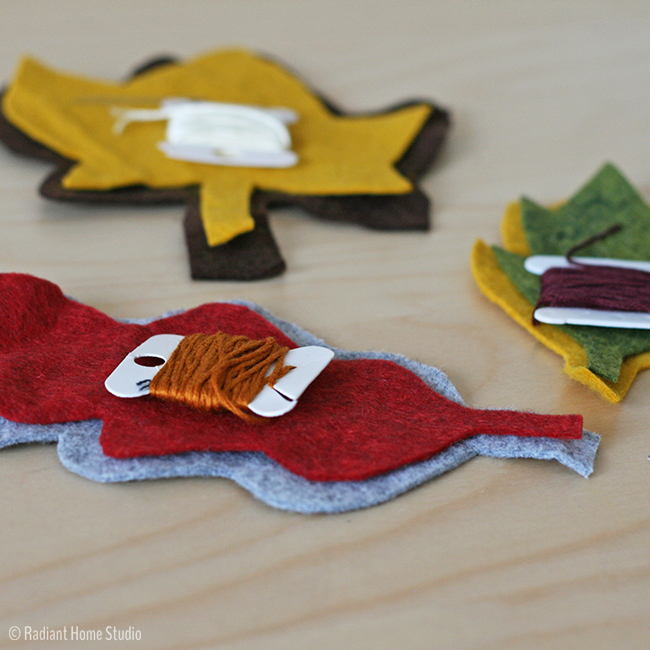
Embroidery floss in 3 or more colors
Embroidery needles
1/8″ ribbon (or string)
Instructions:
1) First, print the leaf template pages and cut them out. You can print 2 copies of each page, or cut the larger sizes first and then trim down the pattern pieces to the smaller size.
2) Lay out your leaves with contrasting colors of felt and thread. They look best if you mix up the colors and highlight the stitching with high contrast thread colors.
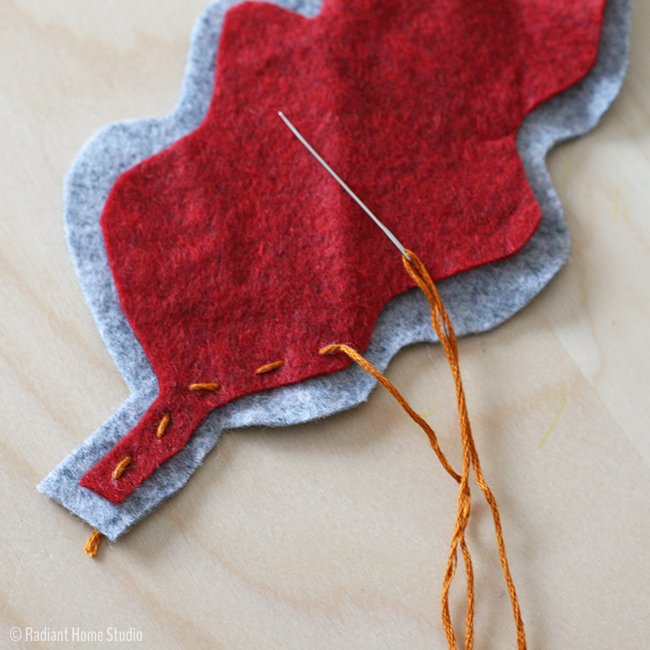
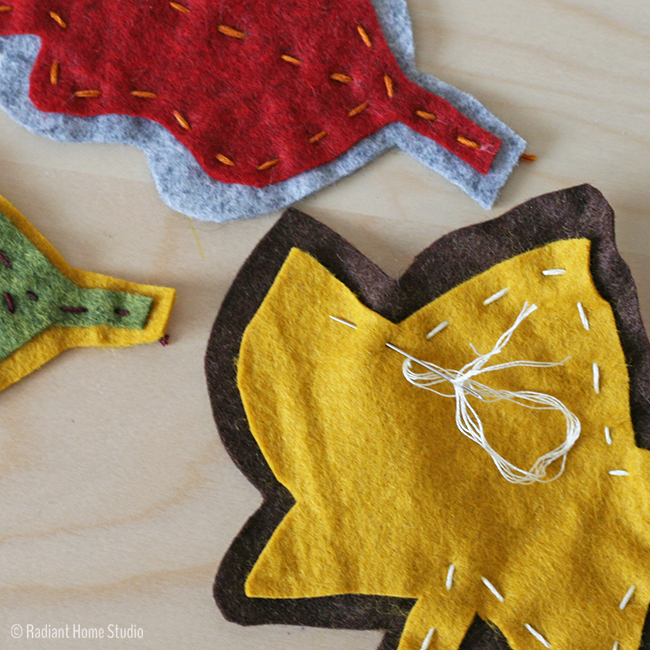
3) Starting with the knot at the back, stitch the layers of felt together using a simple running stitch. Stitch around the edge, with a line up the middle. Or be creative and stitch the veins from the center to the points. You can stitch quickly, or take the time to focus on the details.
We have a wide variety of stitching styles among our leaves, but the colors tie them all together in the end.
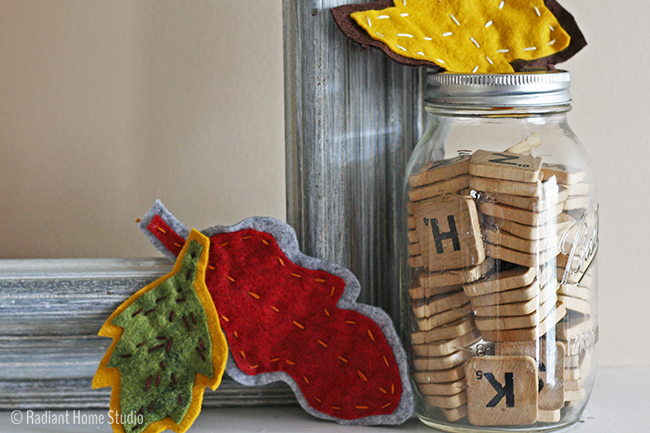
You can use loose leaves to decorate the mantle or table.
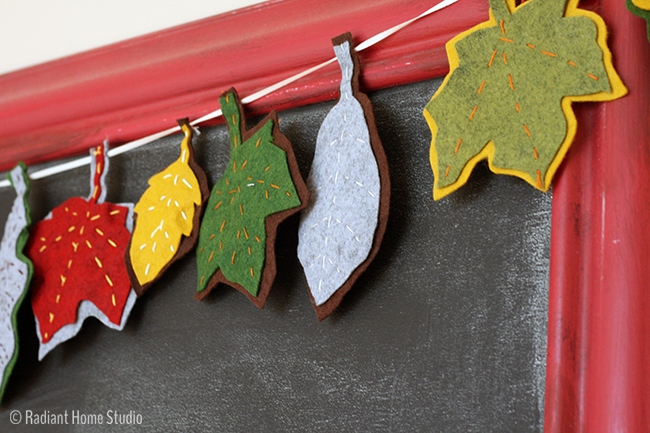
4) When you have collected enough leaves, make the garland. I used a 1/8″ satin ribbon, threaded through the embroidery needle. I made one stitch through each stem allowing them to slide back and forth. You can adjust the spacing after you hang the ends.
You can find more fall inspired projects at The Hankful House link -up.



I love these, so cute. We might make these as our Thanksgiving craft.
Renee stitched up one of the leaves when they visited us a couple of years ago!