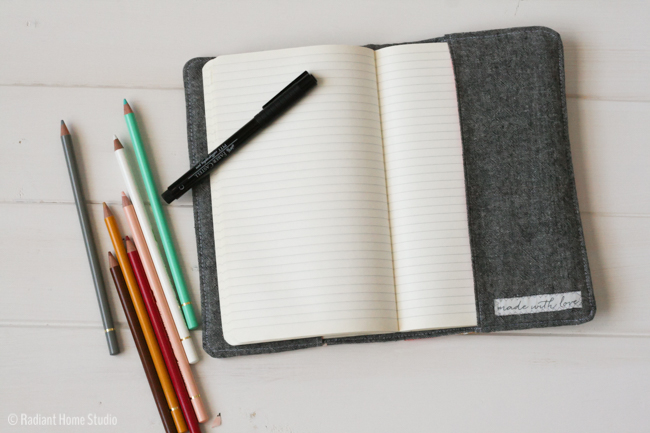
I love having small notebooks and sketchbooks all over the house for journaling and keeping track of my creative ideas. Moleskin notebooks and their copycats are my favorite. They are thin and portable, easy to throw into a bag, and the blank covers leave endless options for customization.

I make this triangle quilted sketchbook cover with some Maker fabric that was sent to me as a Valentine’s gift from Art Gallery Fabrics. (That was a really happy surprise! Thank you!) The finished quilted sketchbook cover is just the right size for a large moleskin notebook (about 5″ x 8 1/4″). And if you sew or quilt regularly, you can probably use the same technique, but adjust the size of the cover to fit any notebook or sketchbook that you have.
(Some links may be affiliate links, which means I earn a small commission at no cost to you. Thanks!)
How to Make a Triangle Quilted Sketchbook Cover:
Materials:
• a fat eighth bundle of fabric (I used Maker from Art Gallery Fabrics. To get a similar look, choose 10 different fabrics. Make sure that five of the fabrics are light, low-volume fabrics, and the other five are darker contrasting fabrics. I used another fabric for the lining, but there will be enough leftover from the fat eighths to use if you prefer.)
• 10″ x 12″ piece of lightweight quilt batting
• rotary cutter and self-healing mat
• Moleskine journal
Cutting:
• 100 half square triangles from 2 1/2″ squares (10 of each fabric)
• 1 rectangle 9 1/2″ x 11 1/2″ for lining
• 4 rectangles 9 1/2″ x 4″ for pocket flaps (I cut 2 from the lining fabric and 2 from a contrasting fabric.)
Instructions:
All seam allowances are 1/4″.
1. Cut out the triangles. These are half square triangles made from 2 1/2″ squares. You’ll need about 10 triangles from each of the 10 fabrics, for a total of 100 triangles. Skilled quilters probably have more efficient methods for cutting these quickly. I started by cutting 2 1/2″ strips, then cutting at 2 1/2″ intervals across the strips to form the squares. Then I cut the squares from corner to corner.
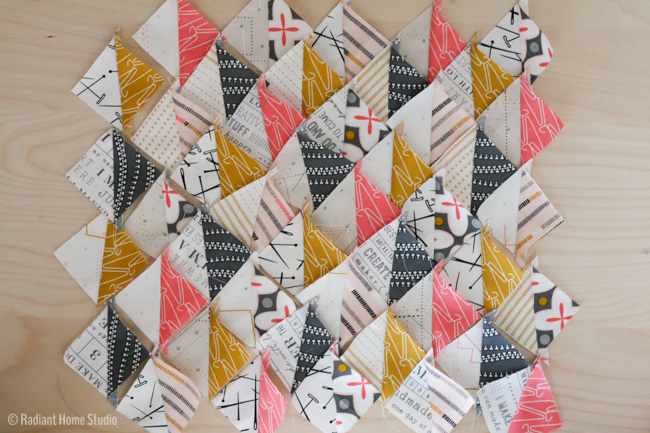
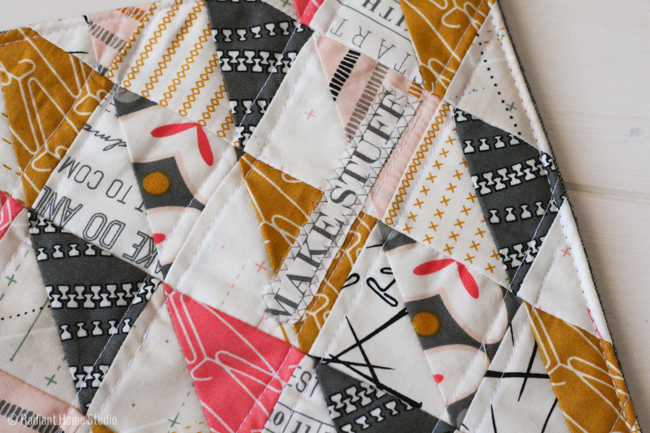
2. Arrange the triangles as you like them. I arranged mine so that each square had a colored fabric and a light fabric. And you can see that the colored fabrics alternate in a pattern along the diagonal lines.

3. Sew each of the triangles to its pair, forming 50 squares. (After I took the photo below, I added another vertical column of squares.)
4. Sew the squares together to form diagonal strips.
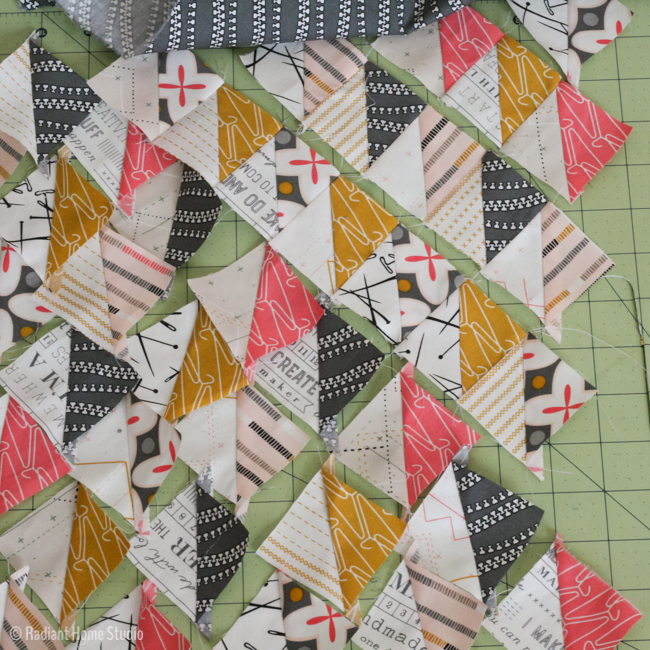
5. Sew each of the strips together, matching the center square on each strip.
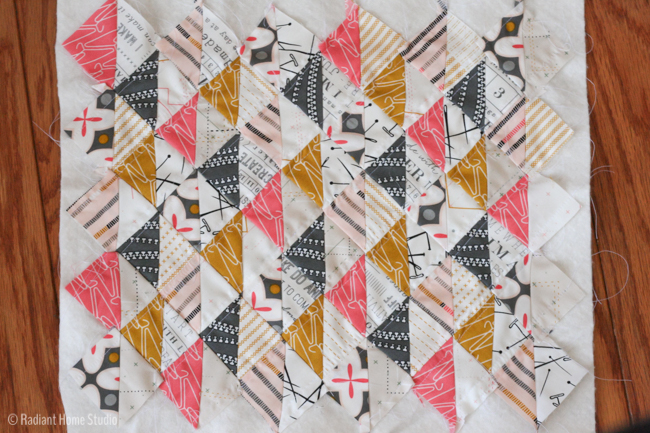
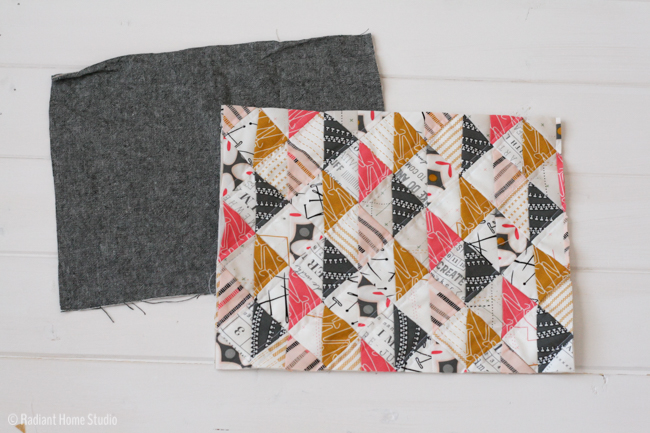
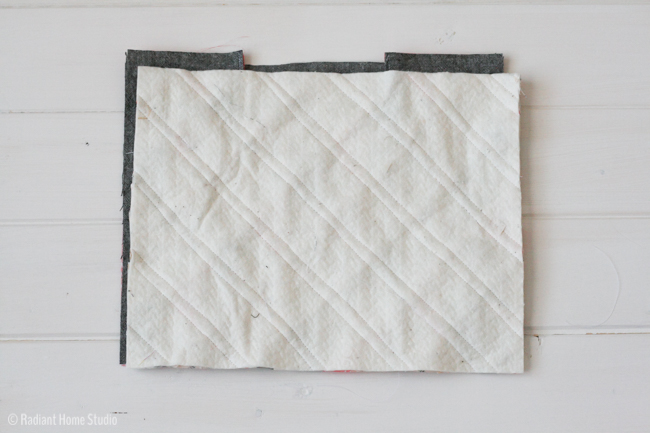
6. Layer the patchwork triangles over a piece of quilt batting that is roughly the same size. Quilt as desired. I stitched straight lines on either side of each diagonal seam. (The photo below is “upside-down ” in reference to the others.)
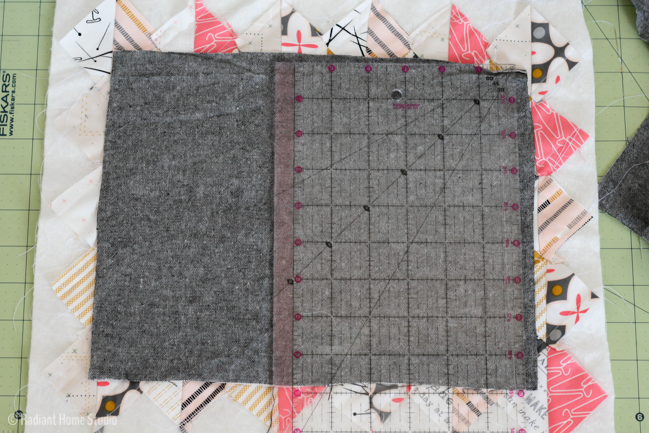
7. Center the lining piece (9 1/2″ x 11 1/2″) over the patchwork and trim the patchwork to the same size as the lining.
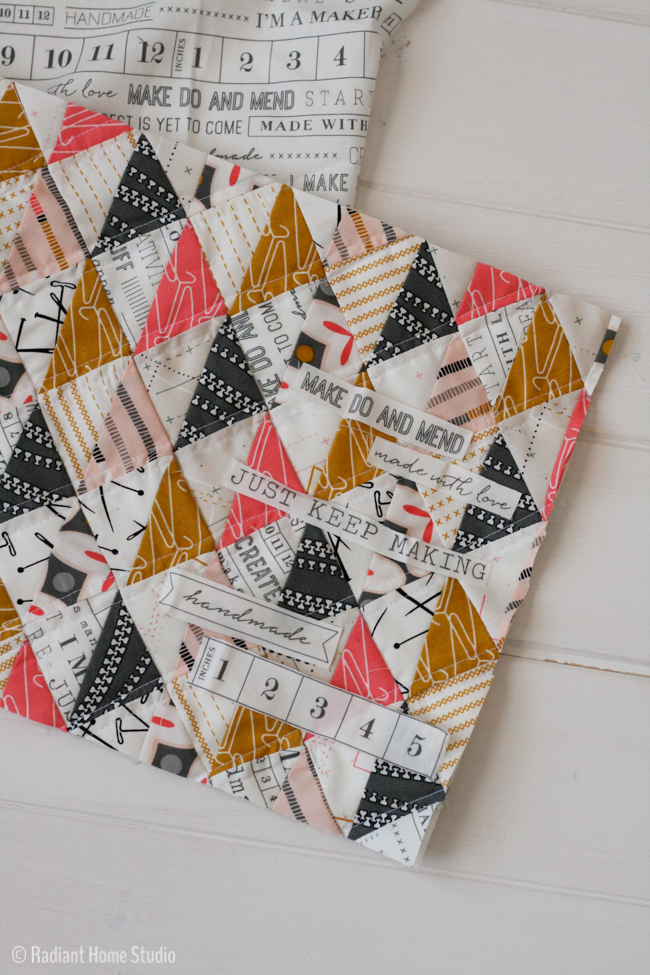
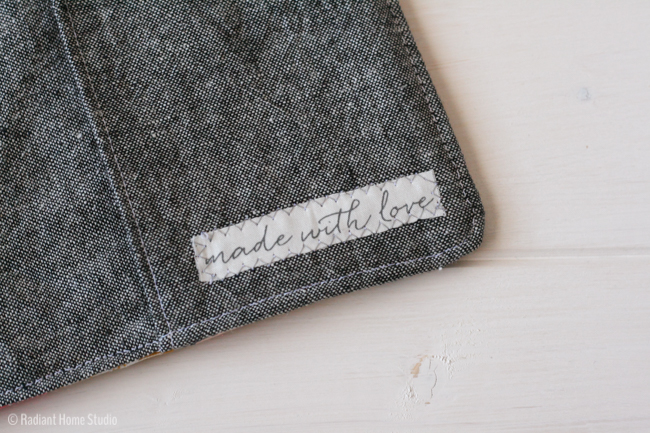
(optional) The maker fabric has some great creative words and phrases that you could stitch on to the cover. You could also cut out flowers or other motifs from your fabric and appliqué them on. I chose “make stuff” for the front of my cover.
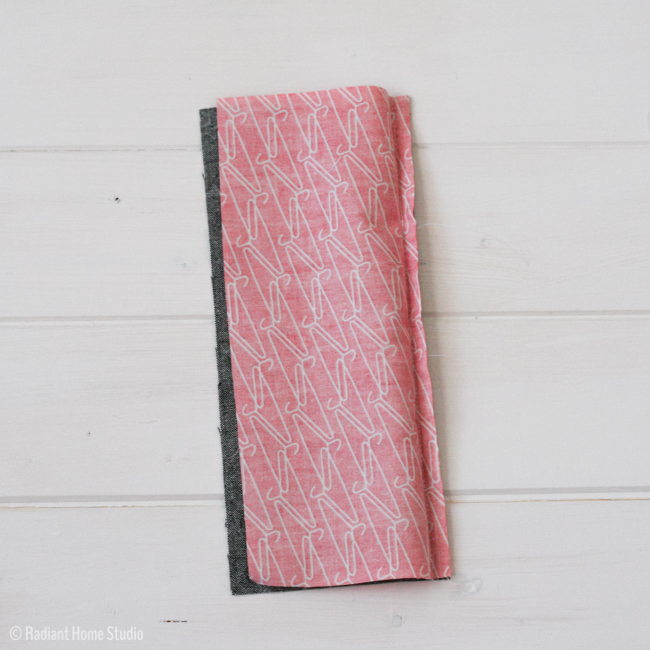
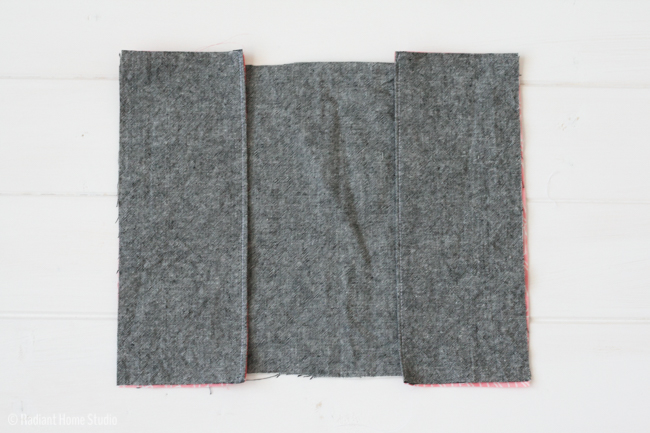
8. Match two of the pocket flap pieces right sides together. Stitch along one of the long sides. Open and press. Fold them wrong sides together, and topstitch along the finished edge. Repeat for the other pocket flap pieces.
(optional) Add another little message to the inside pocket flap.
9. Place the pocket flaps on the lining, with the wrong sides of the pockets flaps to the right side of the lining. Baste the flaps at the top and bottom. Trim the extra off the edges if they don’t match exactly.
10. Place the quilted cover piece and the lining right sides together, with the pocket flaps in between. Stitch around the rectangle, leaving 3″ at the center of one side. Trim the corners and bulk at the seams. Turn the cover right side out and press.
11. Use a ladder stitch to hand stitch the opening closed. Topstitch around the entire cover as close to the edge as possible. Slip your notebook or sketchbook inside to finish it up.

I think this would be a really pretty gift for a creative friend!
What fabric do you want to use for your quilted notebook cover?
This post is linked up with: The Makers


oh this is so lovely: I love that “words” fabric:)
Thanks Sophie! All of the white fabrics in this bundle were really nice for blending. The words are fun to cut out and use in unexpected places. I think my favorite was the light peachy fabric with the squares arranged in stripes.
Beautiful – and so precise, my corners would be all out of alignment!
I think you are like most people! I’m an oldest child and tend towards perfectionism 🙂 I like eveything neat and tidy. One of my friends looked at a bag I made and said “Oh, you are one of those people. You sew everything perfectly straight.” Guilty as charged…
I am in love with this adorable quilted cover. It is so cute and bright. Thank you for sharing. PINNED!
Thank you for sharing it and saving it Michelle!
This is such a beautiful idea…..I love having a lot of notebooks too……..obsessed with stationary! I love all the details you put into this cover.
Thank you! I’m one of those people that drools over school supplies every August 🙂 I haven’t seen your blog before, but I’m following now. Thanks for stopping by!
I love the colors!
Thank you Jennifer! Glad you stopped by!
Wow that’s amazing! xxx
Thank you Zoe!
That’s really lovely. Cutting those words out is a brilliant idea, I thought they must be labels at first! My boring old diary might be getting a new cover!
Thank you Anna! The best part about the word fabric is that no scrap is too small to save. You can use every little bit of it for little labels on all of your sewing projects!
Beautiful book cover. I still don’t know what a moleskin is.
Thank you! A moleskin is just a brand of notebook/sketchbook that artists and writers seem to love. You can find them at Target in the stationary aisle or on Amazon. There are also lots of “knock-off” brands around too.
I think this might be the perfect way to share the quilt blocks my grandmother left me. thanks!
I love that idea! You could use almost any quilt block to to make a notebook cover like this, and what a great way to remember your grandmother!
Such a pretty and cool notebook cover! I’m happy to have found your blog, I love making bags!
Thank you Brianna! Glad you stopped by 🙂
Whether it be journals, books, textbooks, date reminders.. I sew these up often and they sell well at my booths during the summer.. Your ideas to add words to the cover is great. I also add button and hair elastic enclosures to provide a simple place for a pen or keep paper scraps tucked in in place. A pErfect gift for a tween or female pal. Your color choices are great. I’m not a fan of pastel.but you combine the colors to make them stand out.. So I see a range of colors not just the pink.. And enjoy their combination. Thank you.
Thank you! I love little notebooks and school supplies. I’m sure lots of other people do too!
Oh! My sis loves moleskin notebooks! I know a great gift to send her now. Thanks!!
Thanks for stopping by! It’s a great gift idea!
This was a great surprise, I have a notebook I have wanted to make a cover for. I also like the idea of covering a small notebook as gifts for those special creative friends. I am inspired and plan to start stitching tomorrow.
Thank you for the great idea.
Oh good, I’m so glad! I was wondering if you could tell me how you found this post. I had a ton of traffic to it yesterday, but couldn’t track who linked to it. I’d love to know so I can thank them!
Really cool! I want to do something like this but I’m having trouble following what you did with the clothes hangar lining and how you made the sort of pockets to wrap around the notebook’s covers… do you have any more pictures or a more detailed step by step?
I would suggest just trying it, following each instruction line by line. Sometimes it looks complicated until you have all the pieces in front of you to move around. If you don’t want to spend too much time, skip the quilt piecing and just use whole pieces of fabrics for your practice cover. It doesn’t require much fabric, so just practice on some scraps. There aren’t really any steps missing from the photos that I could add, so I think it’s just a matter of trying it. If you get stuck, send me a photo of what you have and I’ll see if I can walk you through it.
If you prefer illustrations to photos, you can try the North Pond Notebook Cover pattern. It has more pockets and options, as well as line drawings for each step.