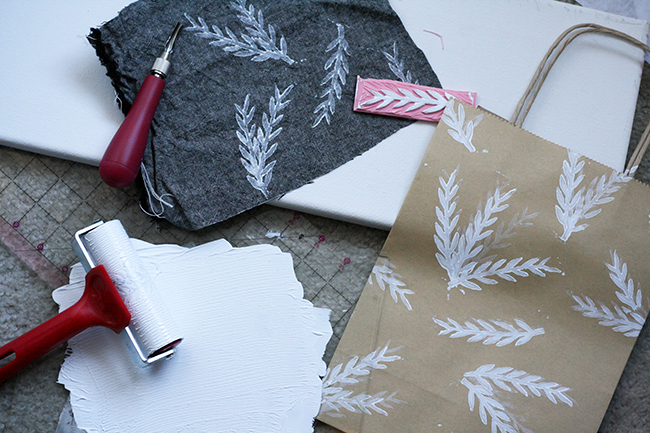
I wasn’t planning to write a bunch of handmade Christmas posts. But I make things at Christmas time for my own use, regardless of the blog posts I have planned. Yesterday, I made some gift bags using a stamp I carved. While I was printing on the bags, I grabbed some fabric scraps and printed some pine branches on those as well.
With 6 kids under 10, my Christmas ornaments need to be kid-friendly and unbreakable. I’ve avoided putting glass balls on the tree for a few years now. Many of my ornaments are handmade with fabric, felt, ribbons, buttons, etc. With the handprinted fabric, I decided to make another ornament for the tree.
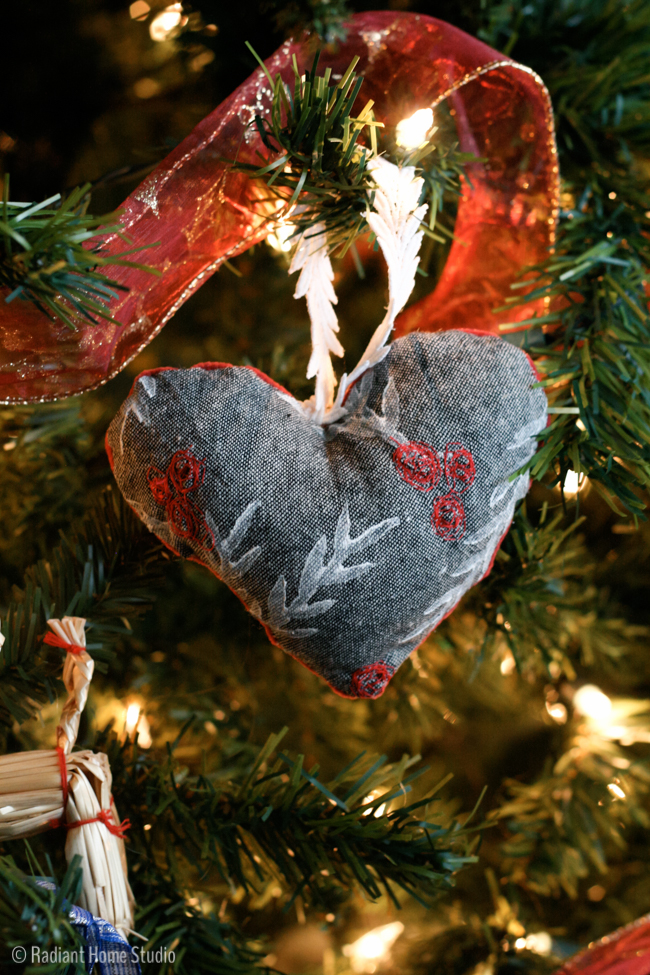
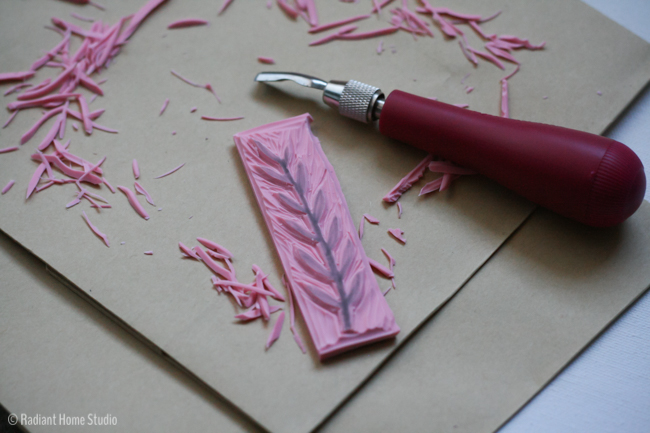
In my gift bag post, I showed you the stamp I made. Now let me show you how to make your own handprinted Christmas ornament using the same stamp.
I won’t go into loads of detail about how to carve stamps. But basically, you use the smallest carving tool to outline your design and then go back with the larger tools to carve out the bigger spaces. If you don’t want to carve your own stamp, pre-made rubber stamps will work well too.
After that, you’ll need some white screen printing ink or acrylic fabric paint to print on the fabric.
To make the berries, use your free motion quilting foot on your sewing machine, lower the feed dogs, and doodle stitch the berries. Just like I said with the bag, it’s like scribbling with your needle. There really aren’t any rules. Just move your fabric in small circles until you have a nice spot of color.
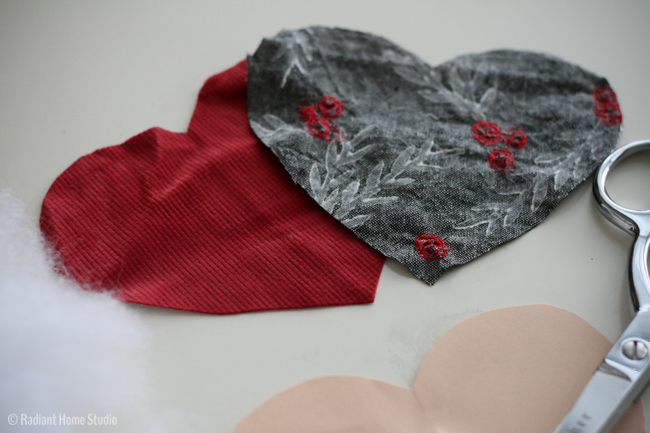
Make yourself a heart shaped template and cut out fabric for the front and back. My heart was about 6″ wide.
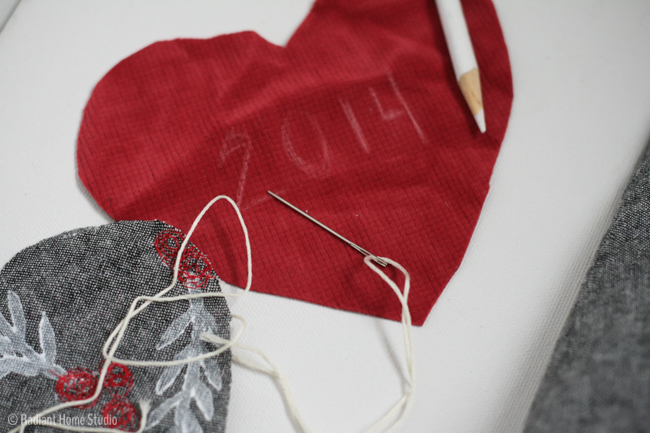
Next, use a chalk pencil to write the year on the back piece of the ornament.
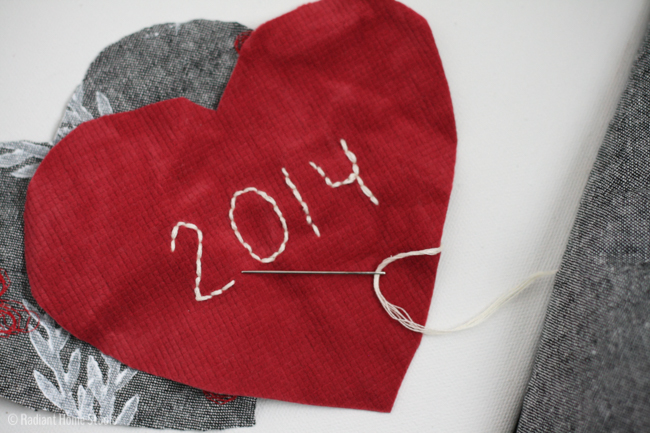
Use a backstitch and contrasting embroidery thread to write the date.
Place the fabrics right sides together and stitch around the outside edges, leaving a small opening in the side. Make sure to insert a ribbon in the top to hang the ornament.
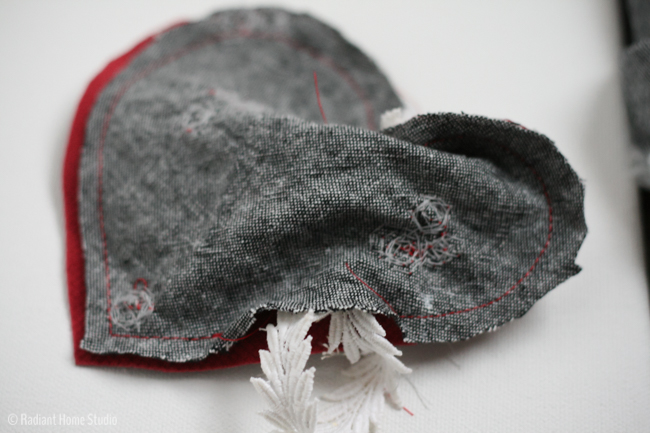
Turn it right side out and stuff it with some fiber fill. Then hand stitch the hole closed.
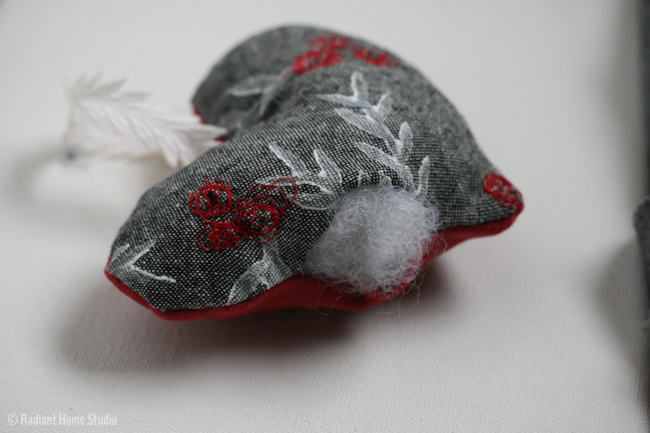
That’s it! Make some more. Hang them on the tree and enjoy.


I love the process of carving stamps and this turned out very cute!