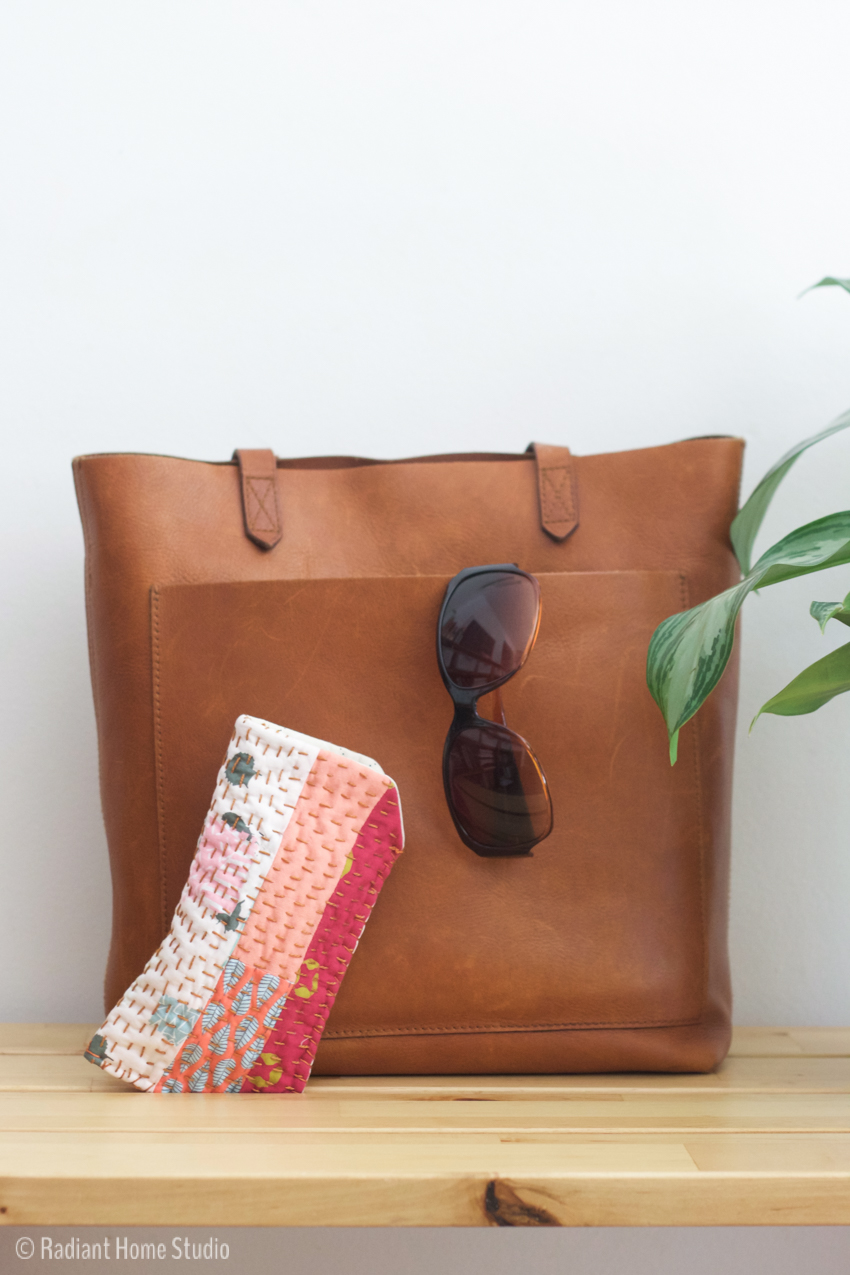
Summertime means sunglasses! I usually have mine on my head, but sometimes I want to throw them in my bag with a layer of protection. This sunglasses case is a great way to use up scraps and practice some kantha stitching. (Kantha is just a fancy word for Indian style running stitches and they don’t even have to be perfect!)
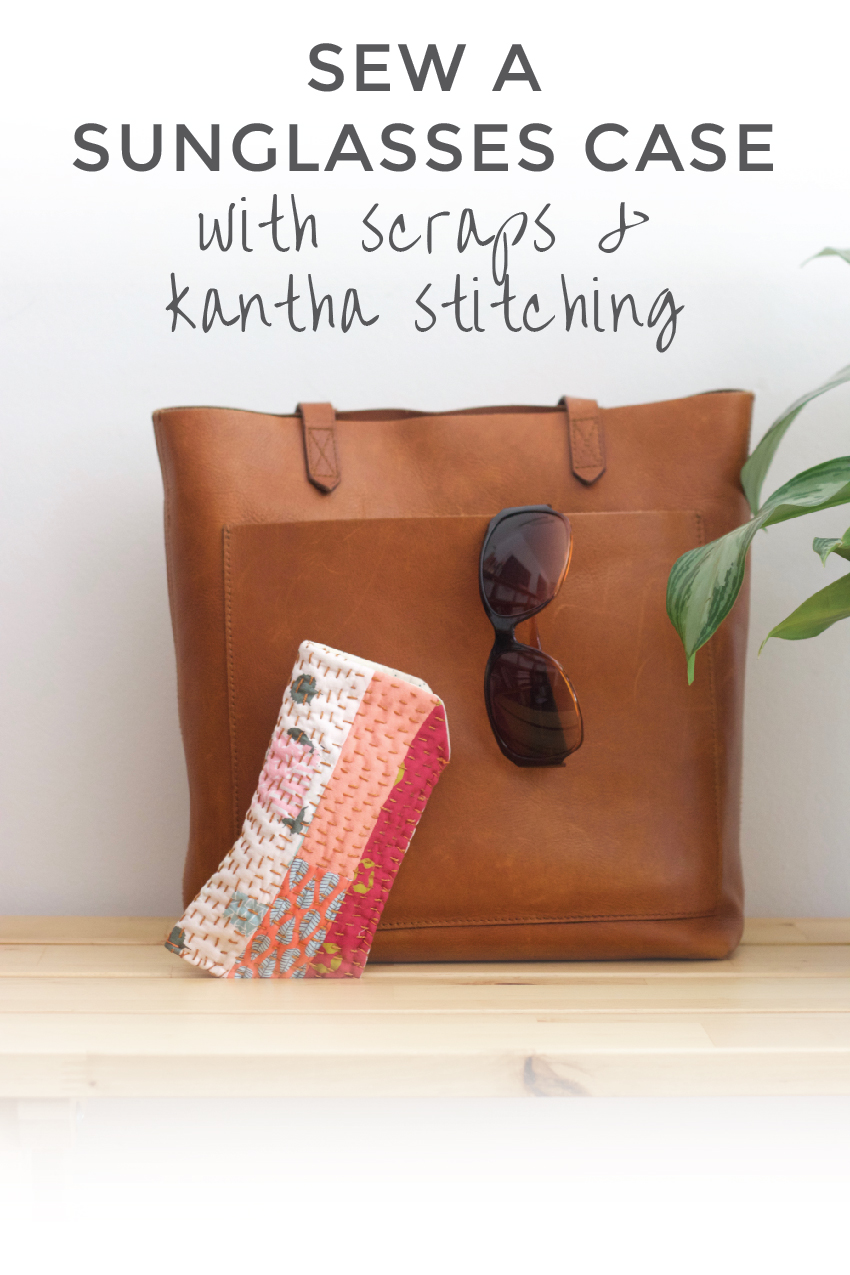
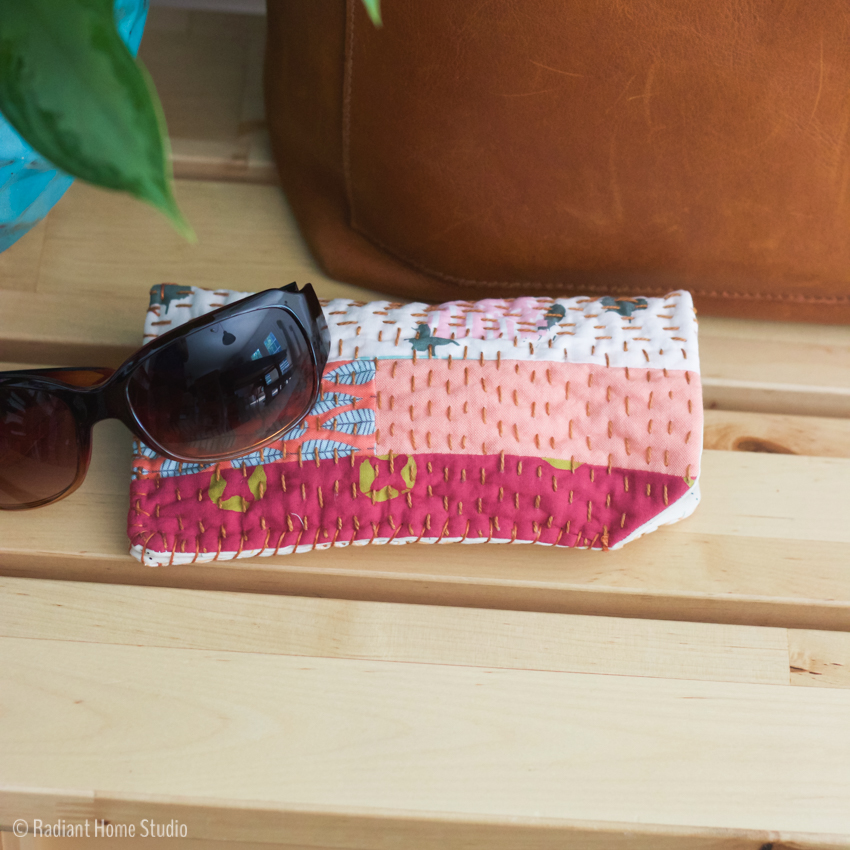
Here’s a quick tutorial so you can sew a sunglasses case that will use up scraps and help protect your lenses. I made the pattern big enough for oversized sunglasses. If you have a slim pair or want to use it for reading glasses, you can adjust the size by trimming it down when you get partway through.
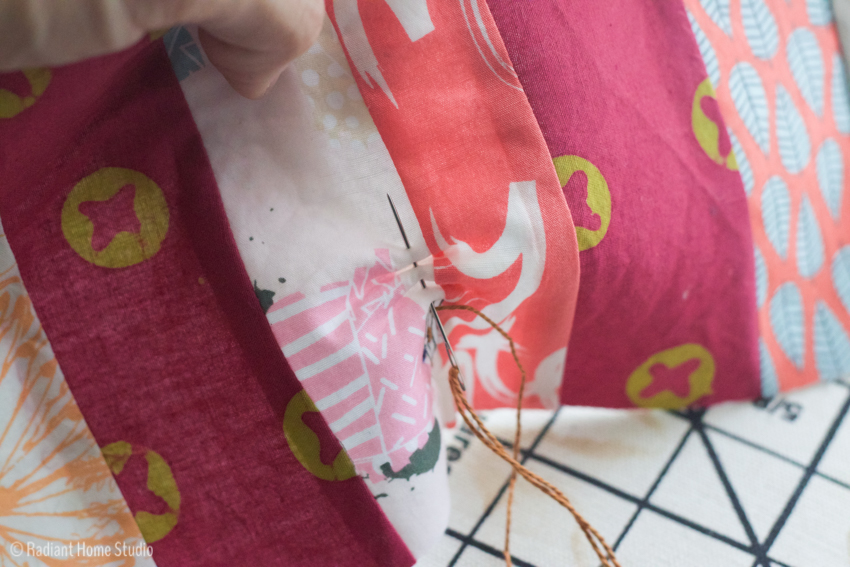
Remember that kantha stitching is meant to be quick and easy. You can thread the needle through 4-8 stitches before pulling the thread. Don’t worry about perfect spacing or alignment. The imperfections are what give it a beautiful handmade look.
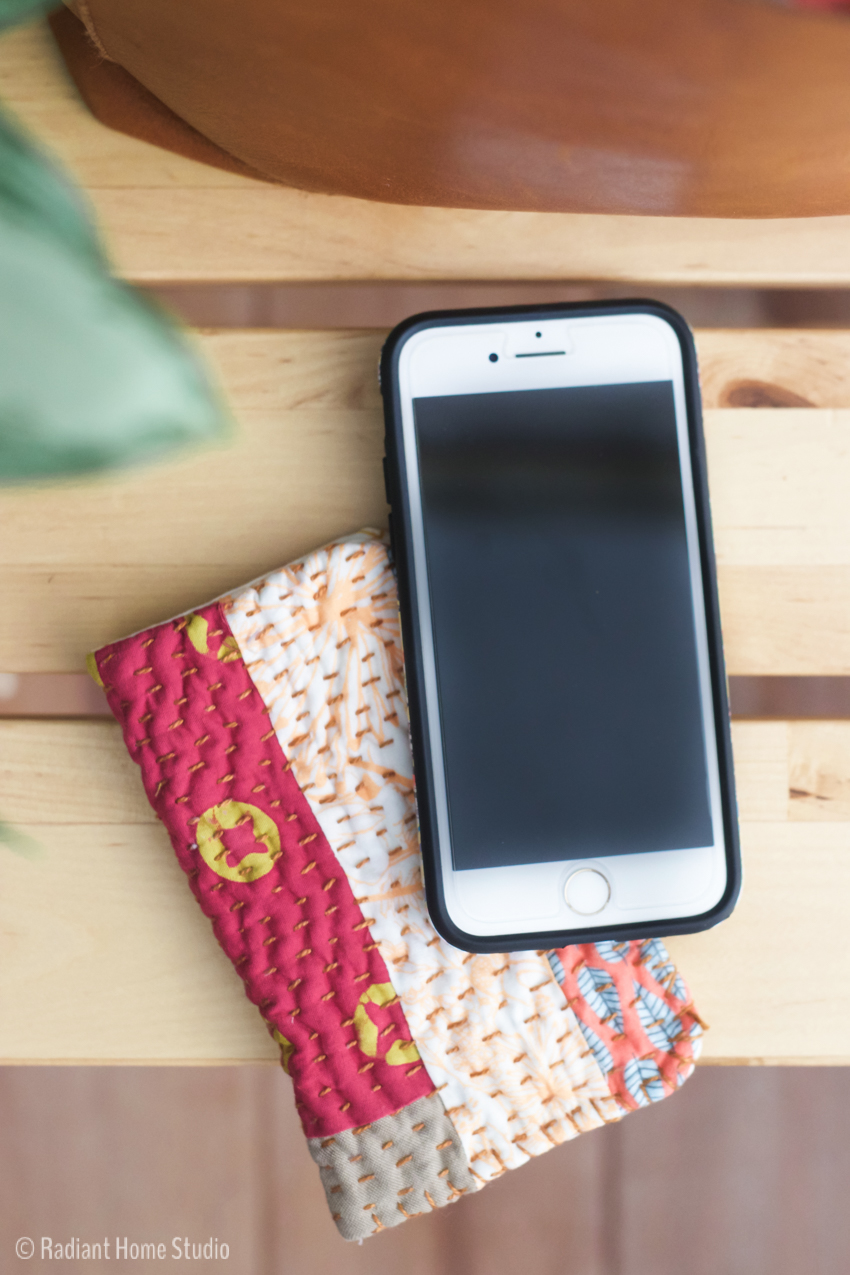
This type of pouch is useful for other little items too, so be creative! If you change the size slightly, it makes a great little protective phone cover. Or you could make it bigger and use it to cover an iPad.
(This post contains affiliate links which means I make a small commission when you make a purchase. Thanks!)
How to Sew a Sunglasses Case with Scraps & Kantha Stitching
Finished size: approximately 4″ x 7″
Materials & Tools:
- fabric scraps in coordinating colors (about ten 12″ x 1.5″ strips)
- one larger piece of fabric about 10″ square for the lining
- fusible fleece (about 10″ square)
- coordinating embroidery floss (I like pearl embroidery floss for this project.)
- embroidery needle (I like these Sashiko needles. They are long so you can make multiple stitches at a time.)
- rotary cutter & mat (You can do without, but measuring and cutting are much faster and easier!)
Sewing Instructions:
1. Cut out several strips of fabric about 12″ long and 1-2″ wide. They can be variable widths and do not need to be perfect! If you like making improv quilt blocks, that’s exactly what you need to do here. In fact, you can be more creative and sew other shapes and designs if you like.
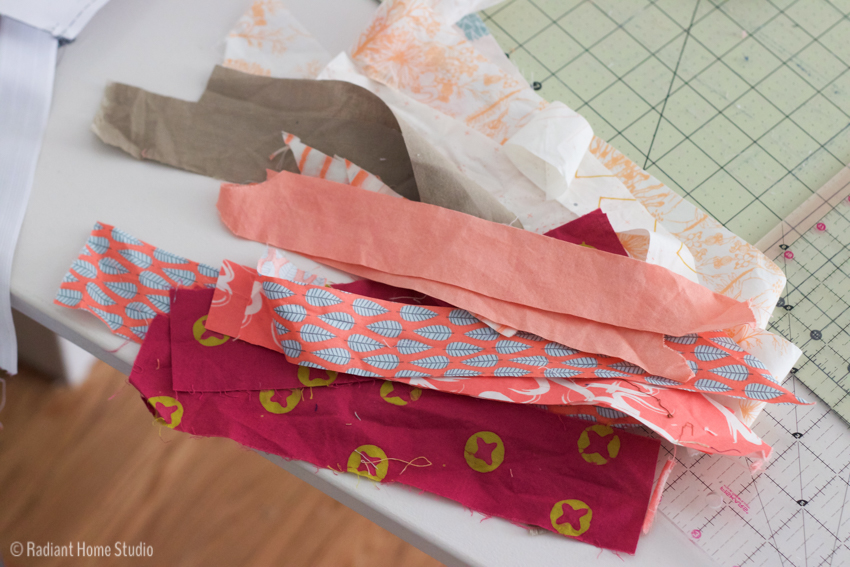
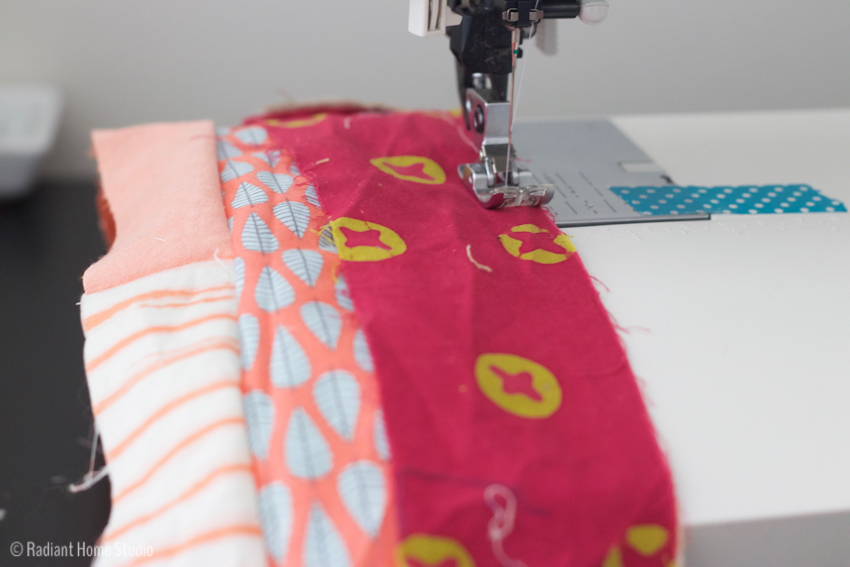
2. Lay out your strips in the order you want to sew them together. Place the first 2 strips right sides together and stitch with a 1/4″ seam allowance along the long edge. Press and continue to add the rest of the strips in the same manner.
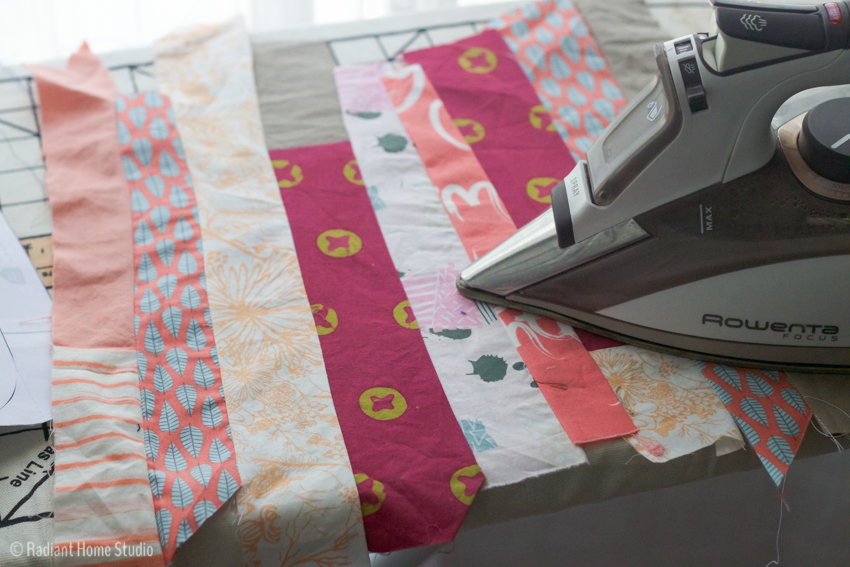
3. Trim the sewn-together strips to about 10″ x 9″. Cut a piece of fusible fleece the same size and fuse it to the wrong side of the fabric. (Note: If you think the fusible fleece will be too thick to hand stitch, you can use a lightweight interfacing on this layer and add fusible fleece to the lining layer instead.)
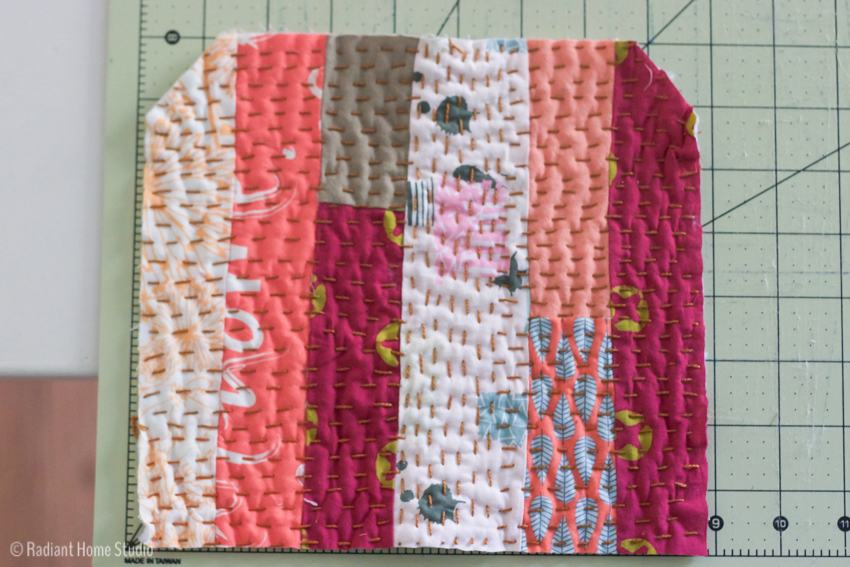
4. Begin stitching across the vertical stripes, slightly off center with close rows of running stitches. Again, these aren’t supposed to be perfect. They are supposed to be quick! Fill in a section with about 1.5″ of stitching. Finish filling in the other sections with close rows of running stitches perpendicular to the first section.
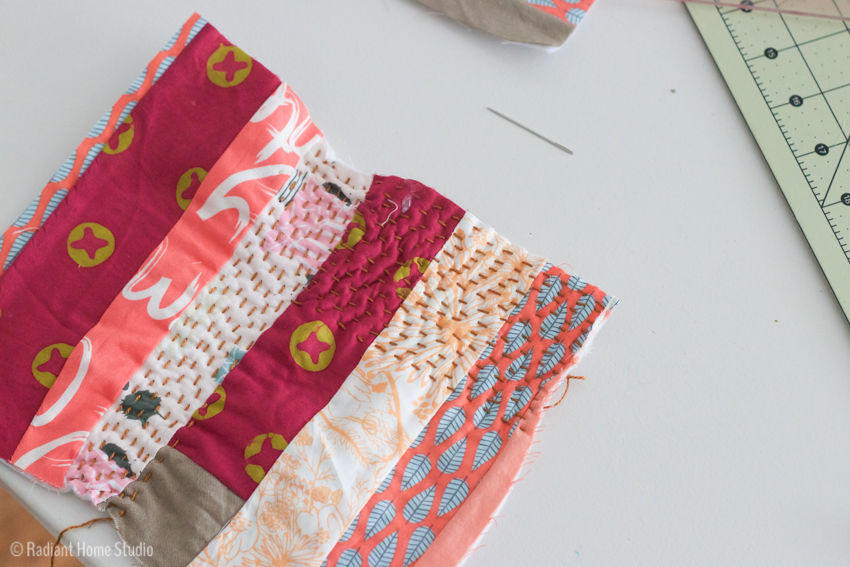
5. Once you finish stitching, your fabric will be slightly smaller and probably not square again. Wrap it around your glasses and figure out if you need to trim the rectangle. To make it the same size as mine, it should be about 9″ x 8″ at this point. Be sure to leave about 1/2″ of seam allowance on all sides. (Below, I had already trimmed the corners…this is in the next step.)
6. Cut a solid piece of fabric to match the size of the quilted rectangle. (If you prefer a more sturdy case, you can add some medium-weight interfacing to this layer as well.)
7. Place the quilted rectangle and the lining right sides together. Fold in half. Trim off one outer corner about 1″ from each edge.
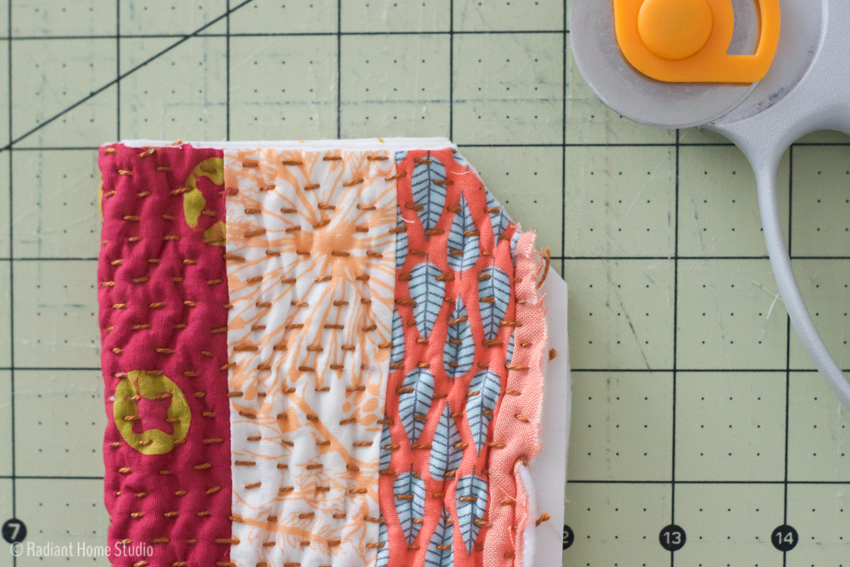
8. Stitch around the outside edge, pivoting at the corners, using a 3/8″ seam allowance, leaving a 2″ opening on one side. Trim the bulk from the corners and turn inside out. Press.
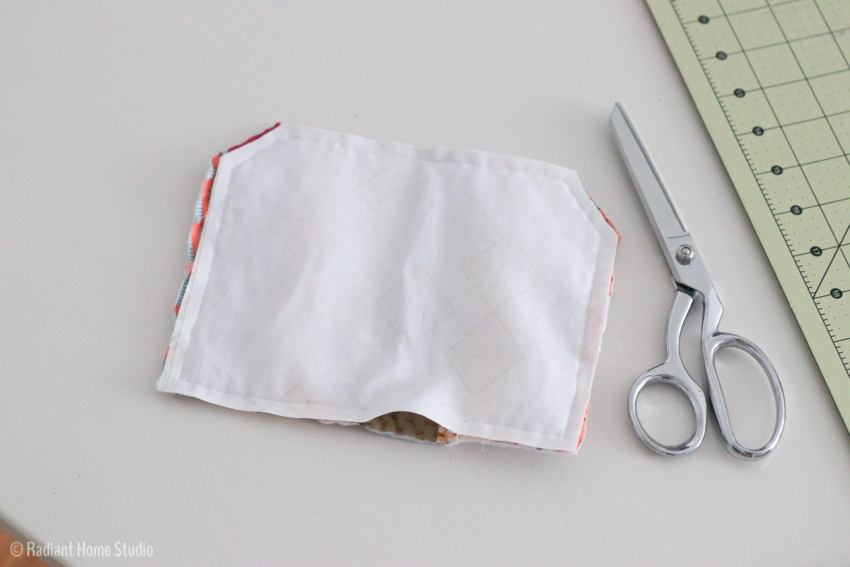
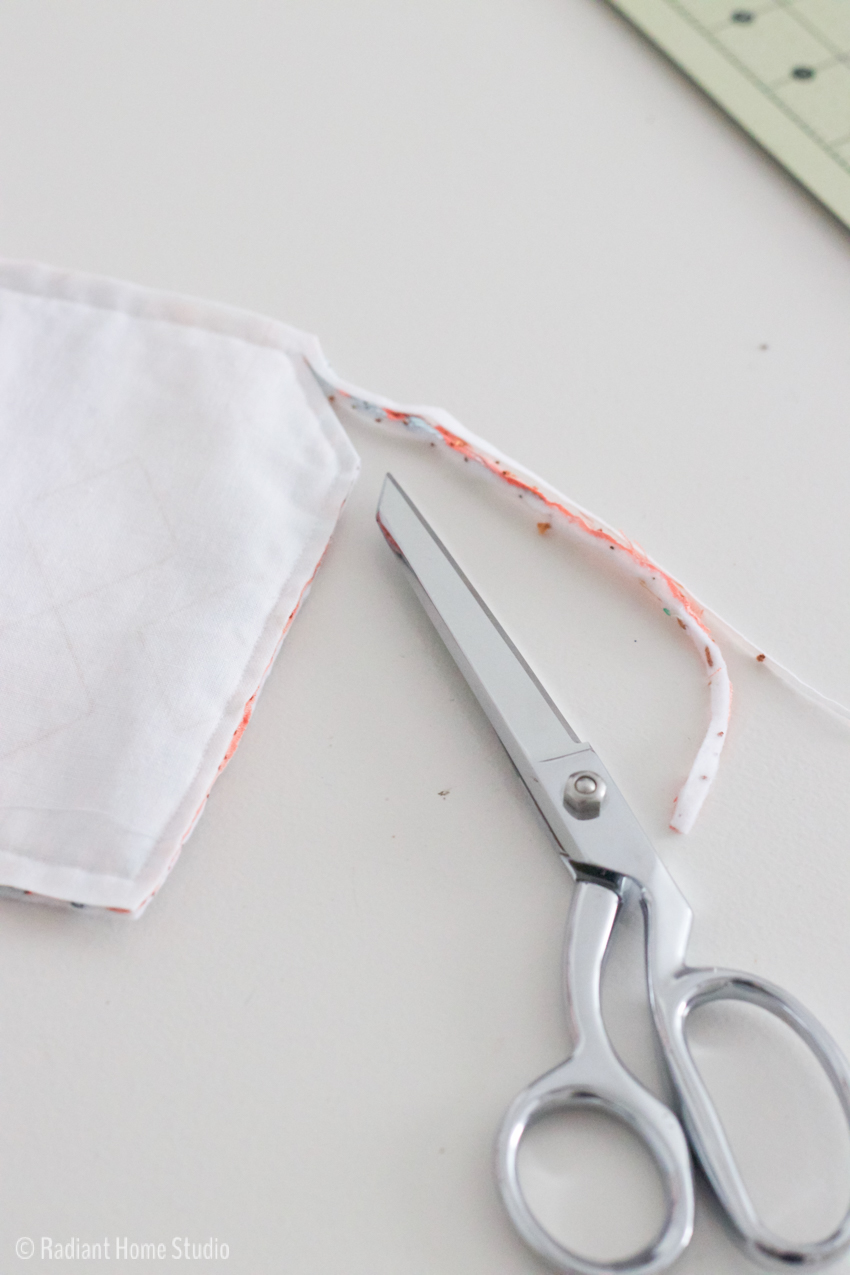
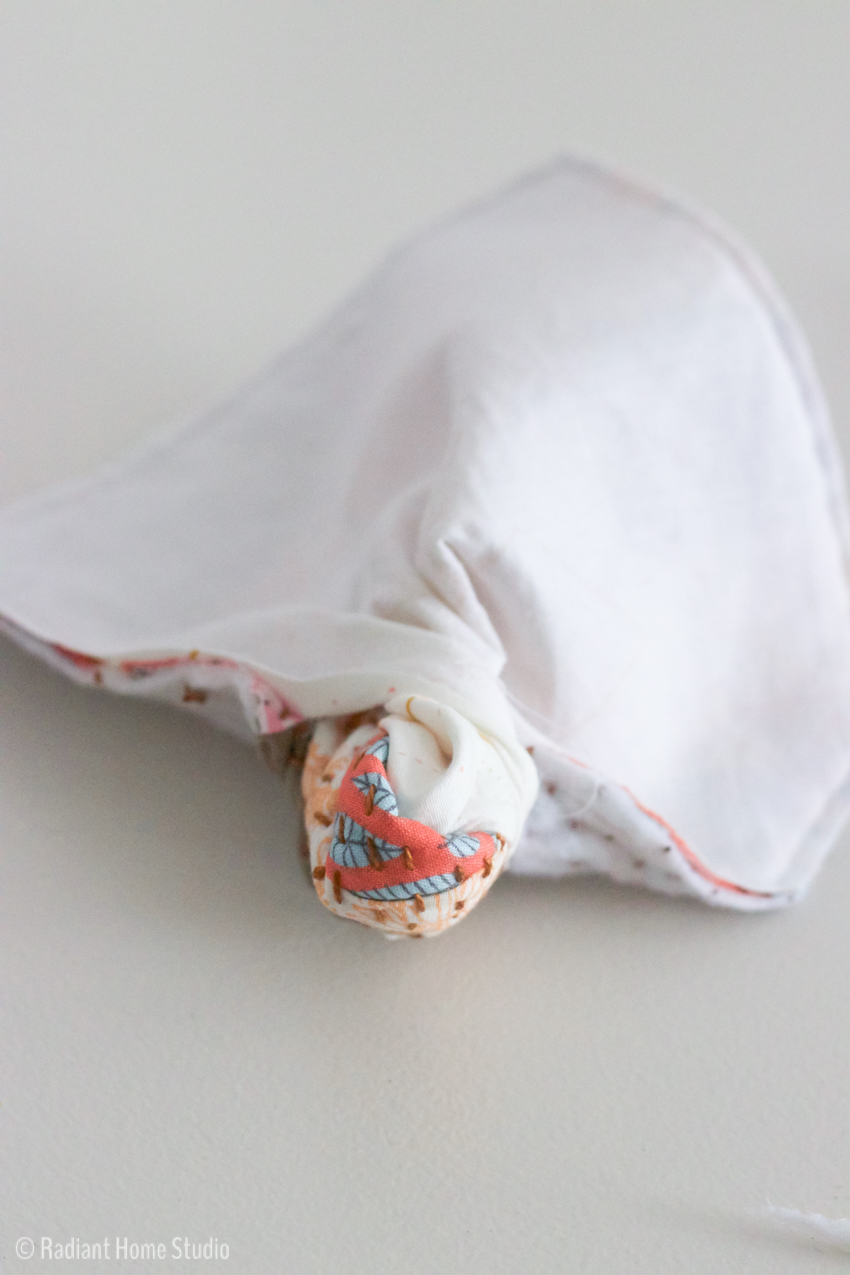
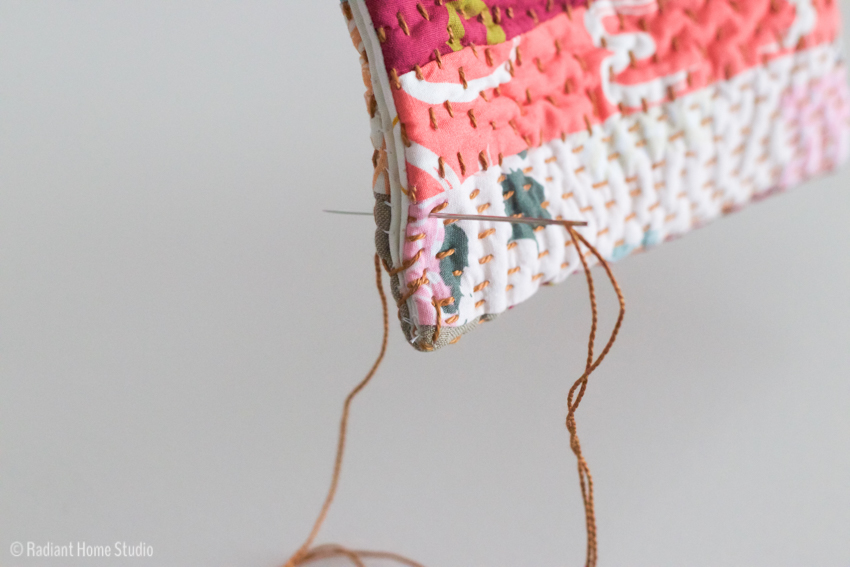
9. Fold the lining sides together. Whipstitch across the bottom and side near the edge, pulling tight as you stitch. Finish just below the angled corner with a small knot. (You can also machine topstitch, but the thickness of the fabric may be too much for some basic sewing machines.)
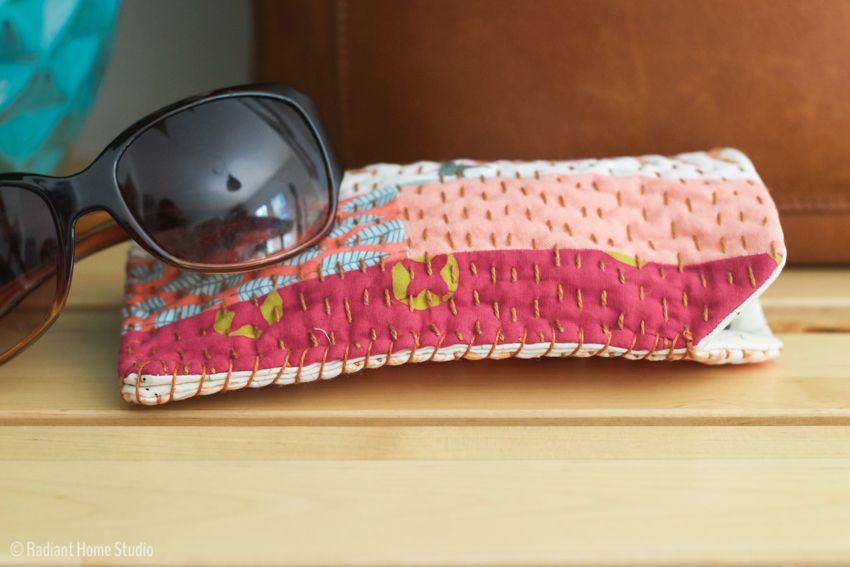
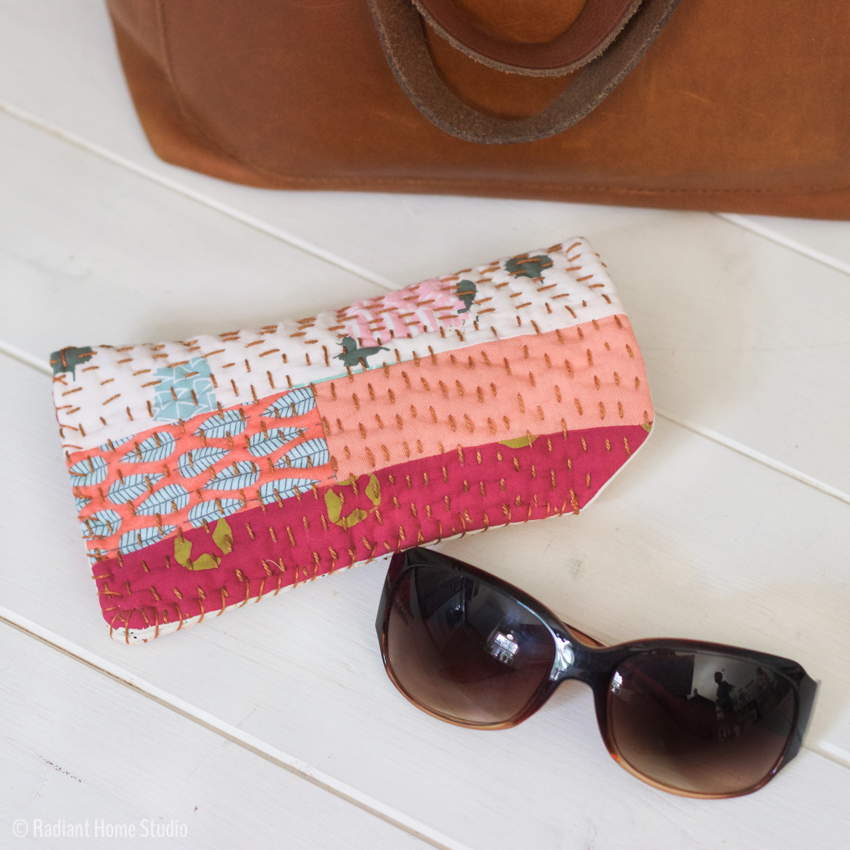
That’s it! Make beautiful gifts for your friends, use up scraps, and enjoy the sunshine!
Also, linking up with: Sew Can She, Saturday Sharefest, & Craftastic Monday



Thank you for the great tutorial and beautiful case!
Thank you. This is so easy and no zipper to bother with. I love it. Another scrap-buster.
Thanks for taking the time to comment!