This is the second post for the Mom’s Minivan Organizer from On the Go Bags. If you are just joining, check out the intro post and the first sew-along post.
In this post, we’ll be putting together the pockets and constructing the exterior of the organizer. I have included a helpful video showing how to apply the fold-over elastic (FOE) to the pocket edges.
You can find the full instructions on page 105 of On the Go Bags.
Make the pockets:
The first step is to assemble the pockets. The pocket edges are bound with fold-over elastic (FOE). If you haven’t worked with FOE before, you might want to practice on an extra piece of fabric. FOE is basically elastic binding. It has a fold line down the center, so that it can cleanly wrap around the edges of fabric. (Please ignore my messy stitching…trying to record over my shoulder while sewing made it impossible to see what I was doing!)
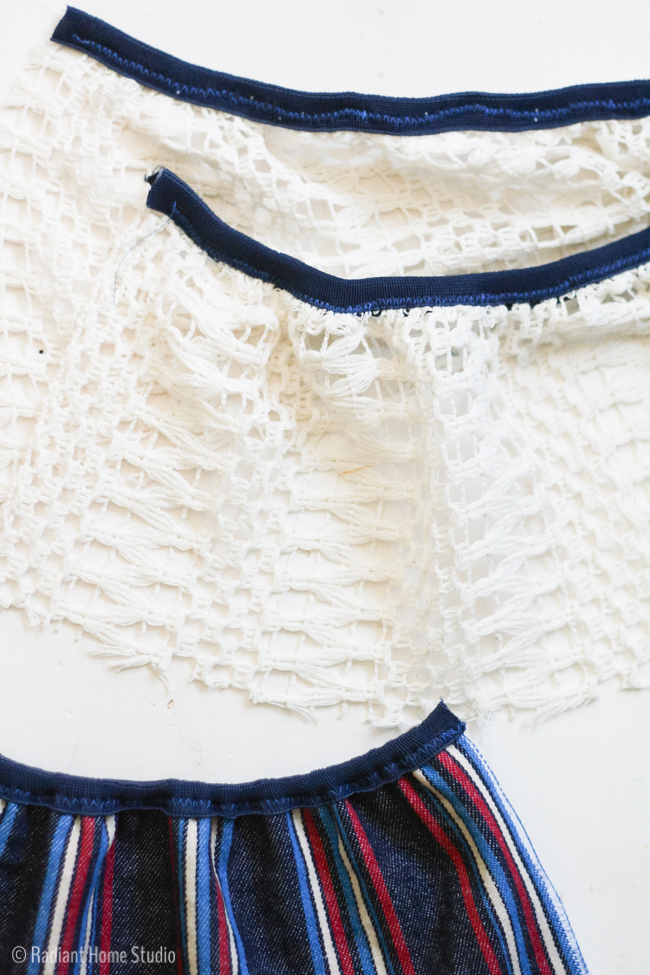
Begin by folding the elastic binding around the top edge of the pocket. (I’m using this crochet fabric instead of mesh…) You need to leave about an inch hanging off the end so that your machine doesn’t “eat” it. Don’t worry about trying to pin it on. Just pinch it together where you plan to start and place it under your presser foot to hold it in place. You need to line up the needle so that your zigzag stitch just reaches over the open edge of the elastic. Whenever you stop sewing to make adjustments, keep the needle down in the elastic.
Begin by sewing a few stitches. Hold your FOE about 2″ from the needle and stretch it tightly (I mean, really, really tight…more than you would for regular elastic. You want the fabric to gather tightly. Just don’t break your needle!). Stretch only the FOE and not the fabric. Pinch it around the fabric at the point you have stretched it and sew that section. Make sure the fabric is tucked in all the way to the fold of the FOE. Sew 3-4″, leave the needle down, and readjust as you go. Keep working to the end of the pocket. Once you get a good rhythm, it goes on very easily!

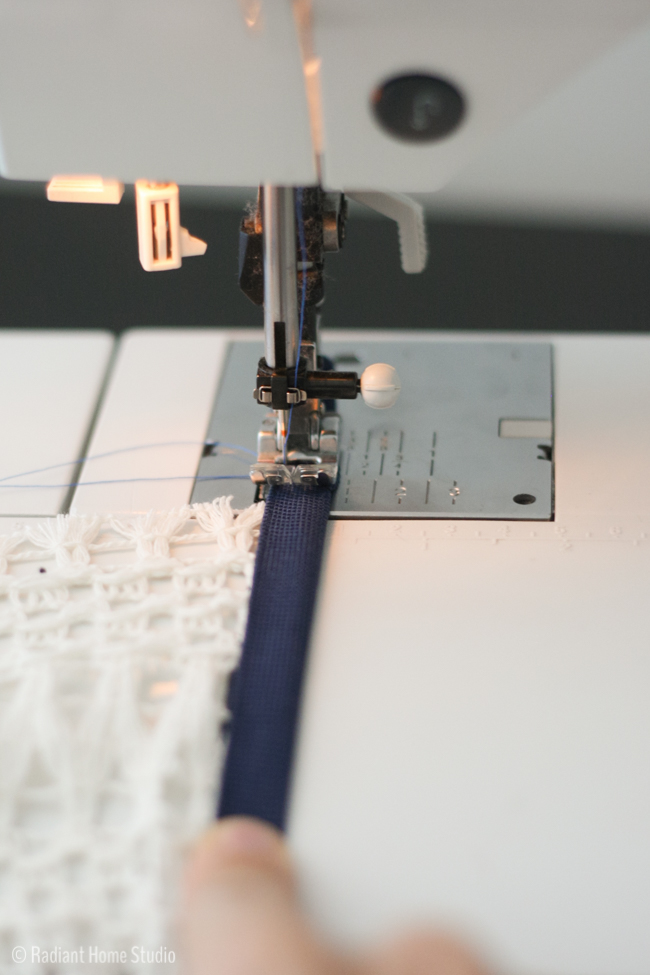
I’ve put together quick video so you can see my method here. It isn’t as precise as the method Mrs. H uses, but I think you can stretch the elastic more and gather the fabric more tightly this way. It might look like I’m pulling the elastic through my machine, but I am just keep ing tension on the elastic. Make sure you don’t pull. Let your machine feed the fabric through at it’s own pace!
The rest of the pockets are pretty straightforward. You should have 2 mesh pockets and one long, lined pocket. Continue adding pockets as directed on page 106 of the book.
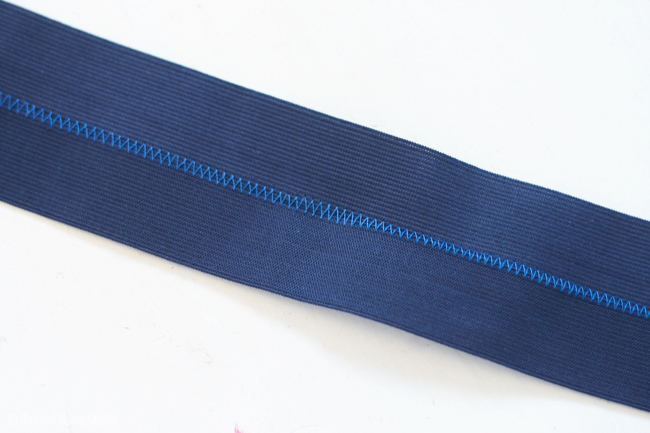
On the 4th side, there are elastic loops for water bottles and similar items. If you don’t need the loops, you can definitely make another pocket instead. I could not locate 2″ elastic in colors, so I have used 2 lengths of 1″ elastic and zigzag stitched them together. (Check the end of the video to see how this looks!) Once you have your elastic prepped, sew it to the 4th side using the diagram in the book for measurements.
Make the Exterior:
The exterior construction is also very straightforward. The seam allowances are 1/2″. Make sure these are very accurate at the top edge of the bag so that the exterior and lining fit together perfectly when you add the binding. It’s really hard to photograph these steps because the organizer is so big. The illustrations in the book are much more complete than I can capture in a photo.
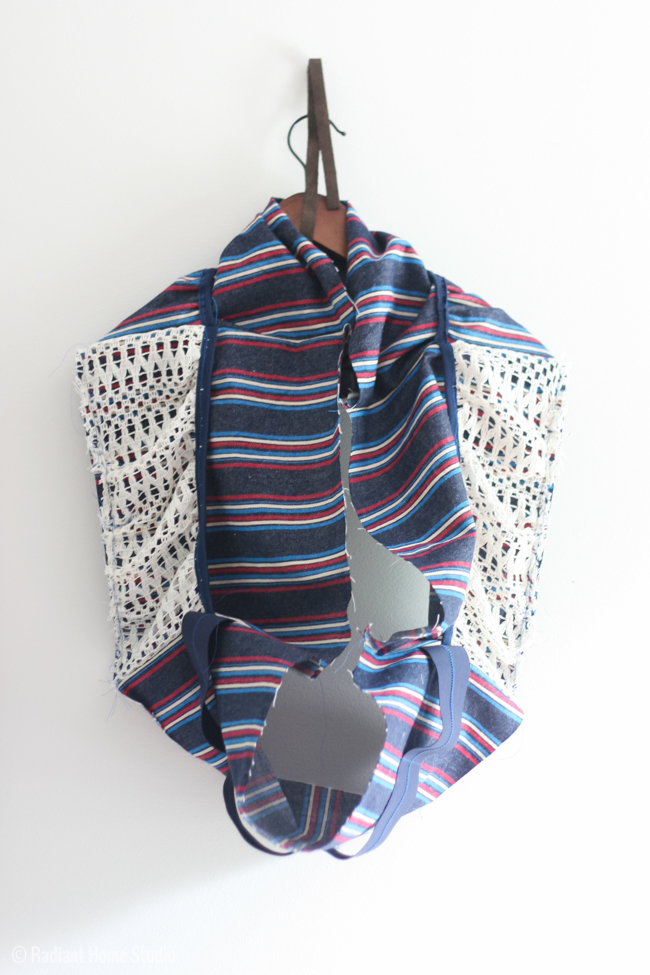
If you have made a few bags before, attaching the bottom piece shouldn’t be too difficult. Pin all of the corners first. If the sides don’t match up in length, you can adjust by making the seam allowances a little bigger or smaller at the corners before you sew. To sew around each corner, leave your needle down in the corner seam, raise the presser foot, and pivot the fabric 90°.
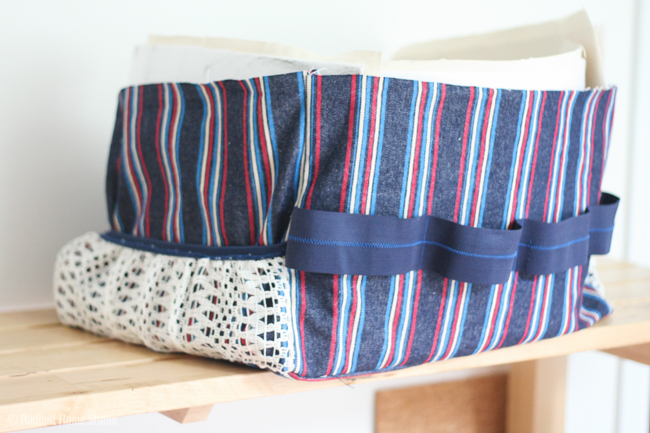
It’s starting to come together! It’s always encouraging to get to the point where you can see the size and shape of the bag. Next up, we’ll construct the lining and divider!
As always, please let me know if you have any questions!


