So, I’ve had this fabric swatch from one of my Spoonflower designs sitting on my sewing table for weeks. As soon as I received it, I knew I wanted to embroider it. The black lines were begging for some color!
Below, I’ll show you how to embroider over a fabric design with a simple backstitch. You could embellish any number of fabric designs by stitching along the printed design in this way. Choose parts of a print to highlight or stitch over the whole design like I did. Or you could design something specifically for embroidery and use Spoonflower to print it. (Though I’d recommend using a lighter gray color if you want to do that.)
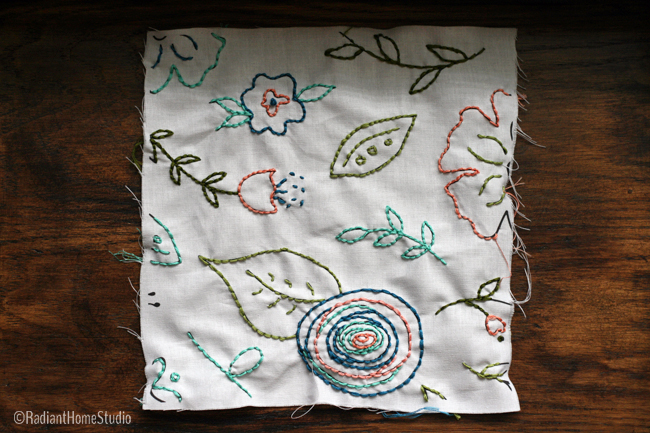
Once I started, I couldn’t stop…
I started out with this hand-drawn floral in black and white. This is an 8″ x 8″ test swatch on Kona Cotton fabric. (Another example of a fabric design that could be embellished with embroidery is this pretty floral design by Alexia Abegg for Cotton & Steel.)
I did not have a small enough embroidery hoop for this piece of fabric, so I just stitched along without it. The hoop makes it a little easier, but it’s not necessary if you don’t have one on hand.
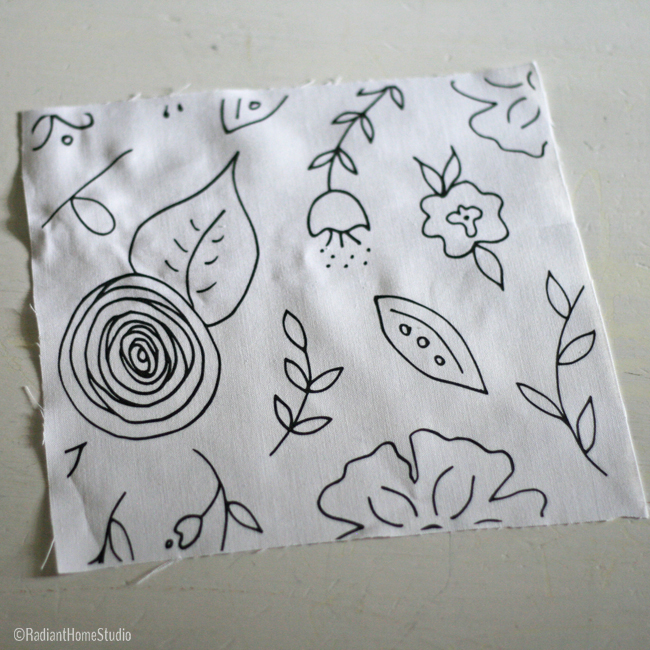
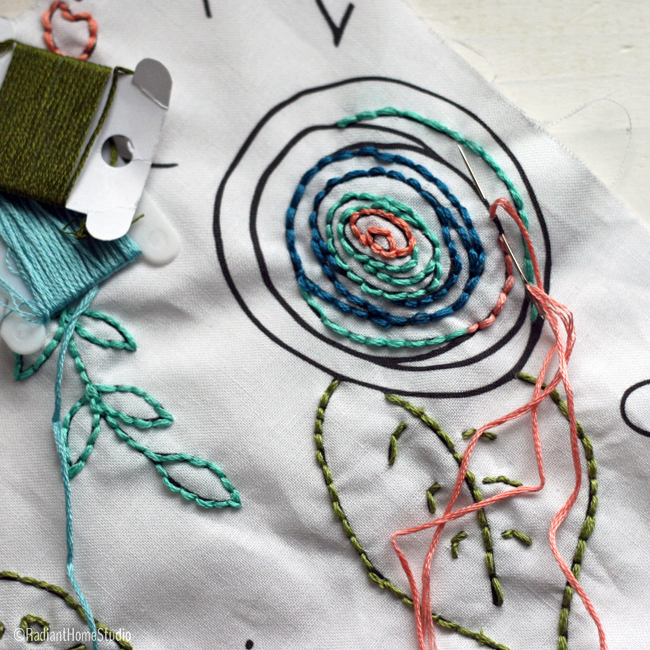
Then I just started tracing over the lines with a basic backstitch.
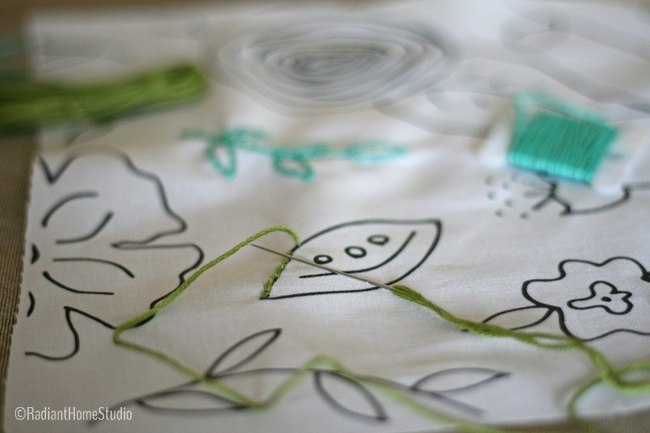
A little further along in the process…
You can see the path of the needle here. This is how you form a backstitch. Each time you go down next to the end of the last stitch and come up two stitch lengths ahead.
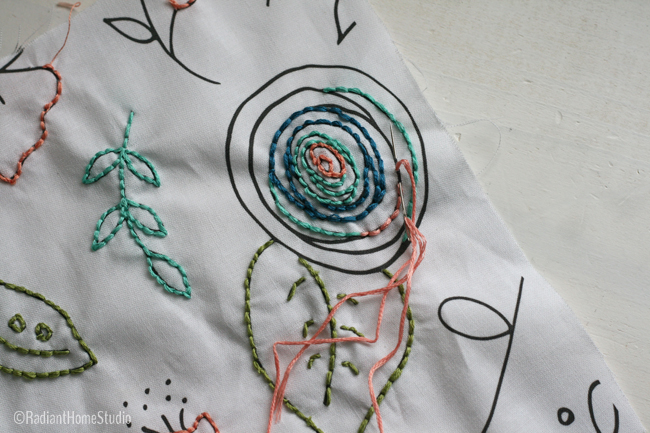
Using a backstitch, you can cover all of the black lines without gaps showing through between the stitches. If you want the back to look as nice as the front, check out Mollie’s series of posts on keeping your embroidery neat and tidy.
So now I just need to decide how to finish it. It could make a really pretty pocket for a tote bag or I could frame it and use it as part of a gallery wall I’m planning.


Yes! Beautiful work!
Thank you!