Last week I decided to make some simple curtains for our living room before holiday guests arrive. I’ve been sewing simple curtains like these for our houses since we were first married. At first, I used basic quilting cottons from the clearance section (usually for $2-3/yd.) At that price, I could make a pair of floor length curtains for less than $20, so I decorated our newlywed apartments very frugally.
Quilting cotton works great for a limited budget, but I recommend using a home decor weight fabric if possible. With sales and coupons, I’ve found some really nice fabric for around $5/yd. Even at $10-15 a yard, you are getting a great deal for custom curtains. Some of my favorite prints are from Premier Prints, through Fabric.com.
I bought an expensive pair of curtains from a popular mail order catalog once…but I won’t do it again. For the price, I expected better quality stitching and a full lining, but what I got was the same basic curtains I’ve been making for years.

(This post contains affiliate links, which means I make a small commission at no cost to you. Thanks!)
So, here’s how you can sew simple curtains for your own home! The finished length is about 90″ (which is longer than typical store-bought drapery panels—and I’ll tell you why toward the end of the post).
And…I’ve added extra instructions for no-sew curtains at the end of the post!
Materials Needed for Simple Curtains:
5 1/2 yds of fabric (pre-washed, if you plan to wash them later)
matching thread
iron and ironing board
sewing machine
Step 1:
Cut your 5 1/2 yds of fabric in half across the width.
You should have two equal length pieces. Technically, 5 1/2 yds, cut into two, should leave you with 2 pieces that are 99″ long. After the shrinkage from the wash and squaring off the ends, I found that my fabric measured about 96″.
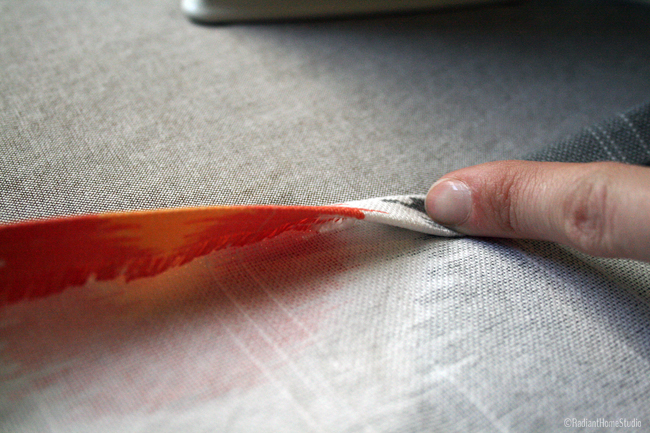
Start on the selvage edges (lengthwise, on each side) and press 1/2″ toward the wrong side. You can usually use the selvage as a guide. It makes the folding much easier! Fold over and press again to enclose the raw edges.
Step 2:
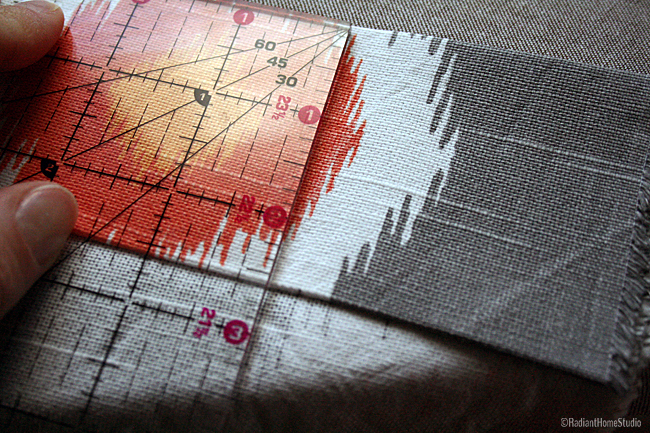
Fold one cut edge to the wrong side (across the width) 1/2″. Then fold over again, 2 1/2″ and press in place. You will do the same thing on each cut edge across the width of the fabric. These folds will form the rod pocket (if you choose to use a rod) and the bottom hem.
Step 3:
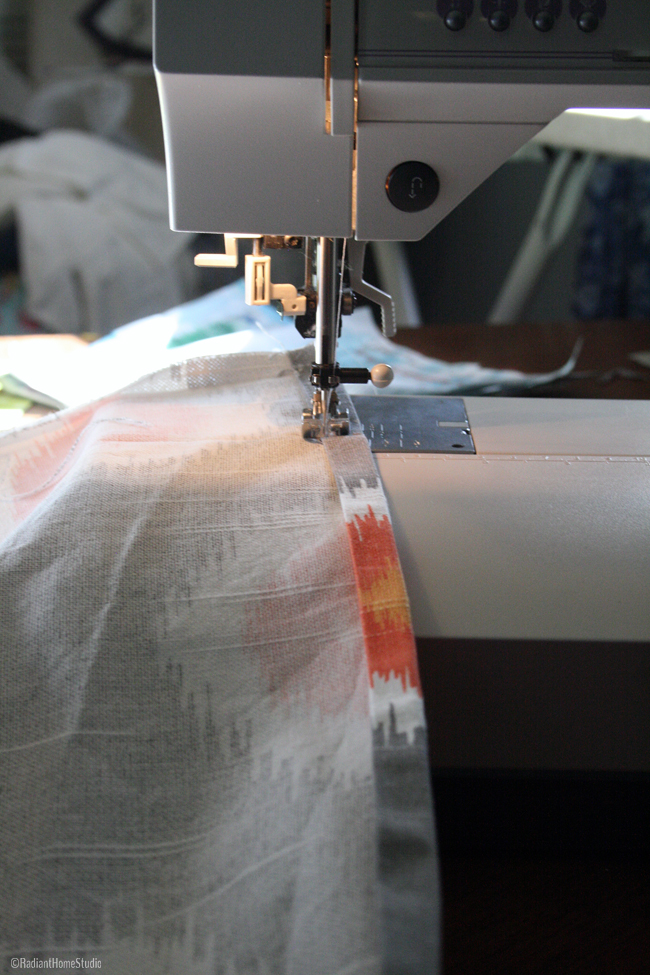
Open up the top and bottom folds, while you stitch along the sides. Use a 1/2″ seam allowance or your folded edge as a guide. Stitch along the each of the long edges.
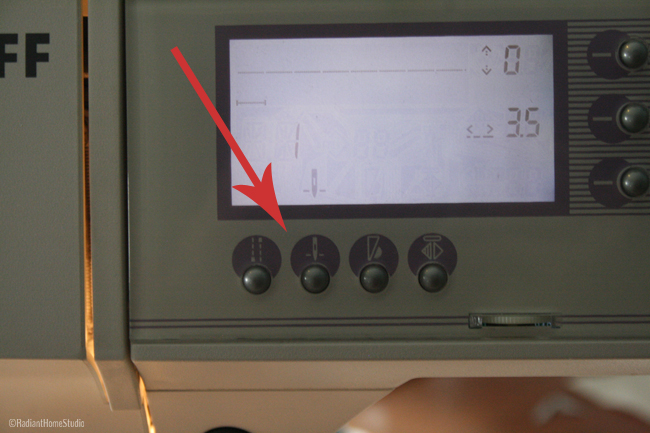
The hardest part about sewing curtains is the mass of fabric that accumulates at the sides of the machine, like this –
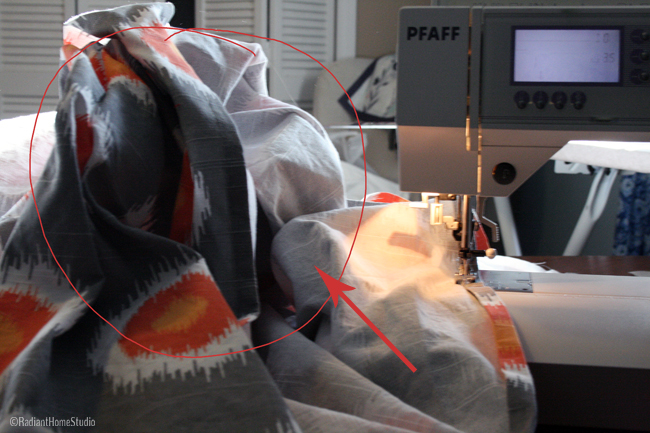
If you can manage this big fabric pile, the rest of the curtain sewing process is very simple. If your machine has a “needle down” option, this is the perfect place to use it. Each time you stop to adjust the fabric, your needle will stay down and keep everything aligned so you can stay on track. If you don’t have that feature, turn the hand wheel to put the needle down in the fabric while you make adjustments.
Step 4:
Fold the top and bottom edges along the creases you made earlier. Use the folded edge as a guide for stitching (about 2 1/2″ seam allowance). With precise measurements during the pressing step, you’ll have a nice even line across the top and bottom.
If you want to include a lining layer, add it before stitching the tops. Follow the same steps above for hemming the edges of the lining layer, (probably a neutral poly/cotton blend), assuming it is the same width. Align the bottom hems (usually the lining layer is a couple of inches shorter, so you may align it to the top edge of the hem). Then trim a couple of inches off the top and slide it in to be caught in the top line of stitching. This will make a lined curtain with free-floating layers. Since sewing the lining to the front on all sides usually creates big wrinkles, two separate layers help you to avoid problems and make the curtains look more professional and streamlined.)
Press out any wrinkles and trim all of your loose threads.

Step 5:
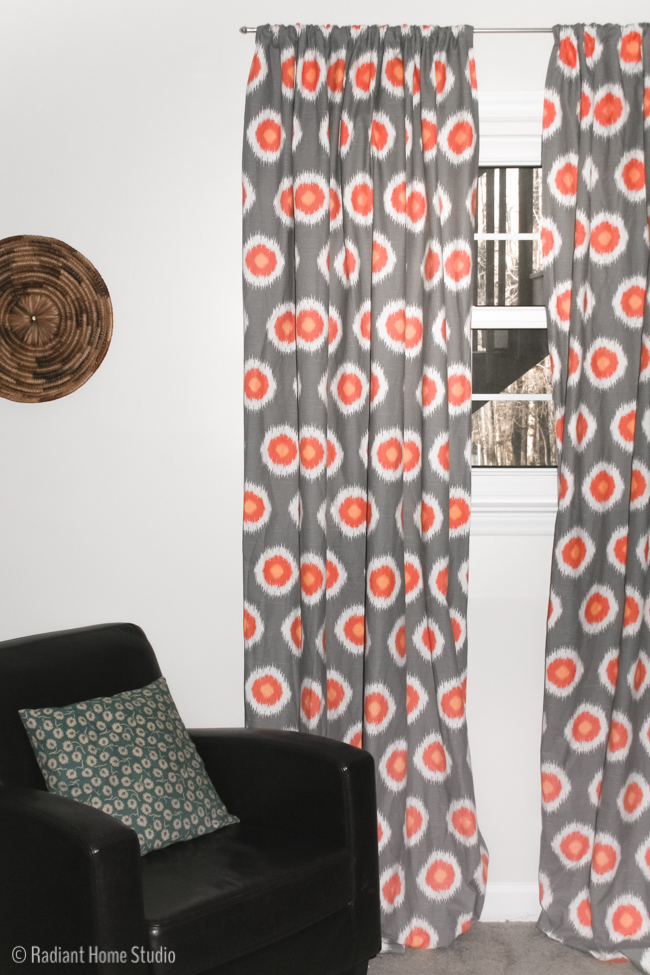
Hang them up!
You can hang your finished curtain panels with clips or you can slide them onto a rod. For a thinner style rod, you may want to add another line of stitching about an inch below the top fold to create a smaller rod pocket. The uppermost section will form a small ruffle, and the curtain rod will fit in the second section.
The finished length of these panels is longer than typical store-bought panels, at about 90″. Home decor experts recommend hanging your curtain rods several inches above the top of the window. The 84″ curtains available at big box stores end up being too short, and 96″ inch panels (which are difficult to find) end up being a bit long if you don’t have 9′ ceilings. So, 90″ seems to be the right length for floor length curtain panels with a rod hung 4-6″ above the window casing. Of course, you should always take your own measurements, but you can adjust the length to fit your needs without too much extra math!
Bonus: No-Sew Curtains
What if you don’t sew? Easy! All you need is an ironing board, iron, and some fusible hem tape. (You’ll need 3 packages of this!)
Follow all of the cutting and pressing directions above. Then instead of sewing, carefully place the hem tape under the folds and press the hems down. Each brand has slightly different instructions, so just read the package carefully and follow the recommendations given.


love your straight forward directions…..!
Starting tomorrow on my friends drapes……
Thanks Laura! Good luck on your curtains!
Thanks for the tips! I found a really awesome fabric at a garage sale last weekend that I want to use to make curtains. It’s good to have a few tips to help me make my fabric into a really nice set of curtains. Usually, I don’t have trouble playing it by ear when it comes to sewing things with my sewing machine, but I’m not quite sure about the seam allowance that I should use. It’s good to know that I should use a 1/2″ seam allowance on my machine as a guide. I’ll be sure to remember that as I’m making my curtains.
Great! Glad to help. For this type of curtain, the seam allowance is flexible. Just be sure to keep it the same throughout the project!
I’ll be sure to do that. Thanks for your help!
hi, these are great instructions. thank you! so the underside is just left as is…? My window is visible from street which I guess does not matter but just curious. thank you!
Yes. This tutorial is meant for beginners so I left off the lining. You could make another set with white muslin or curtain lining fabric and treat them as one layer at the top when you make the rod pocket.
Hi Sara,
Thanks. That is very helpful. I would have probably sewed them together. Thank you!!
Did you use 44-45″ fabric? Seems narrow
It’s home dec fabric, which is usually 56″. 44-45″ would work on a small window, but wider fabric is better 🙂