A few weeks ago I made a “Paris Skirt” with front hip pockets. I took photos along the way, but most of them were blurred. I had planned to sew up another one this week but was short about another 1/4 yd. of fabric for the pockets. So instead, I made illustrated instructions for adding pockets to (almost) any skirt! It’s really very easy once you understand the process.
(Some links may be affiliate links, which means I earn a small commission at no cost to you. Thanks!)
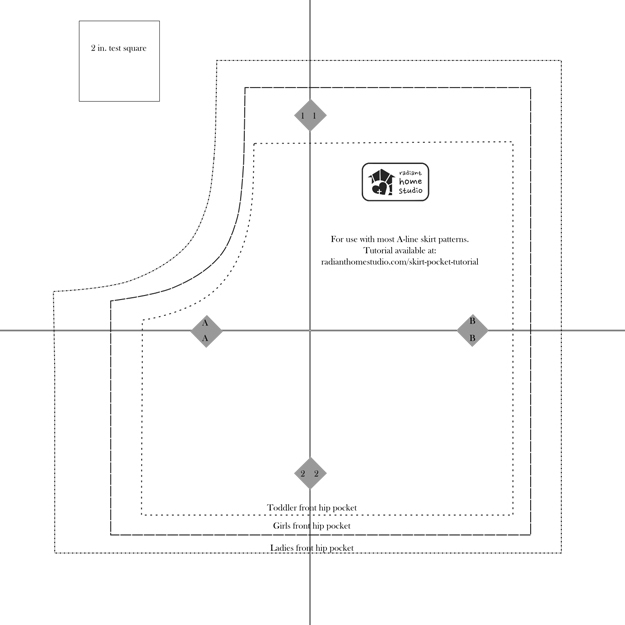
I also made a printable pocket pattern in 3 sizes! There’s one for toddlers, one for girls, and one for ladies. Just print out the pages and tape them together, matching the little arrows.
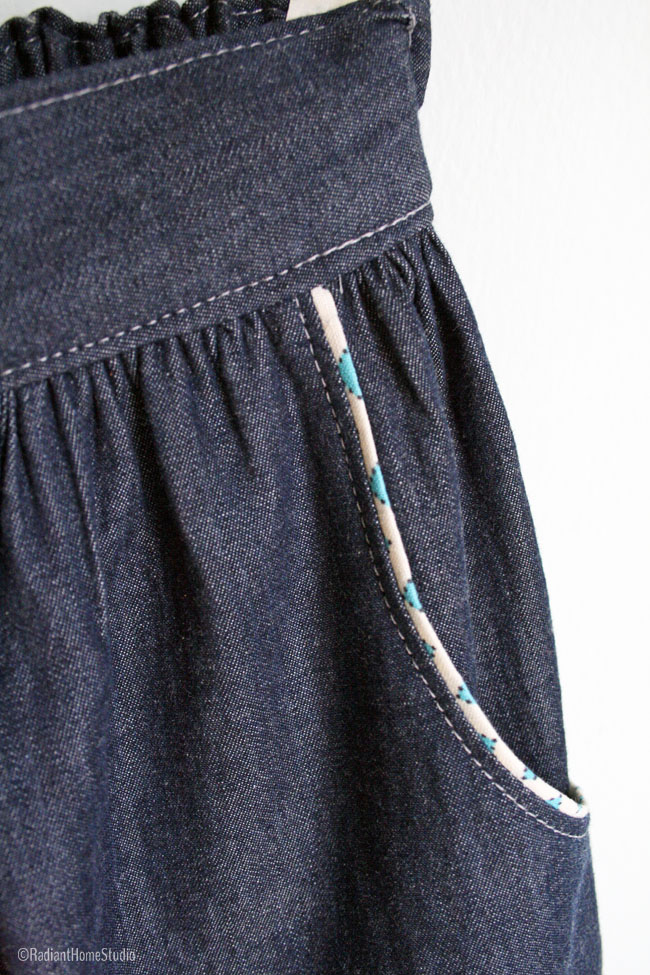
A simple gathered A-line skirt will work best with these pockets. I used the Paris Skirt Tutorial at Nothing Too Fancy. You could also try Gertie’s Gathered Skirt. Just look for something with a rectangular front and back piece, that is gathered and attached to a waistband.
If you want to add piping, you can make your own or buy some ready-made. Making your own offers more color and pattern options. If you don’t have a piping foot, you can use a zipper foot, or try this neat fusible product that allows you to create piping without any sewing!
And here’s the skirt pocket tutorial:
(you can pin this whole image!)

I have a couple of process pictures, just to help you visualize the construction if you’re one of those people that like to see things in 3D. These are near the end of the process.

In this photo, I have already stitched along the pocket curve, turned it right side out, and topstitched. You can see how the pocket piece is folded in half to form the inner part of the pocket and fill in the gap that I cut out in the beginning.
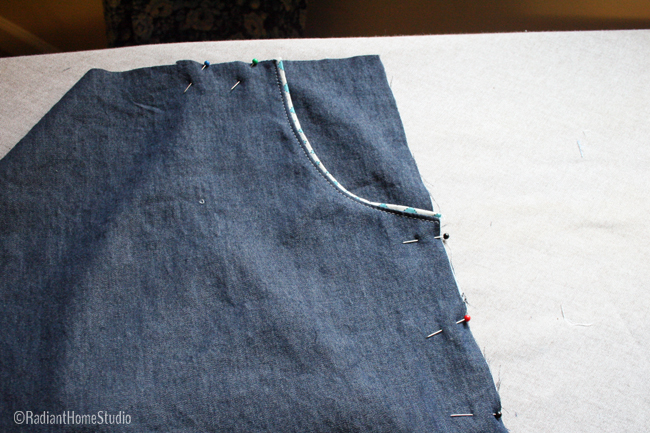
Here I have pinned along the sections that need to be basted together. Basting here helps hold everything in place during the rest of the skirt construction.
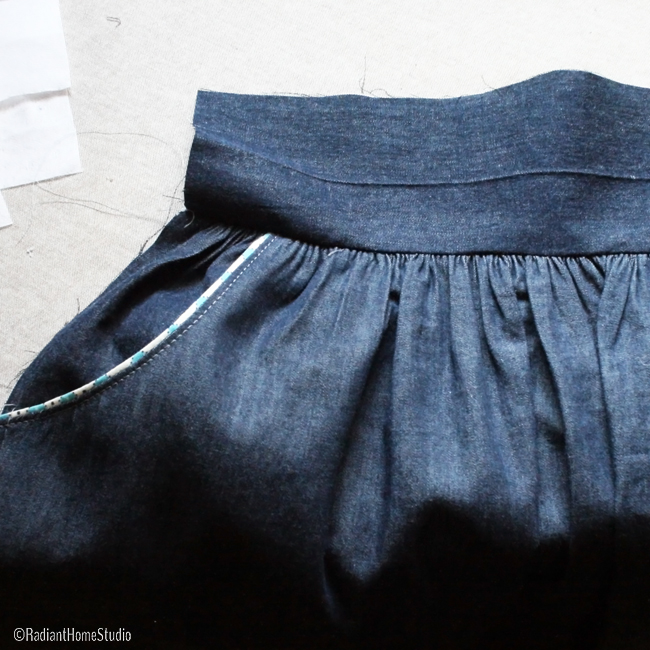
After the pocket pieces are added, you can follow the directions to assemble the rest of your skirt. I gathered along the top edge and stitched it to the waistband.
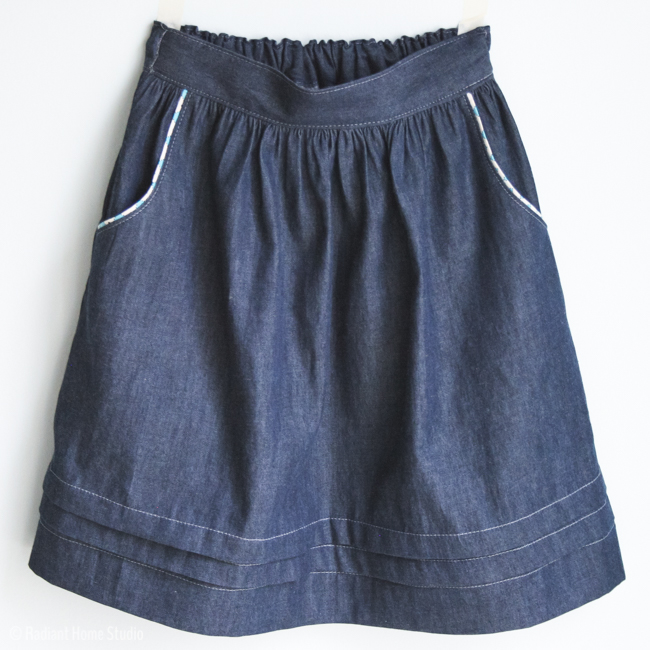
And…the finished skirt!
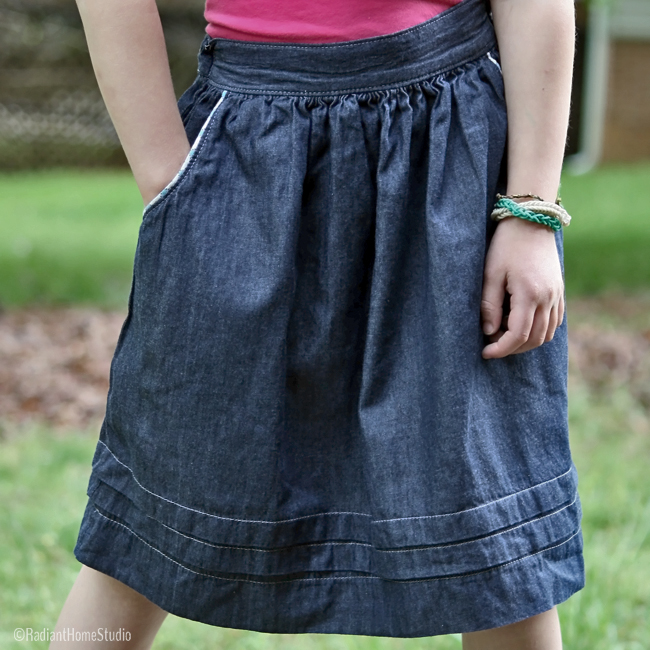
Please let me know if you use this tutorial! I’d love to see your finished skirt pockets!



Great tutorial and I truly loved your drawn instructions… it’s one of those things I always plan to add to my patterns and tutorials… but I’m too lazy to start… Do you use Illustrator?
Hugs from Italy,
MammaNene @ SergerPepper (now following you everywhere)
I use Inkscape…it’s free! And there are tons of tutorials out there. Most of the Illustrator tutorials work for Inkscape too. I’ve spent almost two years learning to use it well, but now I’m really enjoying designing my own fabric too! Thanks!
I use Inkscape a lot me too, from years… I draw posters and flyers for the swimming pool I work in my day-job 😉
Fun that I’ve never thought using it for my second occupation: patternmaking LOL
xox
You have a day job too!? How do you find the time? I’m home all day with the kids (not that it isn’t busy at home too), and work at nap time. You are a very busy lady 🙂
very detailed tutorial. I’ll use it next time I make my phus phus skirt. My daughter loves pockets. Who doesn’t 🙂
Great! Thanks for stopping by!
Oh pockets in skirts, how I love you… Thanks for the awesome and simple tutorial. Makes me want to run right home and get sewing!
Thanks! I’d love to see what you make!
Love the help. I am just starting the pockets but your website on this was super. I had a smaller size and needed to learn how to enlarge it so thank you so much,
You are welcome! Glad it was helpful!
Thanks a lot for this great tutorial. It seems very simple !
Glad to help!
Thanks for this great international tutorial. I’m from France 🙂 I referred to my blog.
http://auxquatreventsdeleguaa.overblog.com/le-tuto-de-la-petite-jupette
Thank you for sharing a link to the tutorial! Your skirt is lovely!
Please tell me about your piping. I’m still a beginner & would love a link to the type of piping technique you used. The other piping techniques make the piping look bigger than yours. Did you use rope with your piping?
Thanks!
Hi Claire,
The piping I used is flat piping. There is no cord inside the folded fabric. It is just a bias strip, folded in half. It’s very easy to make! I used it on a bag in this post. I think I made it wider on the bag, but you can adjust the width of your bias strip to make it as wide or narrow as you like. Just add it between fabrics in the seam, and make sure it is nice and straight. Then just sew your seam as usual. Hope that helps!
Sara
Hi Sara,
Thanks for sharing this tutorial .
I made this pocket with the paris skirt.
best regards
Awesome! Thanks for letting me know it was helpful!
Wow lovely tutorial. It’s very useful to me! My clients like me adding pockets to their dresses and it’s kind of a chore for me. But here it’s soo simple. Thanks.
You are welcome!