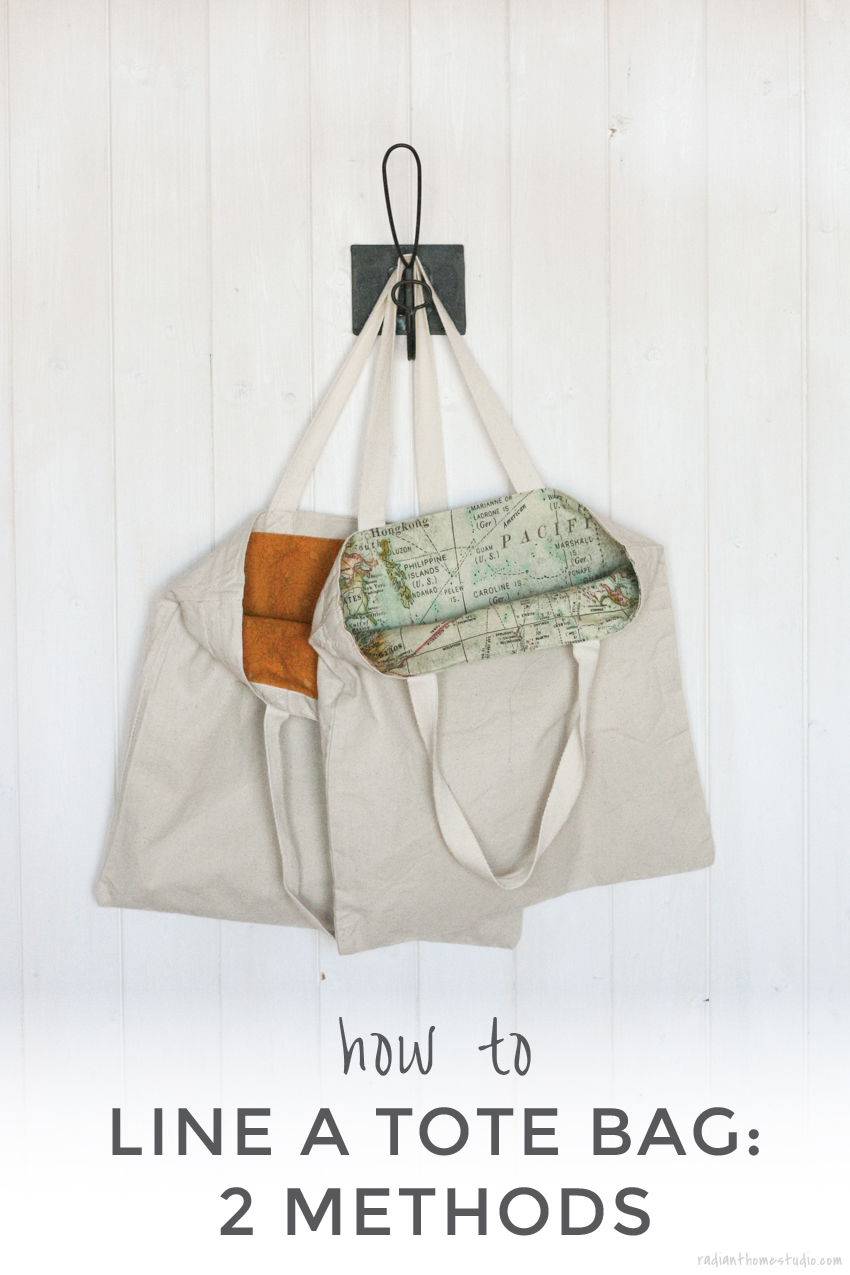
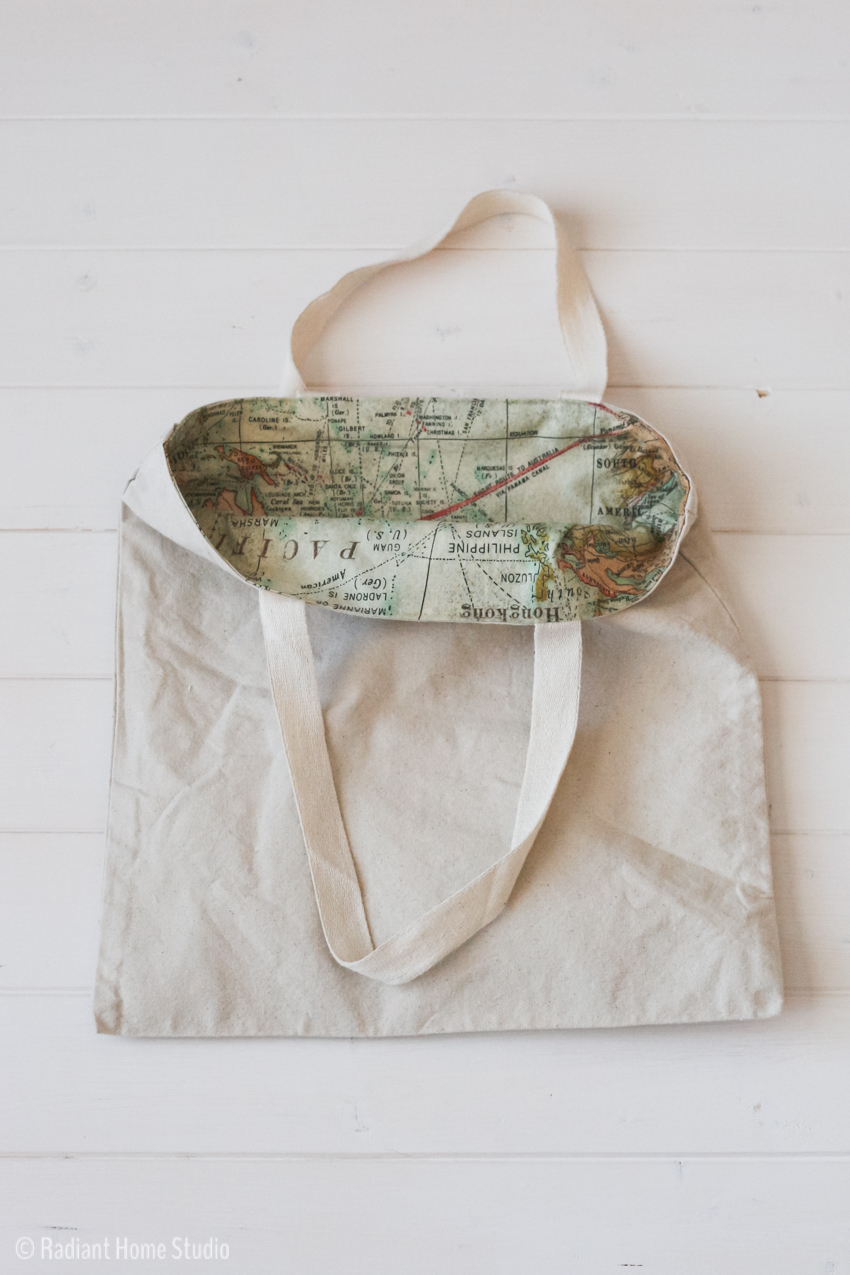
If you’ve been sewing for long, you’ve probably noticed that serious sewists don’t like raw edges showing! I’m going to show you how to add a lining to a tote bag to cover up those unfinished edges and add some color. These methods can be used for store-bought or promotional tote bags, or you can adapt the 2 lining methods to fit other basic bags you are sewing.
I have some fun tote bag upgrades coming in the next few weeks, meant to teach some basic bag-making skills. These lining instructions will give you some ideas for finishing the inside of the bag once you have added pockets or other details on the outside of your tote bag.
(This post contains affiliate links which means I earn a small commission when you purchase items through my links at no cost to you. Thanks!)
Though some of the upgrades I’m planning can be done without lining the bag, I do recommend adding a lining at the end of each bag makeover to cover the raw edges and interior stitching. Almost all bag patterns have a lining, so it’s a good skill to practice if you plan to make more bags, purses, and pouches. Later on, I’ll show you how to add various interior pockets to the lining before you attach it to the bag.
There are basically 2 methods for sewing a lining to your bag. The first method is to sew the lining, leaving a few inches open in the bottom. Then you attach the lining with the bag inside out and turn it to the right side through the hole in the lining. The second method is to sew the lining completely and attach the lining right side out by topstitching.
If that’s confusing…don’t worry! Just work through the photos step-by-step and you’ll see what I mean.
I prefer the first method, which can be slightly more complicated to understand spatially, but it usually produces a cleaner top edge (unless you are a master topstitcher!). Let’s break it down into easier steps…
Materials:
- a plain tote bag (you buy some in bulk here or reuse and update a promotional tote bag
- about 1/2 yd. of fabric
- thread to match the tote bag
- seam ripper
Lining a Tote Bag: Method 1 – Inside out

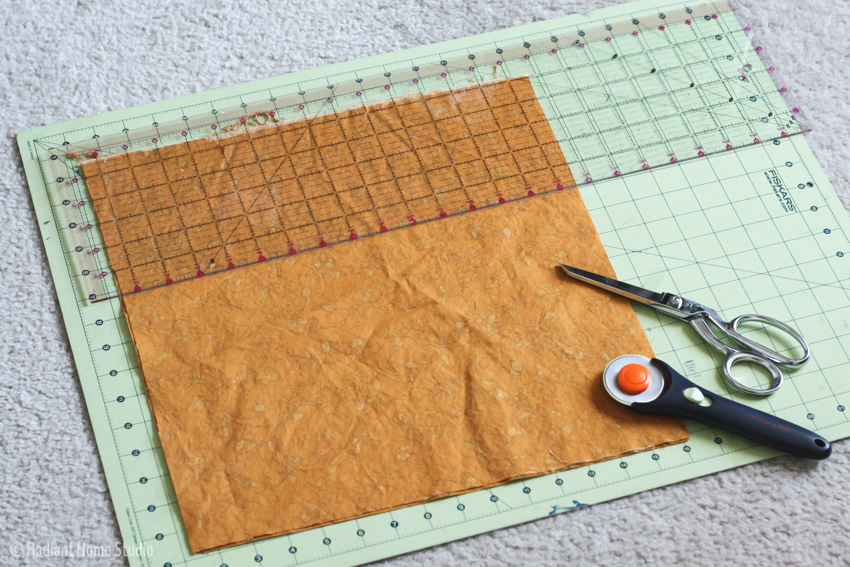
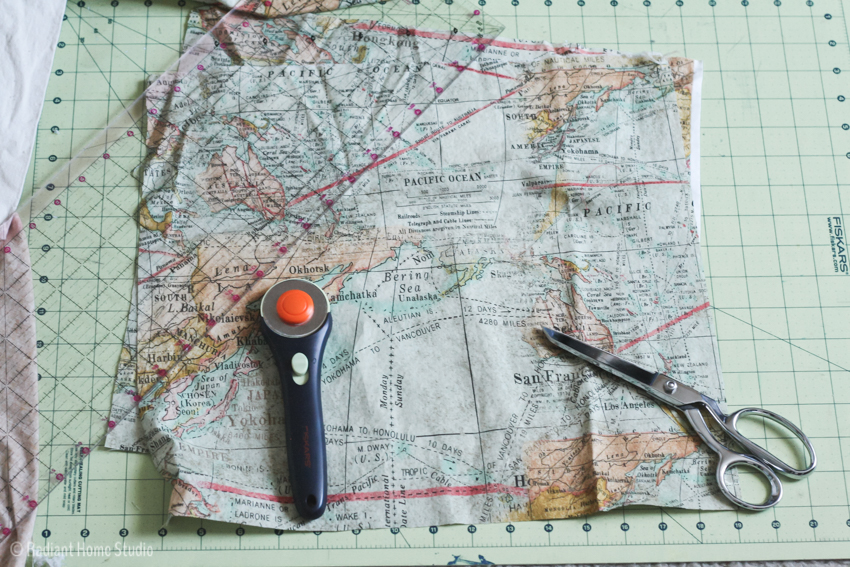
1. First, you need to calculate the size of your pieces. My bag is 14 1/2″ x 14 1/2″. I need to add 1/2″ seam allowances on the sides and bottom. The top edge will be stitched to the lower part of the fold and does not need extra seam allowance. So I cut my lining pieces 15 1/2″ by 15″. If your bag is a different size, measure the bag and add 1/2″ to each side and 1/2″ to the bottom.
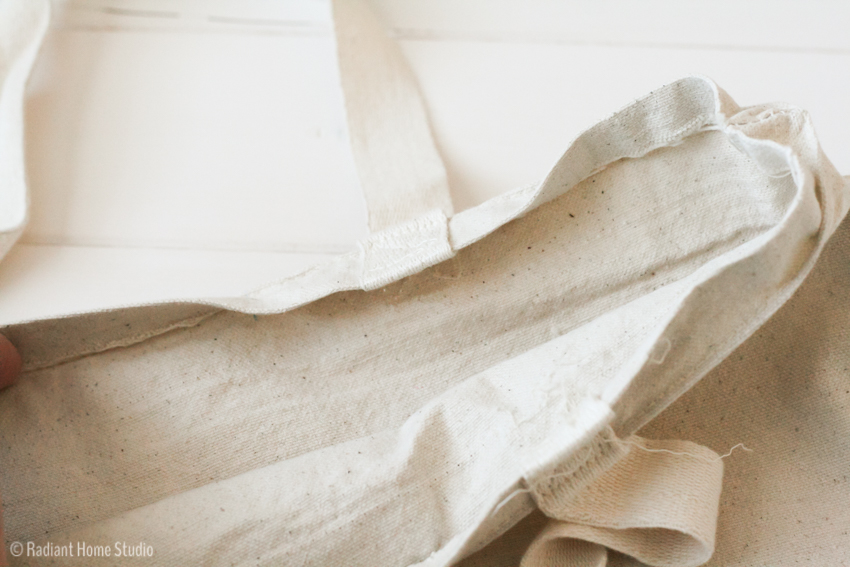
2. Use a seam ripper to pick out the lower row of stitching around the top of the bag. On my bags, I also picked out the “x” that was stitched across the handle.
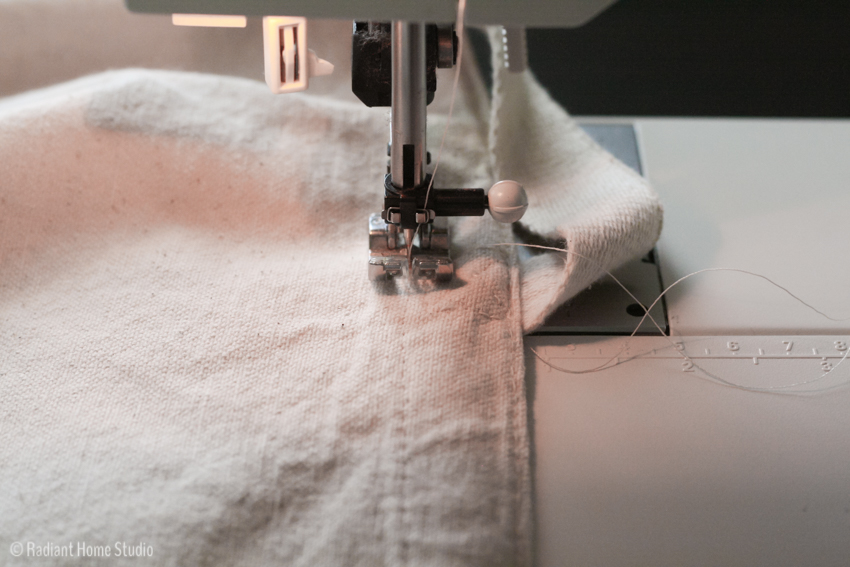
3. Place the lining rectangles right sides together. Stitch along both of the sides (15″ edges) with a 1/2″ seam allowance. Stitch along the bottom (one of the 15 1/2″ edges) leaving a 3-4″ opening in the center.
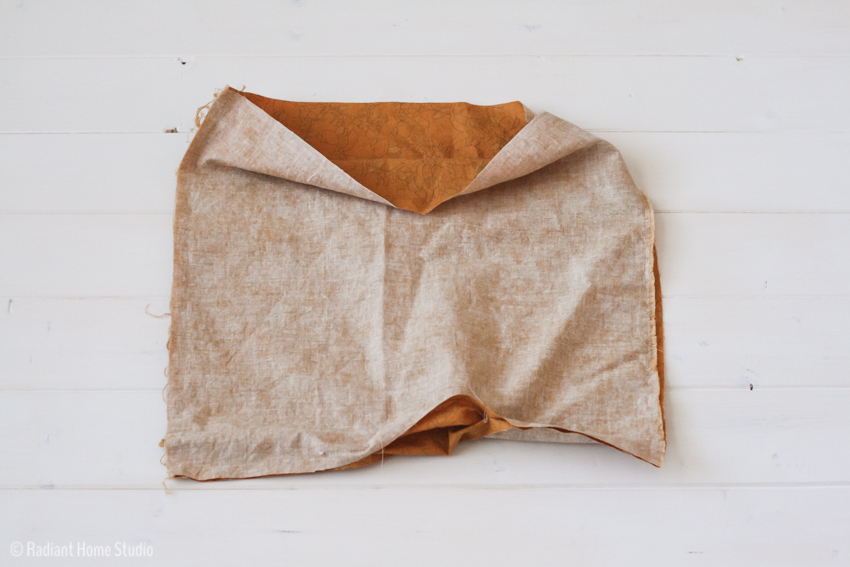
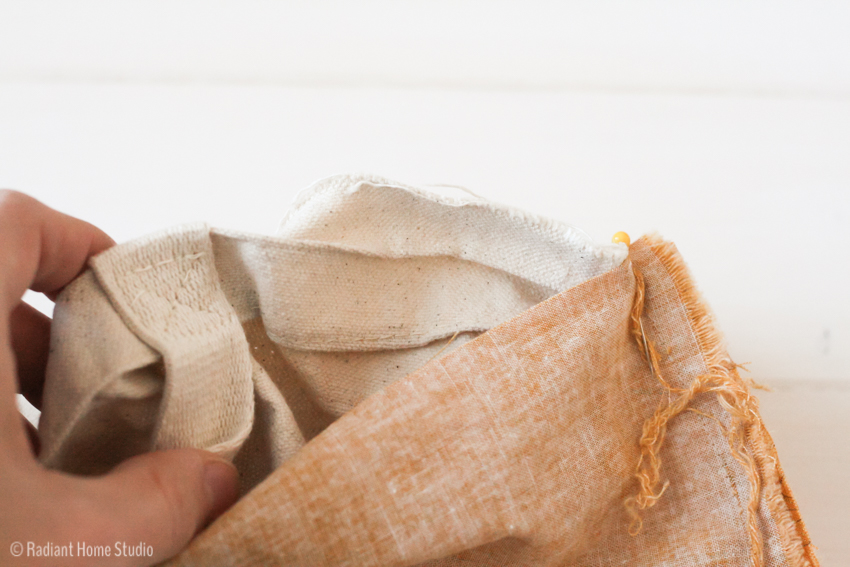
4. Slide the tote bag inside the lining so that the right sides of the fabric are facing each other. Tuck in the handles and align the side seams. Unfold the top edge of the tote bag and match the top of the lining to the top crease. Pin or clip it in place. (On my bag the seam allowance was uneven. You will be stitching on the uppermost crease, so measure the seam allowance from the crease and line up the fabric accordingly. Or trim around the top edge so that you have an even 1/2″ above the crease.)
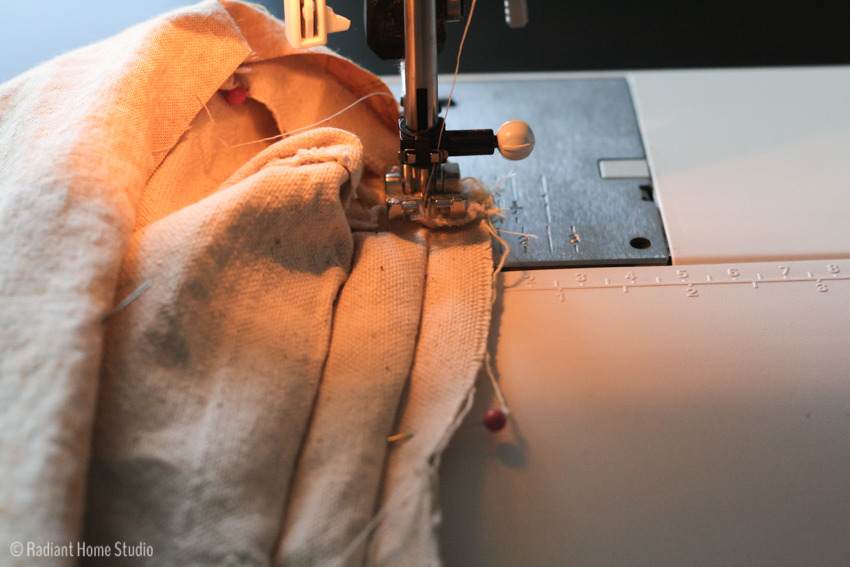
5. Use the uppermost crease as a guideline and stitch directly in the crease all the way around the top of the bag.

6. Reach through the hole in the bottom of the lining and turn the bag right side out.
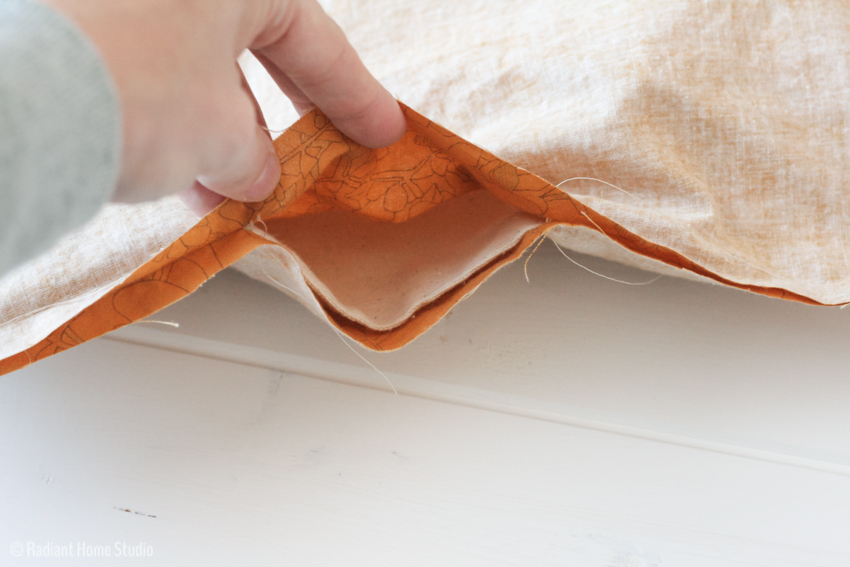
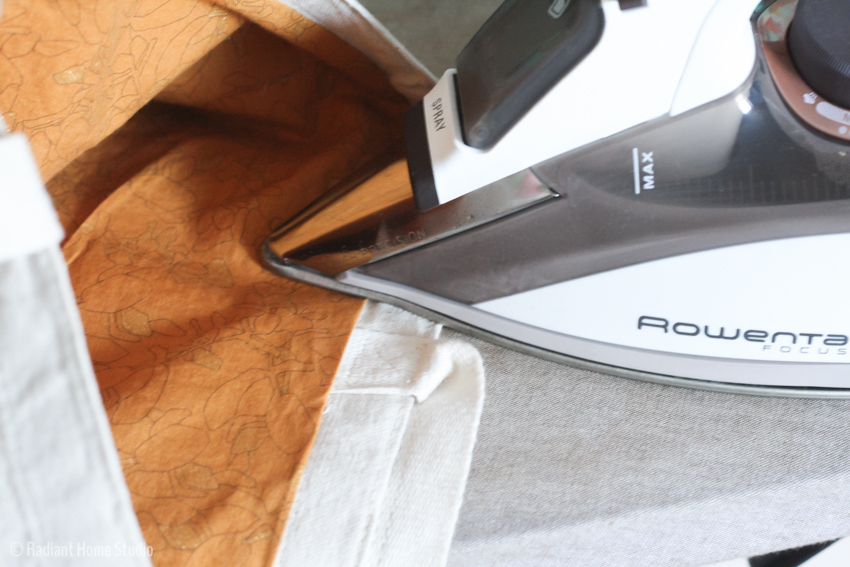
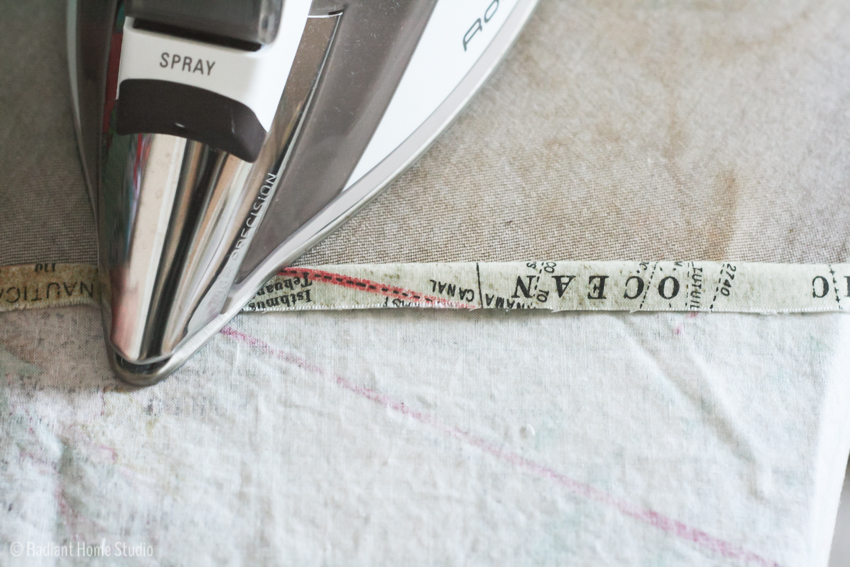
7. Tuck the lining into the bag and press the top fold back into place. (Here’s a link to iron I use!)
8. Topstitch along the bag where you removed the stitching in the beginning, including the “x’s” on the straps.
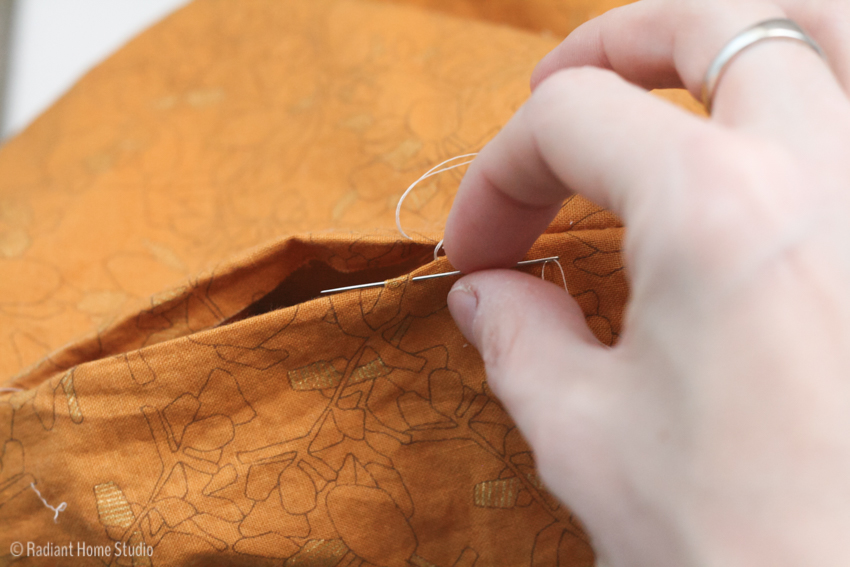
9. Hand-stitch the bottom section of the lining closed using a ladder stitch.
Lining a Tote Bag: Method 2 – Right side out
This is also called a “drop-in” lining because you just drop it in the bag and sew it shut around the top edge!
1. First, you need to calculate the size of your pieces. My bag is 14 1/2″ x 14 1/2″. I need to add 1/2″ seam allowances on all 4 sides. I cut my lining pieces 15 1/2″ by 15 1/2″. If your bag is a different size, measure your bag and add 1/2″ seam allowances to each side.
2. Place the lining pieces right sides together. Stitch along 3 of the sides with a 1/2″ seam allowance.

3. Press the raw edge under 1/2″.
4. Insert the lining into the tote bag. Align the top edges of the bag and lining and match the side seams. Pin and topstitch around the top line of stitching on the bag. You can also topstitch a second line 1″ below the first line of stitching (or wherever your second line of stitching is) if desired. (I used to use pins, but for drop-in linings and thick seams these sewing clips are so much easier!)
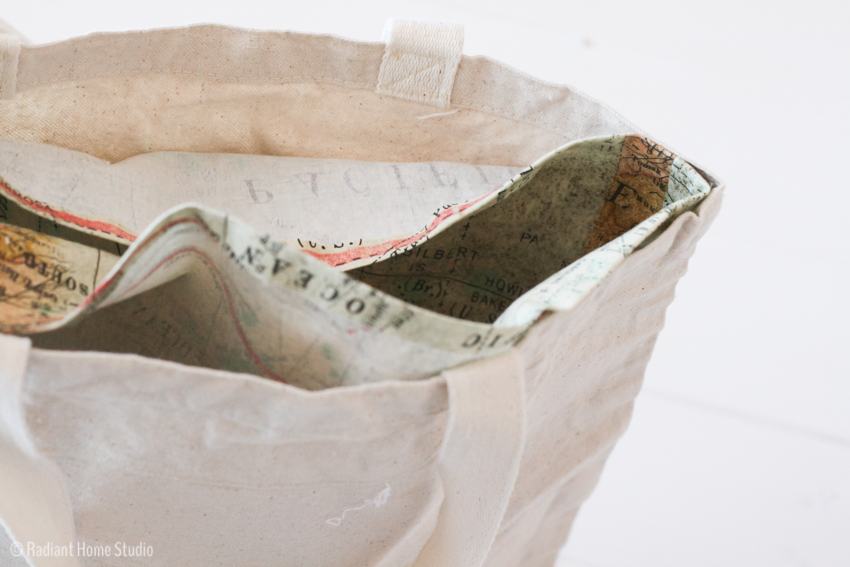

That’s it! Almost all bags are lined using one of these methods or some variation (like using bias binding on the right side out method). If you have a clear understanding of the 2 basic methods for lining a bag, pattern instructions will make a lot more sense!
If you are just learning to make bags, I encourage you to try both methods. You’ll find patterns with both techniques. Some bag styles don’t work well with one method or the other. For example, a highly structured bag with heavy interfacing might be difficult to turn inside out. So the right side out method works best. Practicing with simple rectangles will really help your spatial thought process when you work with more complicated shapes later on.
Not too hard, right?
Next, I’ll show you how to add a cargo pocket! You can  if you don’t want to miss any of the Tote Bag Upgrade posts.


This is such a great idea–adding a lining to a ready made bag. I don’t know why I never thought to do that (but now it gives me the opportunity to learn something new, right? It’s a really nice refresh!
I’m looking forward to the rest of this series! 🙂
Thanks Krista! Making a few simple changes to ready made tote bags is fun because it’s so quick! I think some of my other ideas would make great projects for people selling at craft fairs and things like that.
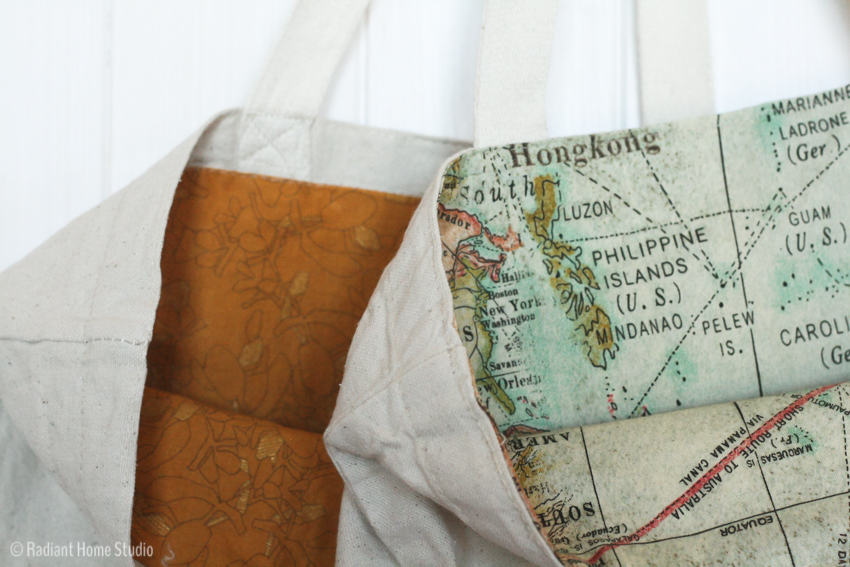
this is a great tutorial! very useful and I love that you use gorgeous fabrics as lining: totally my way of sewing!!
Thanks Sophie! I bought a few yards of the map fabric because I loved it so much 🙂
I used a shop bought tote upgrade/decoration technique at my 7yr olds birthday party. It worked really well – both in outcome and in keeping 12 kids happy/busy at once. I have thought about sharing it because good ideas for birthday ideas are always useful – and now I see your doing a series- great idea – perhaps you could have a link party at the end of your series?
I thought about offering a class to my daughter’s friends using something like this as well. I think a link party is an excellent idea! I thought about doing one each month, but I think that might be too much. Maybe quarterly? I’m definitely planning to do at least one, so I’ll let you know!
Great tutorial and a wonderful idea !!!
Thanks!
Sara, I so wish I had written this post. Great series and I love your site. I have added you to my Bloglovin feed and I posted this to my Facebook page. I would love to do this on my site and link back to your site. I don’t know how I found you but I am so glad I did!!!
Thank you Maria! Yes, you are welcome to make anything you want from the tutorials I share, as long as you share your own words and images. I appreciate a link back 🙂
This is a great tutorial! Very clearly written & the pictures really help! I’ve actually kind of done something similar by using an existing tote and instead of lining it with fabric, using it as the lining and sewing a cover using pretty fabric and just using the tote for its structural integrity if you will. I never thought to do a lining too. Some may call that overkill but I can’t think of a newer way to make use of all those ugly tote bags people seem to accumulate over time from various conferences or events. Thanks for the inspiration!
Yes, you could use the right side out method to make a new exterior for the bag too! Great idea!
I read of a third way yesterday and it was a wow moment. I planned to make my newest tote bag with that method and now I’ve forgotten how to do it and cannot find the tutorial. It was easier than the other methods and involved putting the bag and liner together so that the lining is the part pulled out, not the heavier exterior. Have you come across that method?
It seems like you could use the inside out method, but leave the opening in the bottom of the exterior. For the pre-made tote bags, you’d have to pick out the overlocked stitches, which would make a mess. But for a bag made from scratch, leaving the opening in the exterior would work. I think that when you hand stitch the opening shut, the stitches aren’t quite as neat as machine stitching. That is why we usually hide them on the inside. I hope you figured out a method that works for you!
I would like to add that I am spacially challenged and tried every way that I could think of today and none of my ideas worked. It’s a real handicap to be deficient in working while trying to visualize how things come together.
I’m going to stay with leaving a wide space at the top and pulling the exterior through the lining and then topstitch around the top. Thanks for your input.
I know I’m a year late, but I like your tutorial. I prefer the first method too, cleaner, less fuss. But, since I goofed and decorated my bag prematurely this time, I am considering the 2nd method so I minimize the chances of messing up my artwork. Thanks for the suggestion!
Awesome! Glad you can use the tutorial!
I just made my first bag with method 2. When I sewed all the way around and reached my starting point my outer bag had like half an inch extra length bunched up (I used a walking foot too). What did I do wrong and how would you have corrected this error to save your project? I suppose I could use my seam ripper to start over…
Whoops! Sounds like you need to recheck your measurements and seam allowances. Precision in measuring is really important when you do this type of lining. I would definitely take the seam ripper to it! That’s just part of sewing. It’s not ruined…just needs a few minutes of extra time. If you start sewing near one of the side seams, you can always stop and take one of the side seams in or out near the top of the bag to account for small discrepancies. I make mistakes like this all the time, so don’t feel bad. Even the most advanced sewists use their seam ripper on a regular basis 🙂