I love how a simple embroidery stitch can make a plain tote bag feel like a special gift. This tote bag upgrade is quick and easy, yet your friends will feel appreciated and loved when they see the care you put into to making a hand-stitched gift. (It makes a great gift, but you can definitely make one for yourself too!)
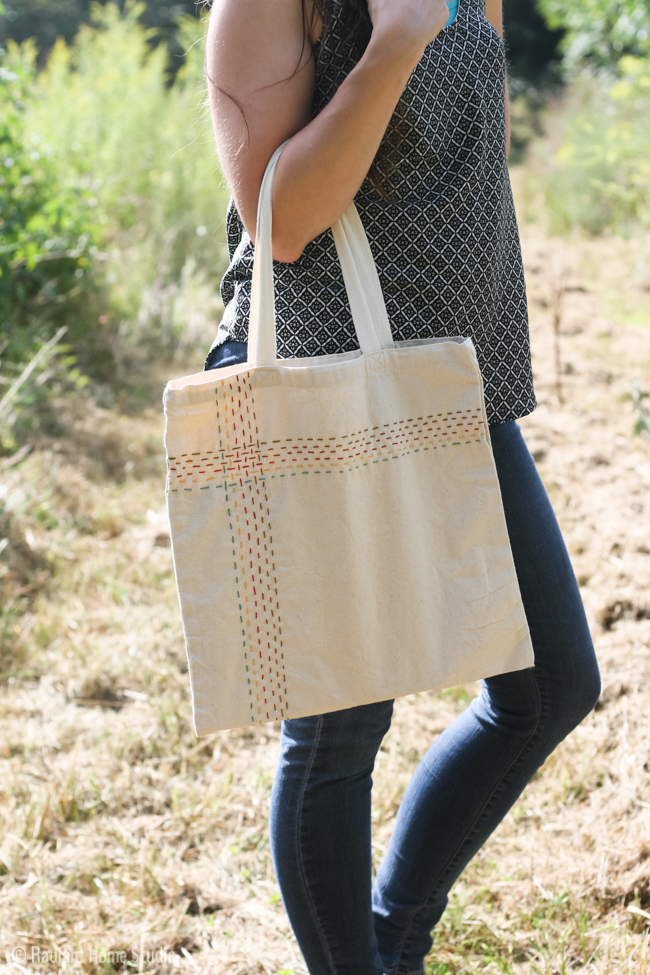
I chose autumn-colored embroidery floss, but any colors will look nice. I can imagine rainbow-colored stripes would be fun, or for a more subtle look, you could try an ombre effect.
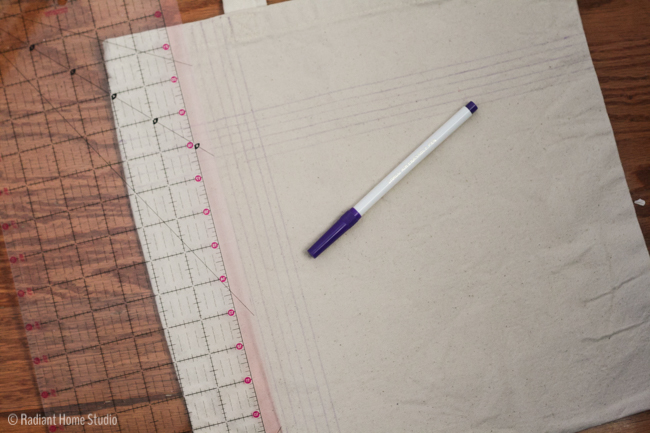
Materials (includes materials needed for pocket and straps):
• canvas tote bag
• 6 skeins of embroidery floss & embroidery needle
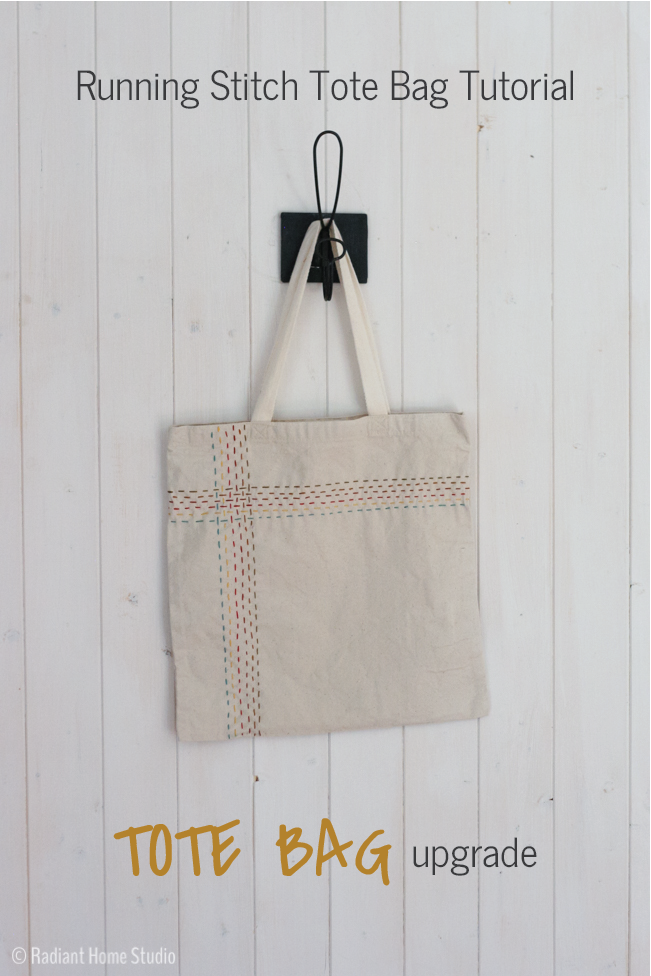
Autumn Running Stitch Tote Bag Tutorial:
Mark your bag using a water soluble fabric marker or chalk pencil. Starting at about 2″ from the side, make 6 vertical lines about 1/4″ apart. About 2″ from the top, make 6 horizontal lines about 1/4″ apart.
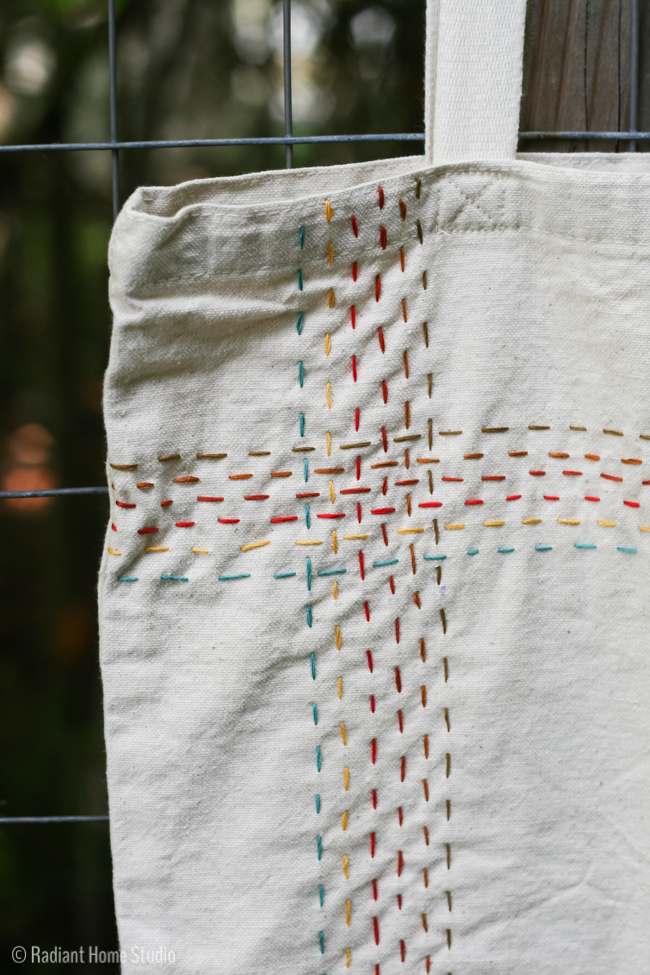
Organize your threads in the order desired and begin stitching across the lines.

You can make several stitches at a time if you use a long needle, as you can see in the photo below. (I used a sashiko needle, which is longer than a traditional embroidery needle.) Make the stitches about 1/4″ long with equal length spaces. You can eyeball the length or try Mollie’s method for neat, even stitches.

To get the stitches at the overlapping section to look interwoven, stitch under the first intersection, over the next, under the next, and so on, as though you are weaving. Start the second row of stitching so that is opposite the first. Push the needle down through the fabric where you went up on the first row. and start weaving under and over the intersections opposite the first row. It sounds complicated, but you’ll catch on easily if you study the photos closely!
When you stitch the perpendicular rows, just weave in and out of the open spaces.
I was able to stitch this in less than an hour. It’s very easy. If you are one of those people that like to keep your hands busy during a movie or in the car, this is a great project for idle hands. It could also be a fun project for kids that are learning to embroider. Wonky looking stitches will just add character. (See my comments regarding crooked stitches on the Kantha tote bag pocket post!)
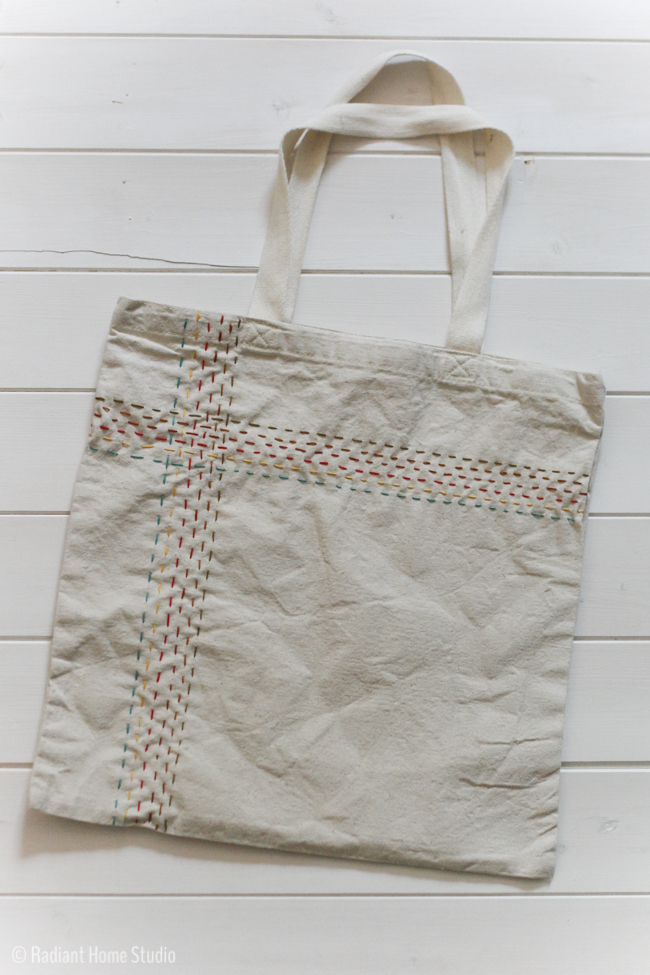
I’m hoping to add some leather straps to this bag, so watch for another tote bag upgrade tutorial for adding leather straps with rivets! And if you would like to add a lining, check out this post.


This is very simple, but so effective! I love the design and I will definitely make one for myself:) Have a nice day, Sophia
http://www.littlesewingmachine.blogspot.de
Thank you Sophia!