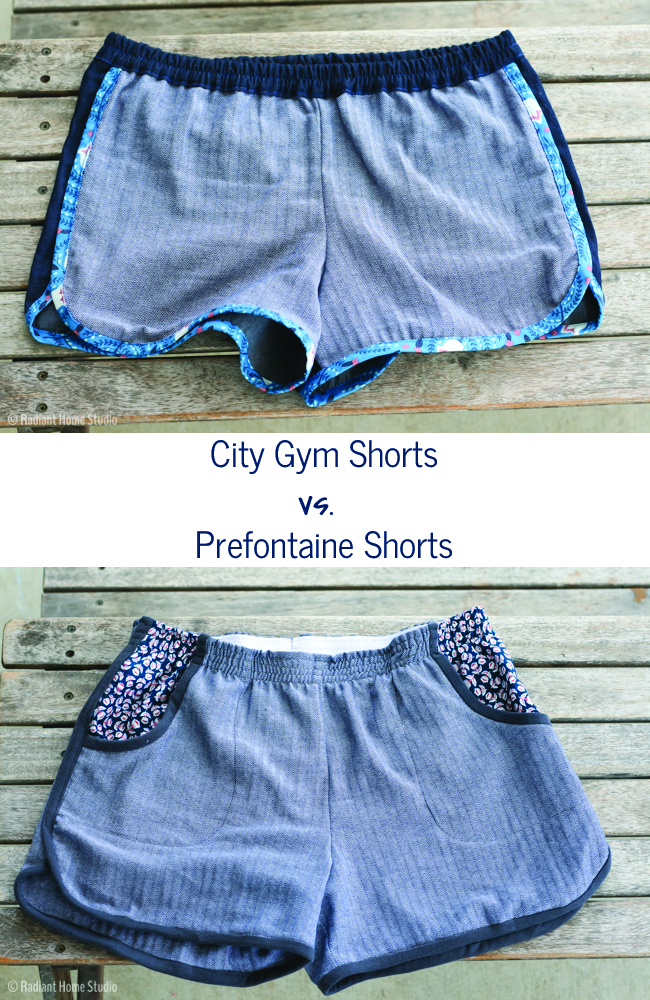
Is anyone ready for shorts weather? I got the Prefontaine Shorts pattern from Made with Moxie last summer and didn’t get a chance to make them. Around the same time, Purl Soho released a free shorts pattern, the City Gym Shorts, which had a similar shape.
(This post contains affiliate links, which means I make a small commission at no cost to you. Thanks!)
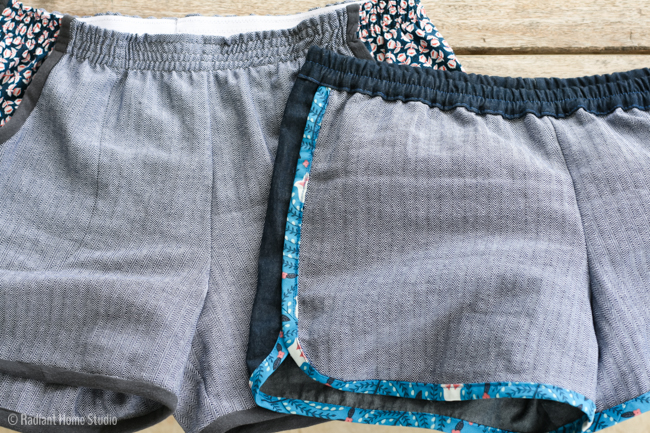
Let’s compare: City Gym Shorts vs. Prefontaine Shorts!
First Impressions:
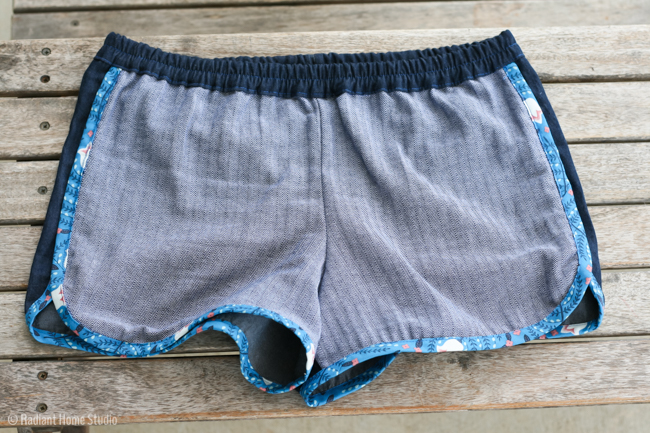
The City Gym Shorts look cute and comfortable. Though they are basic, I like projects that can be made quickly and easily. My impression was that they would make great pajama shorts or loungewear, but probably not something I would wear out of the house.
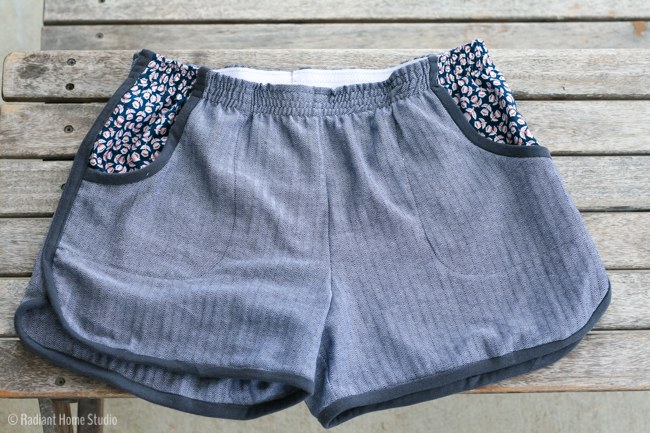
The Prefontaine Shorts have a really attractive and professionally designed instruction booklet. Looking through the directions, I saw lots of extra details and tips that made me excited to learn something new. I love the pocket details and inseam options. With the right fabric, these shorts could be worn in public. I think the pocket details make the shorts look more finished and ready to wear in public.
Printing and Pattern Pieces:
I started with the City Gym Shorts. The pattern pieces are downloadable and the instructions are on the Purl Soho blog. I had no problem printing the pages I needed, but putting it together was a little tricky since it was not organized in a typical grid fashion. You have to cut out the pieces and then tape them together according to the matching symbols. It’s not hard, but I find the grid style pattern pieces to be easier and faster to put together.
The Prefontaine Shorts pattern is easy to print and assemble. I was able to put the grid together without trimming the pages first. There are a few more pages to print than with the City Gym Shorts due to the added details and pocket pieces. As you can see, it also includes details like grainlines, notches, and shortening lines.
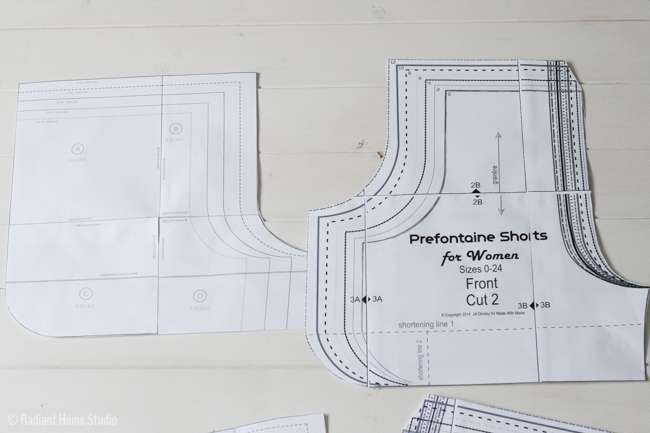
When I compared the pieces, the City Gym Shorts were really square compared to the Prefontaine Shorts. My thought was that the Prefontaine Shorts would probably have a better fit for a curvy woman. In the end, it was had to tell the difference on me. It may be something to keep in mind if you have a curvier figure.
Sizing and Fit:
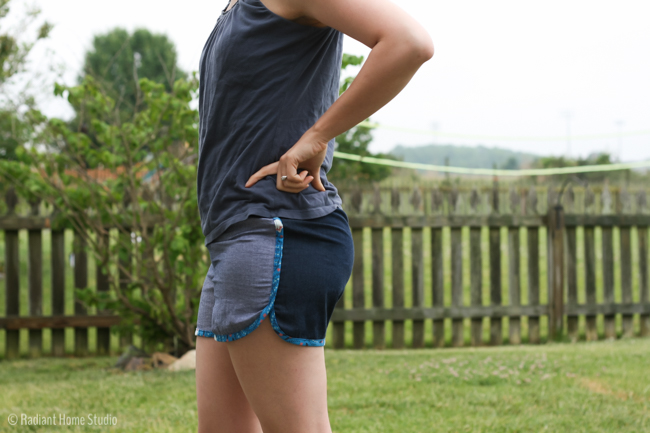
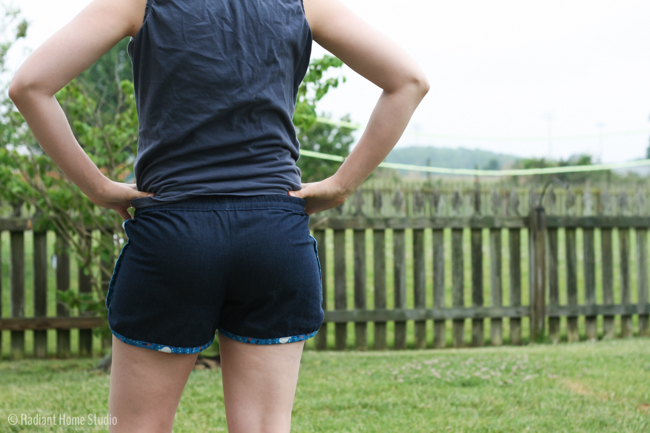
The City Gym Shorts pattern comes in children’s sizes, and then women’s sizes XS-XL. I had a little bit of trouble deciding what size City Gym Shorts to make. My hips measure just under 38″, but I chose to make a size small (35″-37″) and use smaller seam allowances. In all honesty, I have no idea if these are the finished measurements or hip measurements. The finished measurement on my shorts with the smaller seam allowances is 38″. If I had made them as directed, it would have been 37″. It would be helpful if the measurements were more clearly labeled as the finished hip size or body measurements. Some of the finished City Gym Shorts I’ve seen looked loose, and being on the small side of the medium size I thought my plan would work. Unfortunately, they are too small. You can see from my photos that the fabric is pulling across the hips.
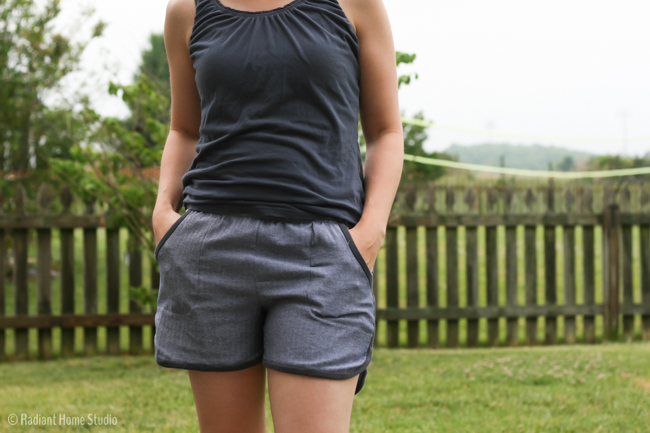
The Prefontaine Shorts have a very large range of sizes from 0-24. (it comes in children’s sizes too, but that is a separate pattern purchase.)The size 24 is at least 10″ larger than the XL City Gym Shorts. Jill clearly lists the finished hip measurements. I was right on the border again, but after ending up with too-tight City Gym Shorts, I decided to round up to a size 4. The hip measurement seems right, but the waist is a little loose and the inseam a little lower than I would like. The waist issue could be because of the length of my elastic or because I placed the pockets incorrectly. I’m not really sure. You can also choose between 2 lengths. I made the longer ones, since I planned to post photos. I think for pajama shorts, I would make a shorter length next time.
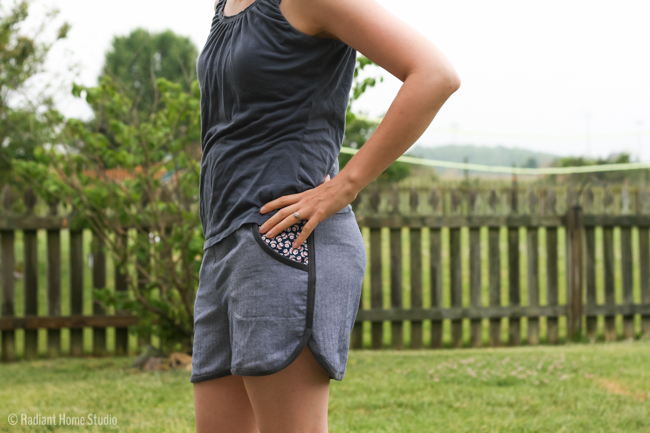
I’m not entirely happy with the fit of either of the shorts. Since they are both “wearable muslins,” they’ll be perfect as pajama shorts. I need to work on the fit before I make either of them again though.
Instructions:
The City Gym Shorts instructions are on the blog, which makes it slightly difficult if you want to print your directions. All of the directions are clearly illustrated with nice photos. The written directions seemed clear and helpful.
The Prefontaine Shorts pattern has much more detailed instructions. There are tips for choosing fabrics, washing the fabrics, choosing the size. and choosing the type of waistband. Jill also includes directions for making binding out of an old t-shirt (which is what I did). It’s a great way to repurpose old clothes and it’s a skill you can use for another project. You can also learn to make a welt pocket and add a binding. Plus, there are pictures of every detail you might need to see. All of these would be helpful for a beginner or for someone looking to expand their sewing skills.
The binding method was different for each of these patterns. I preferred the method on the Prefontaine Shorts pattern. It produced a more even look at the end and took a little bit less concentration to sew. Plus, the knit binding is soft and comfortable.
Fabrics:
I used a lightweight denim and some herringbone chambray on the City Gym Shorts. The weight of the denim is perfect, but the chambray is a bit too light to be worn in public. It would be perfect for a blouse, but it’s not heavy enough for bottoms. And it’s the reason I haven’t included pictures of the front on me. The binding is quilting cotton.
I used the same herringbone chambray on the Prefontaine Shorts. Again, they are fine as pajamas, but I won’t wear them out. I used quilting cotton for the pockets and used an old t-shirt as binding.
Things I Would Change:
Next time I make the City Gym Shorts, I will go up a size. I may use the binding method from the Prefontaine Shorts to get a nicer finish on the edge. Most likely, I will add pockets as well. Hip pockets are easy to add (see my pocket tutorial). All garments should have pockets, right? I also added a second line of stitching around the waistband to keep it from twisting. I will definitely do that again on future pairs of shorts.
On the Prefontaine Shorts, I want to add a pocket lining piece. I don’t really want to see the wrong side of my fabric in the pocket. It’s certainly not necessary, but I think it looks more finished that way. Only the wearer would ever notice though. I mentioned that the waist seemed big, possibly because of the pocket placement. The instructions said to line up the sides, but I think it would have been helpful to have a notch to help align the pocket piece correctly. When I saw that my front waist was larger than the back waist, I trimmed 1/2″ off each side of the pocket. It’s possible that I still didn’t get it quite right. I prefer the encased elastic, but I wanted to try the option that was different than the City Gym Shorts. Next time I’ll make it with the casing.
So, City Gym Shorts vs. Prefontaine Shorts – Final thoughts:
The City Gym Shorts pattern is great for a free pattern. It’s a good basic pattern that is good for a beginner to try with no risk, or for an experienced seamstress to use and modify.
The Prefontaine Shorts pattern is definitely worth buying if you want more detailed instructions and professional finishing tips. You get detailed directions for front and back pockets and a better binding technique. If you need plus size shorts, you’ll be thankful for the range of sizes included in the pattern. And if you are looking to sell shorts at craft fairs or in your Etsy shop, Jill has given you permission to do so.
I hope this comparison helps you decide which shorts to make this summer!
Update: I also made this pair of Prefontaine Shorts!


Thank you. This was very helpful!!!
A great and honest comparison. The waist and hips of the Prefontaines are fairly easy to adjust to you body, too. I cut my front waistband down to a lower rise for my comfort. Also, the Prefontaines are designed for a roomier fit, so if you want room sleep shorts and are between sizes, go up. If you want regular shorts go down.
Thanks for the review. I’ll be sharing this this weekend.
I think that’s what I’m going to do. The inseam was just a little lower than I like, but it’s perfect with the waistband rolled down once. I’ll just move it down an inch next time. I’m definitely going to get some fabric that is better for shorts and try again. I may grade down to a size 2 waist with the size 4 hips as well. Your directions and extra tips are really excellent though, so I can definitely recommend your pattern to anyone looking for shorts!
I made shorts last year with that herringbone chambray too and they’re definitely not holding up well in the seat! I need to make some for this year though.
Yeah. I think it would work well if it was doubled up. It wouldn’t be too difficult to add another layer. I thought about doing it this time, but I wanted to follow the patterns exactly so I could write a better review. I bet we could find some heavier weight chambray that has a similar look.
I sorta hate shorts but this is a great review! I hadn’t thought of using old t-shirts as binding, that is clever.
Thanks for the nice review. I’ve been debating in my mind which to make (for pj’s). I’m working on a pattern from Colette patterns for going-out shorts, but they are definitely a bit more work than I think either of these would be!
Both of these are quick to make and perfect for pajama shorts! And they are definitely less work than the Colette shorts. I’m a pocket lover, even for pajamas, so I tend towards making the Prefontaines. Either one would be great for loungewear though.
Hi there! Just made the Gym Shorts and found this post via Google. I had the exact same problem you had where I’m a smallish medium with 37 inch hips. The waistband fit fine, but the pants weren’t wide enough. To make mine more wearable/comfortable, I ended up ripping out the side seam stitching to the waist and adding in a triangle of fabric like a gusset. It worked pretty well. Thanks for the great comparison review!
Thanks for the suggestion Sonia! I saw a picture of someone else’s shorts with that fix and thought about doing that. Taking out the side seam is a pretty quick fix and doesn’t require fixing the binding either. Glad you stopped by!
Thanks for the amazing review!
Thanks! Hope it helps you choose the right pattern 🙂
Glad to find this! I saw someone wearing Prefontaine shorts this weekend and wondered about the differences in the City Gym short.
Thank you!
Glad to help!