For the past few weeks, I’ve been experimenting with embroidery using small strips of fabric instead of thread. I saw a beautiful pillow at a home decorating store while I was browsing a few weeks ago that inspired me to try something like this. As usual, my first thought when I saw it was, “Hey, I could make that!”
And as usual, it’s never quite as easy as I think it will be. So now that I have figured out the right technique and few tricks, I wanted to share with you all!

My first attempt, using french knots, was unsuccessful. I tried dozens of knots, but they just pulled through every time. So I set it aside while we moved and found it again as I was organizing my studio. I knew there had to be a way to make it work, so I looked up some other embroidery knots to try.
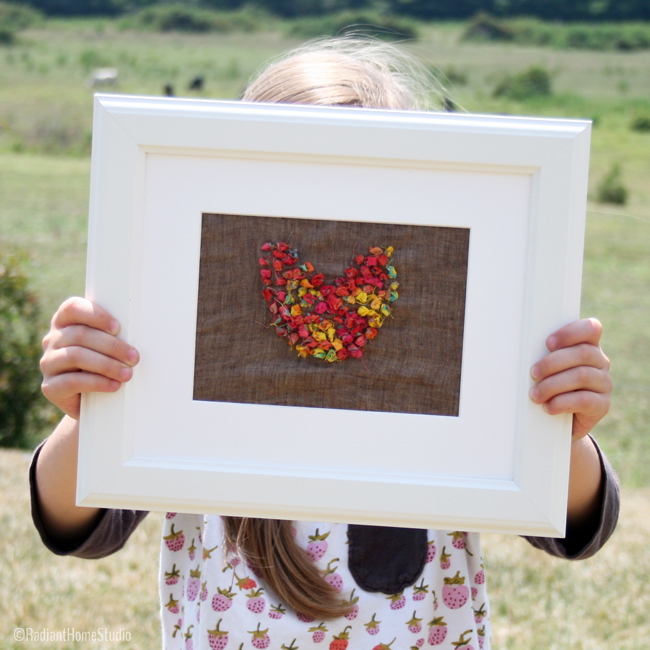
I found that a Colonial knot (or “figure 8 knot”) worked perfectly! I have plans to make a larger project, like the pillow that inspired this technique, but for now, I wanted to share this pretty little wall hanging. You could also use the same heart pattern to embellish a pincushion, a small zipper pouch, or even a blouse.
It’s a simple, modern embroidery technique that you can use for home decor, art, or apparel!
Fabric Scrap Embroidery – Heart Wall Art Tutorial:
Materials:
• 1/4 yd. of linen (choose something loosely woven)
• embroidery needle with a large eye
• colored fabric scraps
• chalk or water soluble marker
Instructions:
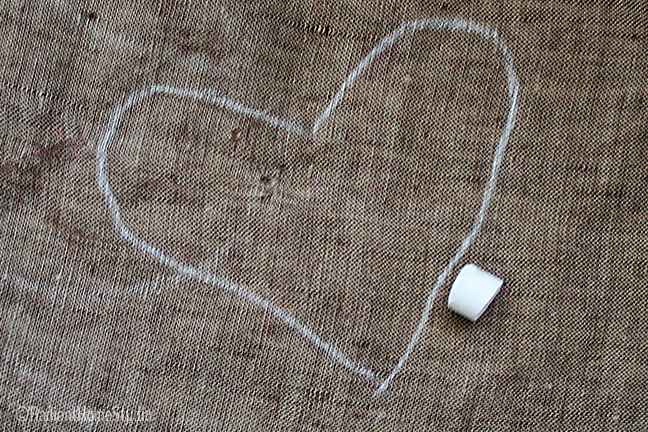
1) Draw a heart (or any shape you would like) onto your linen fabric. You can use a stencil or just freehand something.
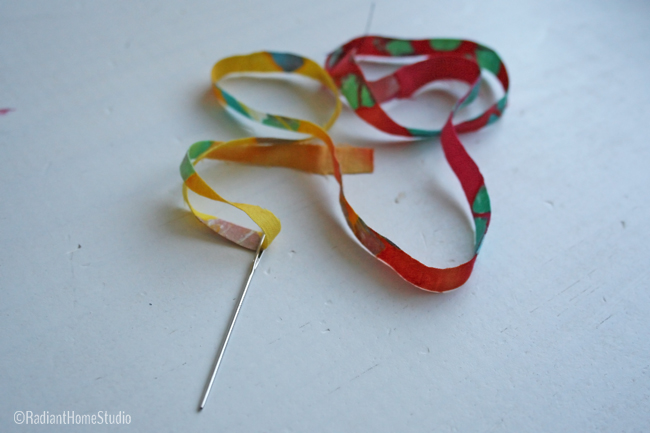
2) Cut several strips of cotton fabric to use as thread (I used a bright cotton batik). They should be 1/4 in. wide or slightly less, cut with the grain or crosswise. Bias strips stretch and break, so avoid cutting on the bias if you can. They do not have to be perfectly straight and fraying is fine (in fact, I think a little messiness is better!). You can use any length. Short pieces are fine if you want to use up scraps. Longer pieces can get tangled more easily, but anything between 6-20 in. should work. The best part is that you can even use the ugly fabric for this. The print won’t show; just the color!
3) Start by outlining the shape with knots and then fill in the middle as densely as you would like.
To make the knot, first, make a hook with the fabric thread. Put your needle under the hook.
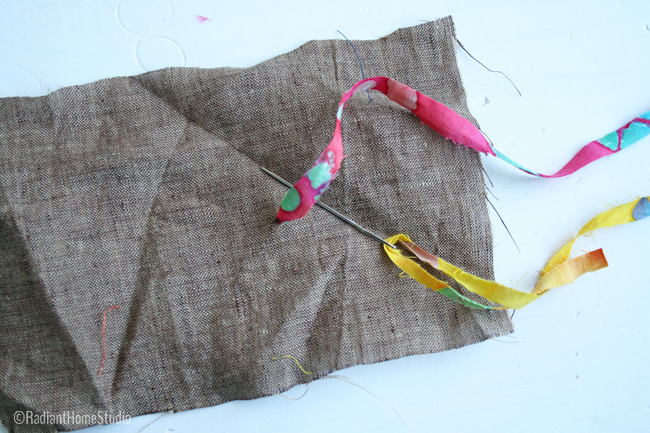
Reach under the needle and pull the thread under your needle-holding hand.
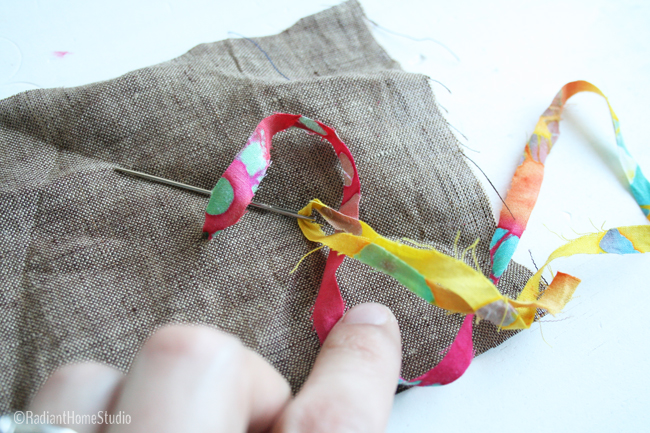
Wrap it upward, over the top of the needle and around.

And pull tight…
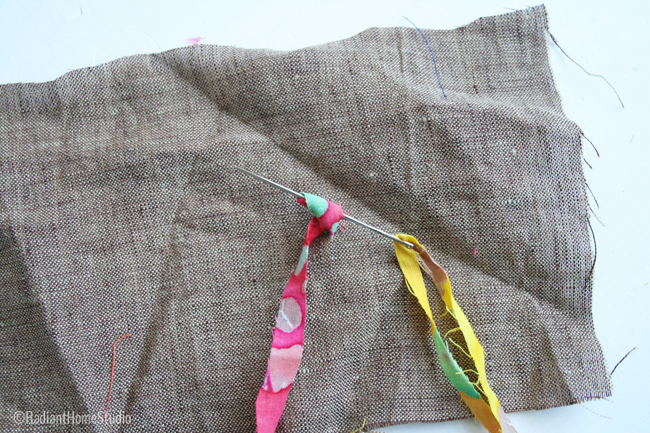
Stick the needle back down through the hole and pull it through.
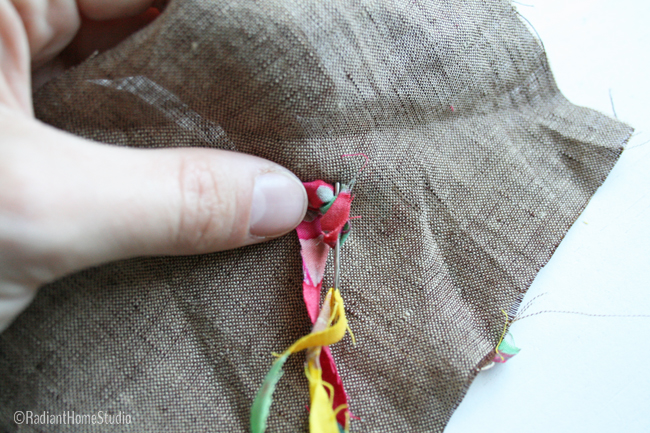
You may need to use your free hand to wiggle the knot loops over the eye of the needle. For more help, you can see how to make a colonial knot with embroidery floss in this tutorial.
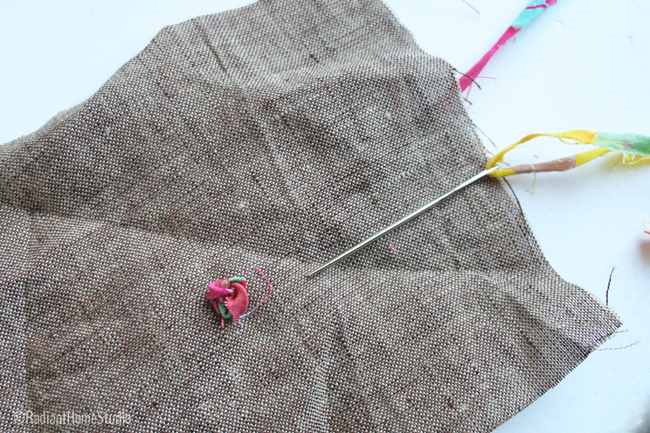

That’s it! Once you figure out how to make the knot, you can stitch any shapes you like. Try white linen with blue fabric thread for a beachy look or brown linen and cream fabric for a natural look.
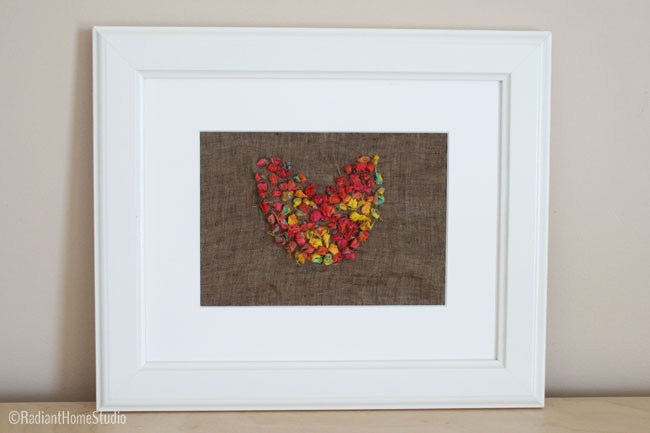
I ‘m planning some more projects using this modern embroidery technique…
What do you want to make with fabric scrap embroidery?


Such a beautiful piece! I can see this done for a nursery but spelling out the baby’s name instead of shapes!
Great idea! This would make an excellent baby gift!