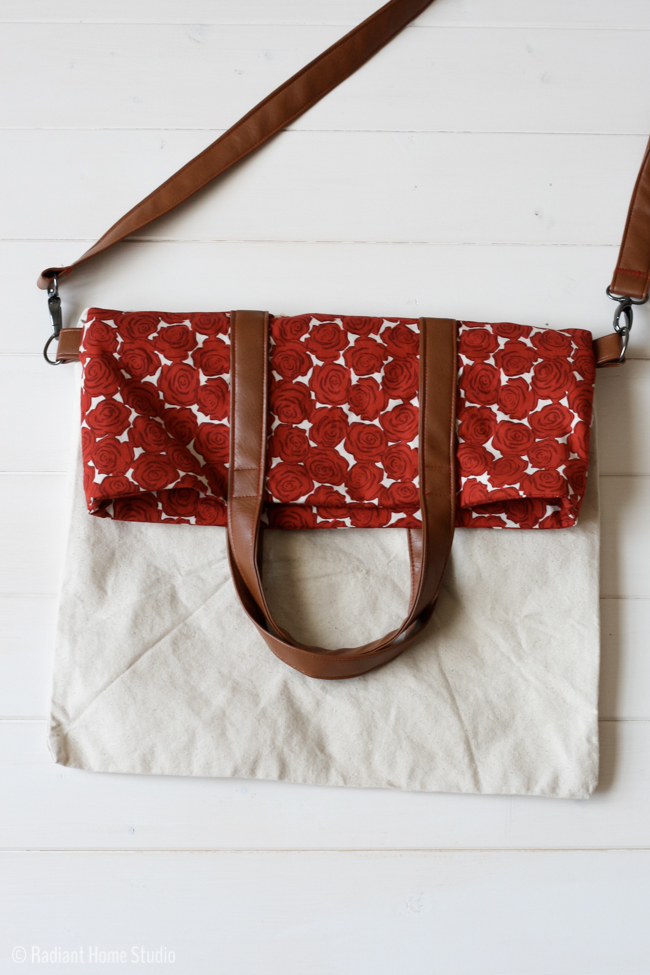
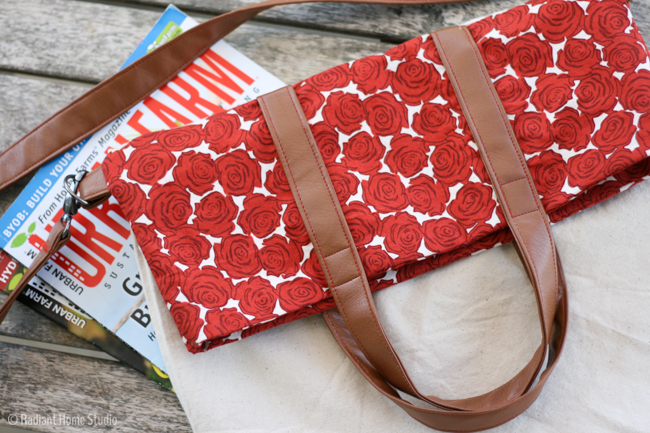
This tote bag upgrade is my favorite so far! I love the look of fold over totes, like my Retro Rucksack. With this tote bag upgrade tutorial, you can make a simple fold-over tote with a shoulder strap.
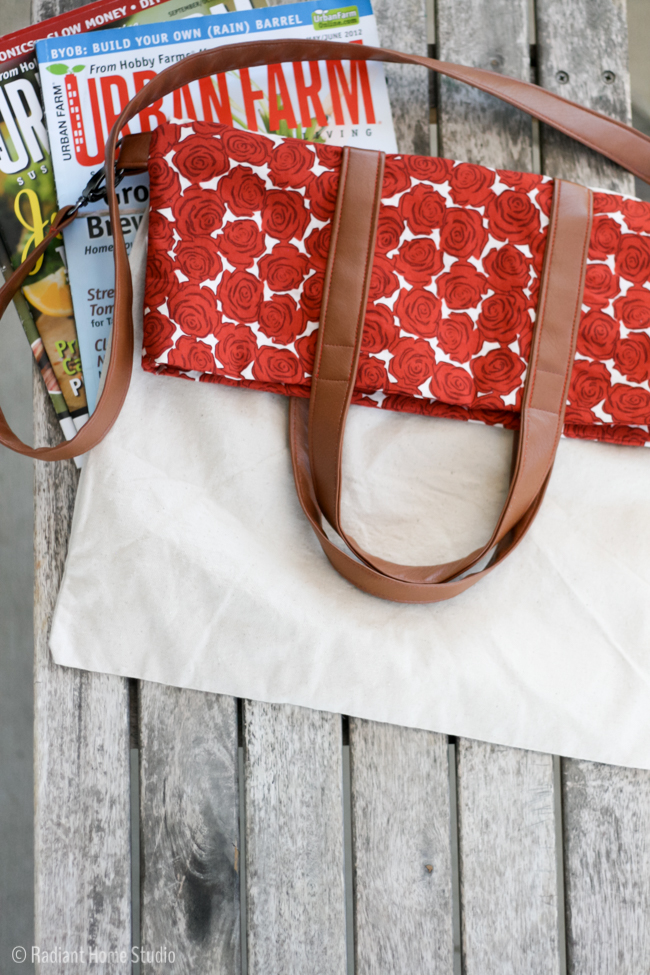
I think the plain canvas bag is totally transformed with this upgrade. Faux leather accents, modern fabric, and simple hardware change the tote bag from boring to something you will want to carry every day! If you like repurposing things, try using an old belt for the strap. Without further ado (and because I took a lot of photos)…the Fold Over Tote Tutorial!
TOTE BAGE UPGRADE:
Materials:
• canvas tote bag
• 1/2 yd. quilting cotton or mid-weight canvas
• 1/3 yd. fabric for handles and strap (or substitute 2 yds. webbing)
• 2 d-rings size 1″
• 2 metal clips size 1″
• mid-weight fusible interfacing (I used Pellon 931.)
Preparation:
• cut 4 rectangles (width of your bag + 1″ x 7″) from quilting cotton for the bag top
• cut 2 rectangles (4″ x 3″) from strap fabric
• cut 2 rectangles (4″ x 24″) from strap fabric
• cut 1 rectangle (4″ x 36″) from strap fabric
Fold-Over Tote Tutorial:
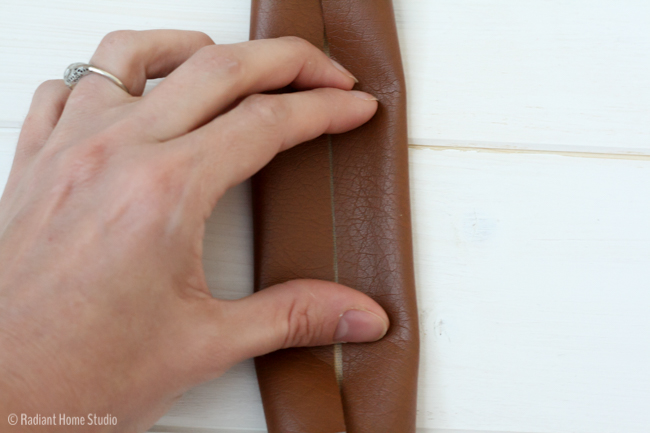
1. Make the straps. For all strap pieces, fold the raw edges to the center. Then fold again so that the raw edges are enclosed and the folded edges meet. Stitch along both long sides as close to the edges as you can. Straps should be 1″ wide when you finish. (For faux leather, mark the center with a water-soluble marker on the wrong side of the fabric. Fold inward and press using a press cloth so that you don’t melt the fabric. Use sewing clips or binder clips to hold the folded edges while you stitch. Use gift wrapping tape on the bottom of your presser foot to help the sticky fabric slide through.)
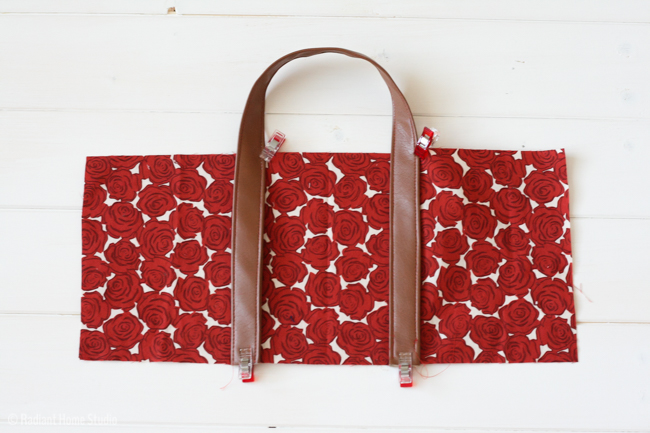
2. Apply fusible interfacing to 2 of the bag top rectangles. Center the 24″ strap handles on each rectangle, with 4″ of space between the straps. Stitch along the edges of the straps, leaving 3/4″ to 1″ space at the top edge for seam allowance. Stitch a small square 1″ from the top edge to reinforce the handle.

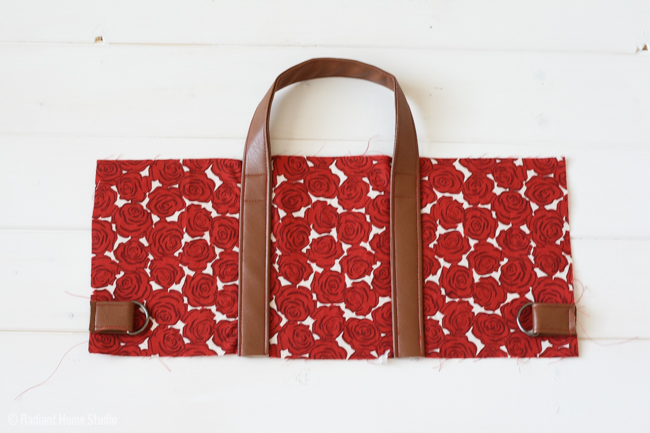
3. Slide each D-ring to the center of the 3″ straps and fold. Baste the edges to the sides of one of the rectangles with the handles, 1″ from the bottom edge.
4. Align one bag top with a handle to one without a handle, right sides together. Fold the handle out of the way and stitch along the edge that will be the bag top, rectangles right sides together. Repeat on the other side. Open and press both sides.
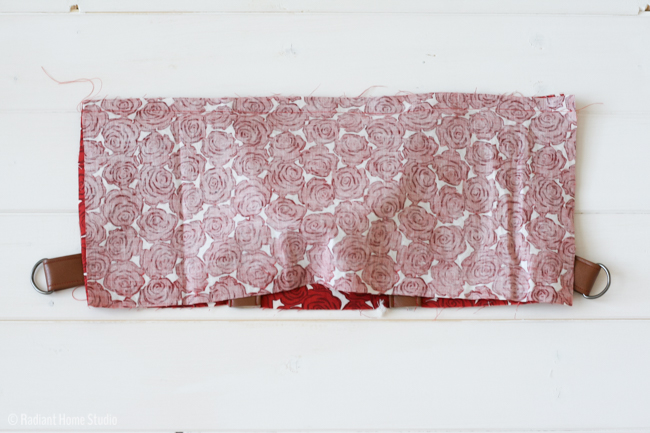
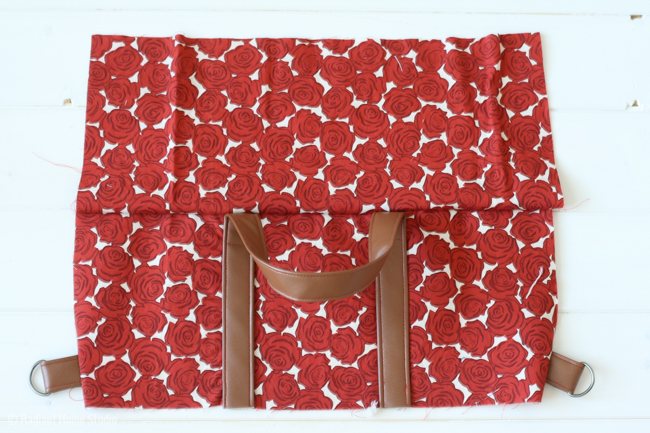
5. With bag tops opened up, align them right sides together, matching seams and straps. Make sure all straps are tucked in and out of the way. Sew along the bag sides.
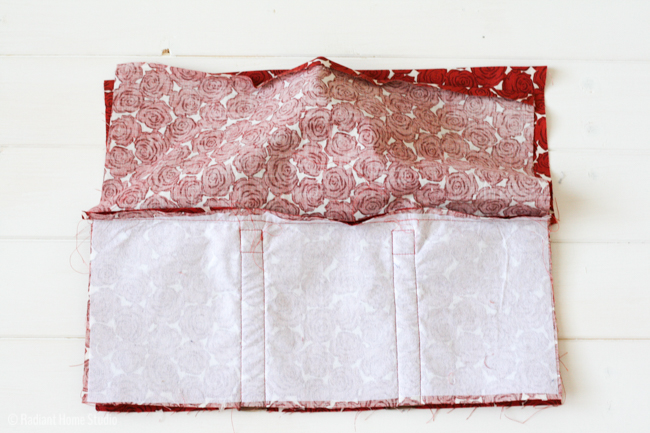
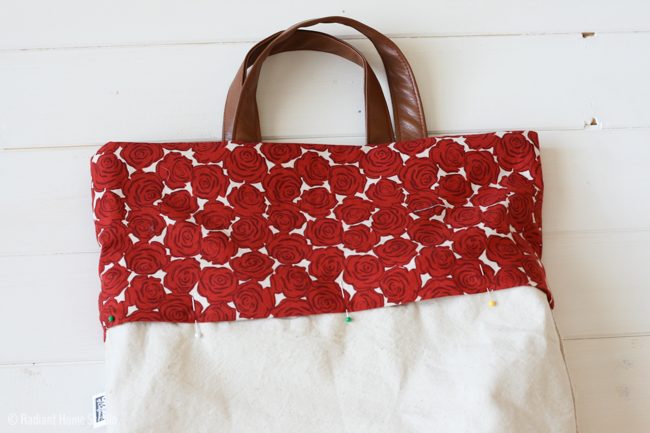
6. With the bag top still inside out, slide the tote bag (with handles removed) into the bag top so that right sides are facing. The interfaced sides with the handles should be toward the top of the tote bag. Match side seams. If you have left the existing hem on the original tote bag, you’ll want to stitch just below that line. You can align the new bag top about 1/2″ from the lower part of the hem, leaving about 1/2″ sticking out at the top. Stitch around the bag on the inside using the original hem fold as a guide. Open and press.
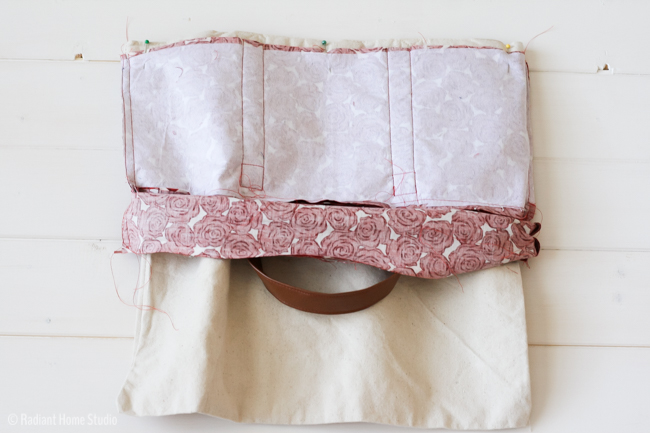

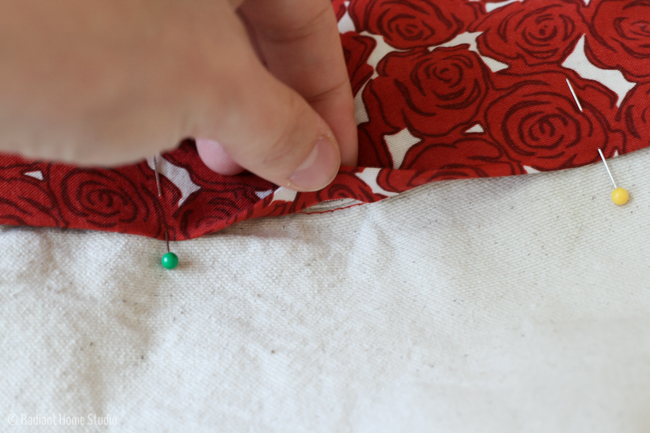
7. Press the remaining raw edge under 1/2″. Fold it to the inside of the bag and align the folded edge with the line of stitching you just sewed. You can “stitch in the ditch” from the outside of the bag, or hand stitch it into place. I prefer to hand stitch (it’s much cleaner looking!) and it really doesn’t take as long as you would imagine. (Less than 15 min. I promise! You can do it while you watch the kids playing outside!)
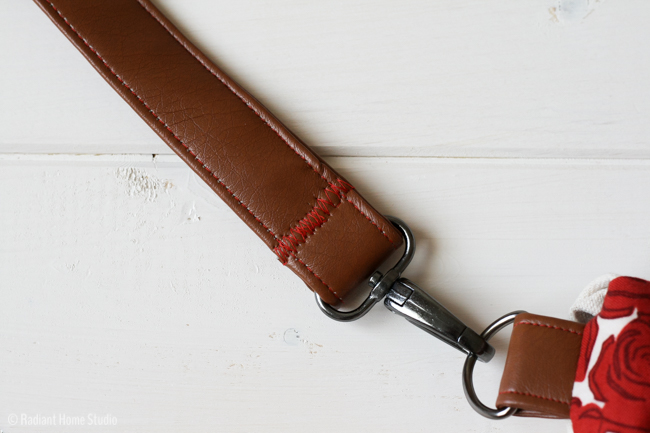
8. Slide a clip onto each end of the long strap, fold over the end about 1″, and use a wide zigzag stitch over the raw edge to secure it in place. Clip it to the rings on the bag, give it one last press, and you’re finished!


Love this, really cute idea 🙂
Thank you Colleen!
A great upgrade, and fab tutorial. Thanks for sharing – off to pin:)
Thank you Vicky! I appreciate you sharing it!
Great bag! I’ve got a post scheduled for tomorrow morning that links to your tutorial: http://sewing.craftgossip.com/?p=82199
–Anne
Thank you Anne!
Would be really SPECTACULAR if you showed us how to add the red patterned, or fake leather stuff to the Bottom of the white tote. A wide bottom, that could stand up and also keep dirt from the white bag 🙂
Kate
Great idea Kate! That sounds like a good plan for a bag. I don’t think it would be best for the tote bag upgrade series, since it would require cutting apart the bag and basically starting from scratch. It’s a little too complicated for a series meant to build skills and encourage beginners. It would make a great pattern though, so I’ll keep it in mind for another time. You could mix the fabrics the way you are suggesting using my Retro Rucksack pattern for a similar look!
I make bags for various charities and use denim . I have so much fabric that I might take my simple tote bag and add your ideas. I use rings that you buy for a loose leaf a hundred a box and repurpose purse hardware for my new bags. Sewing for charity keeps grandma off the roads and recycling means I do not spend money. I have plenty of time and thank you for giving me this idea.
Great! I’m glad you can use it. I love that you spend your free time making things for people in need. 🙂