I think sometimes bag hardware can be a mystery to those that have never used it. Magnetic snaps might look intimidating, but they are very simple to add and only require a couple of small tools that you probably already have around the house.
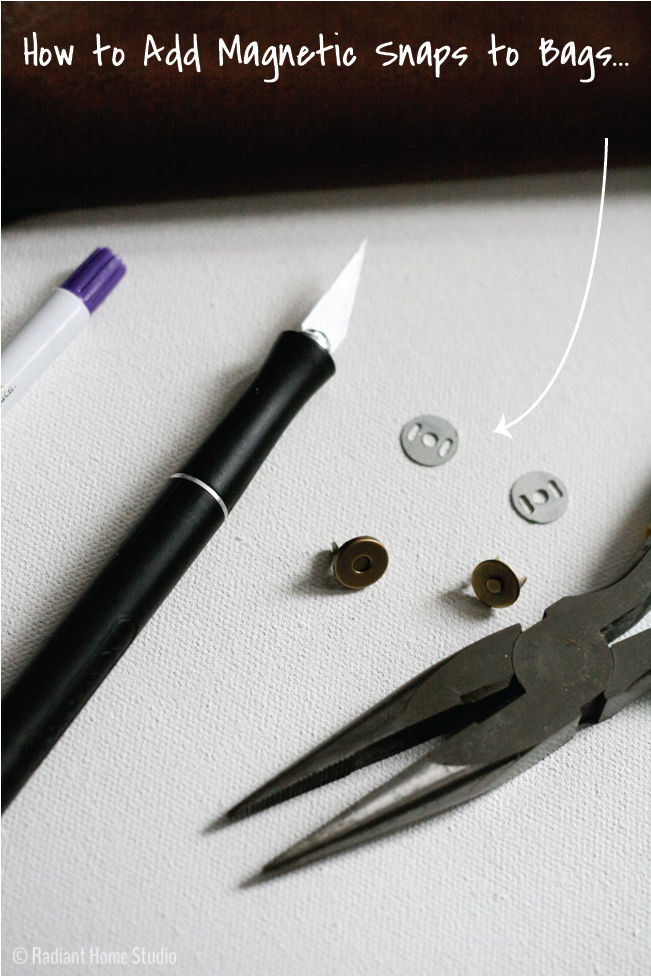
Let me show you how to add magnetic snaps to your fabric for bag making…
First, gather your supplies. You’ll need:
- one set of magnetic snaps (4 parts, including a male and female part with prongs and a washer for each)
- a washable marking pen
- a small craft knife (or tiny scissors)
- needle nose pliers
- scraps of interfacing
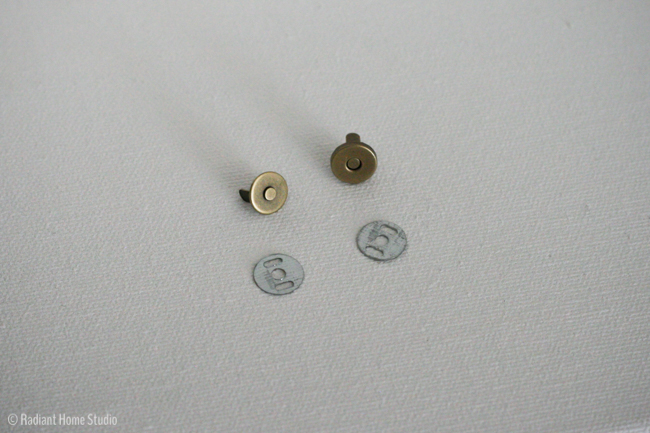
If you are using a pattern, it most likely instructed you to apply interfacing first. If not, iron a small square of interfacing on the wrong side of the fabric where the snap will be placed.
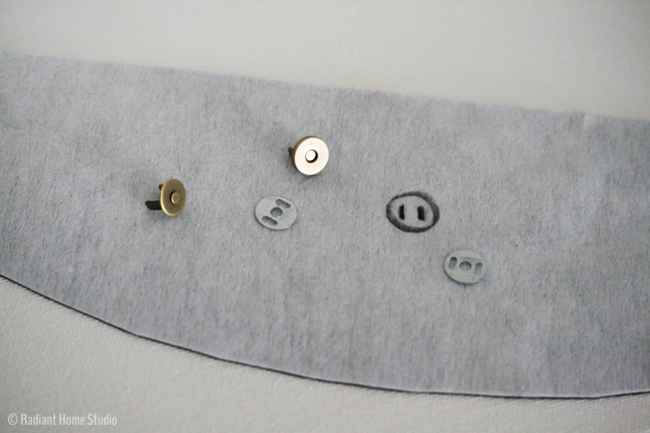
Place the washer on the wrong side of the fabric (the side with the interfacing) and mark the 2 holes in the sides of the washer. I marked around the outside here to show you where I placed the washer, but it’s not necessary to mark the outer circle.
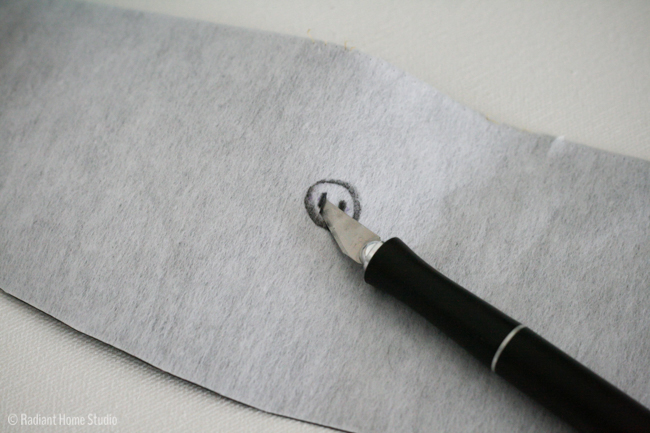
Next, use your craft knife to cut a small slit at each of the marks you made.
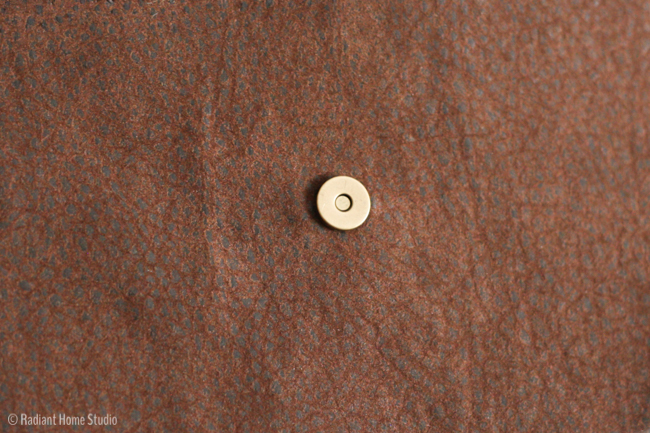
From the right side, insert one snap by placing the prongs through the slits you just cut.
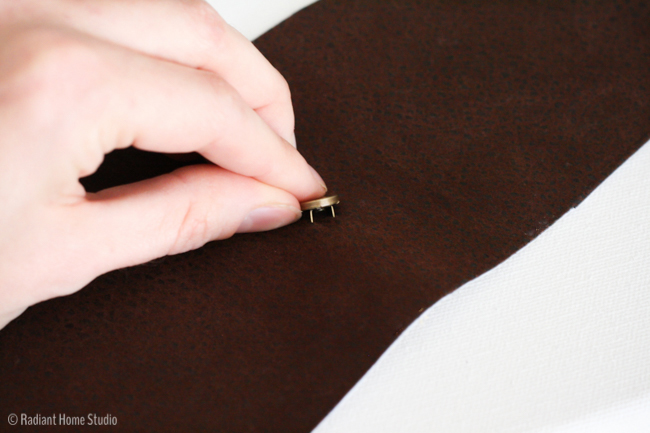
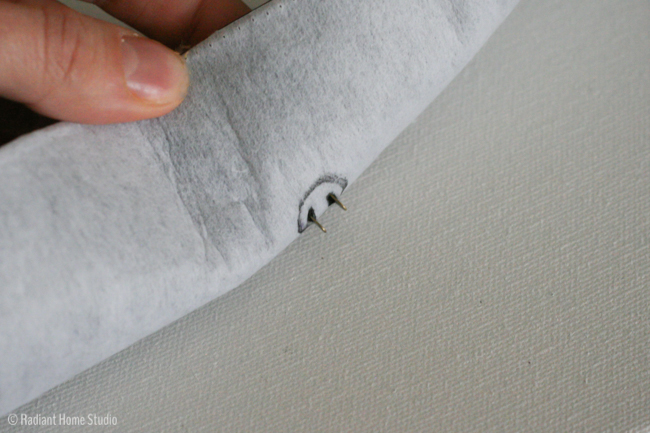
Place the washer over the prongs.

Bend the prongs toward the outside. I can often do this with my fingers, but it helps to have a pair of pliers nearby if you need them.
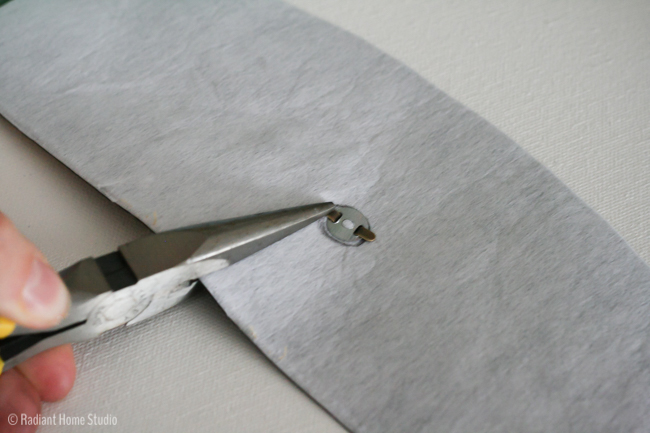
Iron a small scrap of interfacing over the prongs to keep them from rubbing through your fabric. (Be careful with the hot metal!)
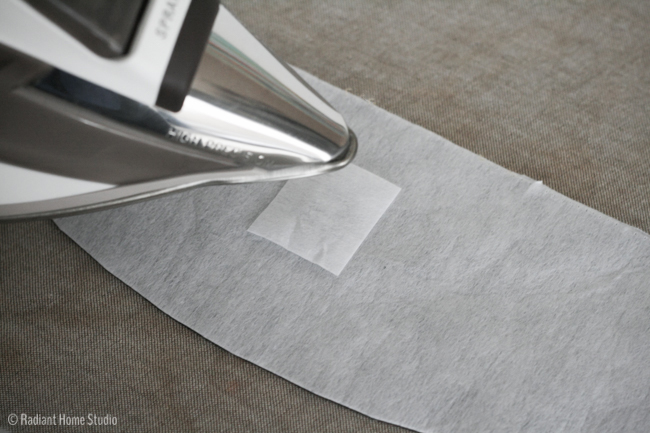
Then it’s the same process for the other side of the snap. I took tons of pictures, but it really only takes a couple of minutes to finish adding a set of magnetic snaps to a bag. The result is professional and much easier than a button hole!
This little magnetic snap tutorial is in anticipation of my next pattern release! My instructions assume you already know how to add magnetic snaps to your bags. Don’t forget to bookmark this so you can come back to it later when you are sewing!


A really smart tutorial. Thank you. 🙂
No problem! Thanks for stopping by 🙂
Wow! I had no idea how easy this is-Thanks so much!
You’re welcome! It’s really not hard at all, but photos are much more helpful than the package directions 🙂
Wow you made that look easy! Will have to try it!
Thanks! I hope you do 🙂
Thanks a million…now I can use those magnetic snaps I bought months ago . The pics did the trick !
Awesome! So glad it helped 🙂
I use magnetic snaps all the time when making purses. My tips are to reinforce the area where the snap will be with extra interfacing or some stiff fabric scrap. I had a snap pull out in one of my first bags, so I learned to reinforce. A seam ripper will cut the slits and may be a bit safer than an X-acto knife.
Thanks for the tips Diane! Reinforcement is always a good idea. I recommended the x-acto knife because I always push too hard with the seam ripper and make the hole too large. Either works though!
I agree about the reinforcing! I use about a 1″ circle of semi-rigid plastic (think butter dish lid) over the prongs (cut slits), before the washer. This keeps those little “legs” from poking through on your finished project. Just be sure the circle has relatively smooth edges (can be oval) and will not interfere with any other sewing (including topstitching) you will be doing.
Great tip! Thanks for sharing!