Don’t you love looking at beautiful craft photos? Pinterest, blogs, magazines, books…I love them all for creative inspiration. After starting my own blog and photographing my own projects, I’ve learned to look at these photos from a different perspective. I see the hard work that goes into the styling, the lighting, and the design. I am able to pull back and imagine what’s going on behind-the-scenes.
But… I think it’s easy for the majority of blog readers and Pinterest users to imagine that it’s all so easy! Many of my friends are intimidated by the appearance of perfectly clean and put together homes and magazine-worthy craft projects. They have the impression that one beautiful photo equals a beautiful house with everything in order. While it would be amazing if that were true…it’s just not reality.
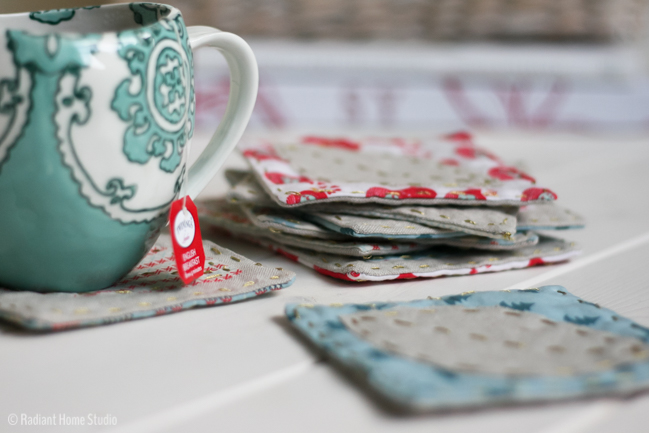
(This post includes affiliate links, which means I earn a small commission at no cost to you. Thanks!)
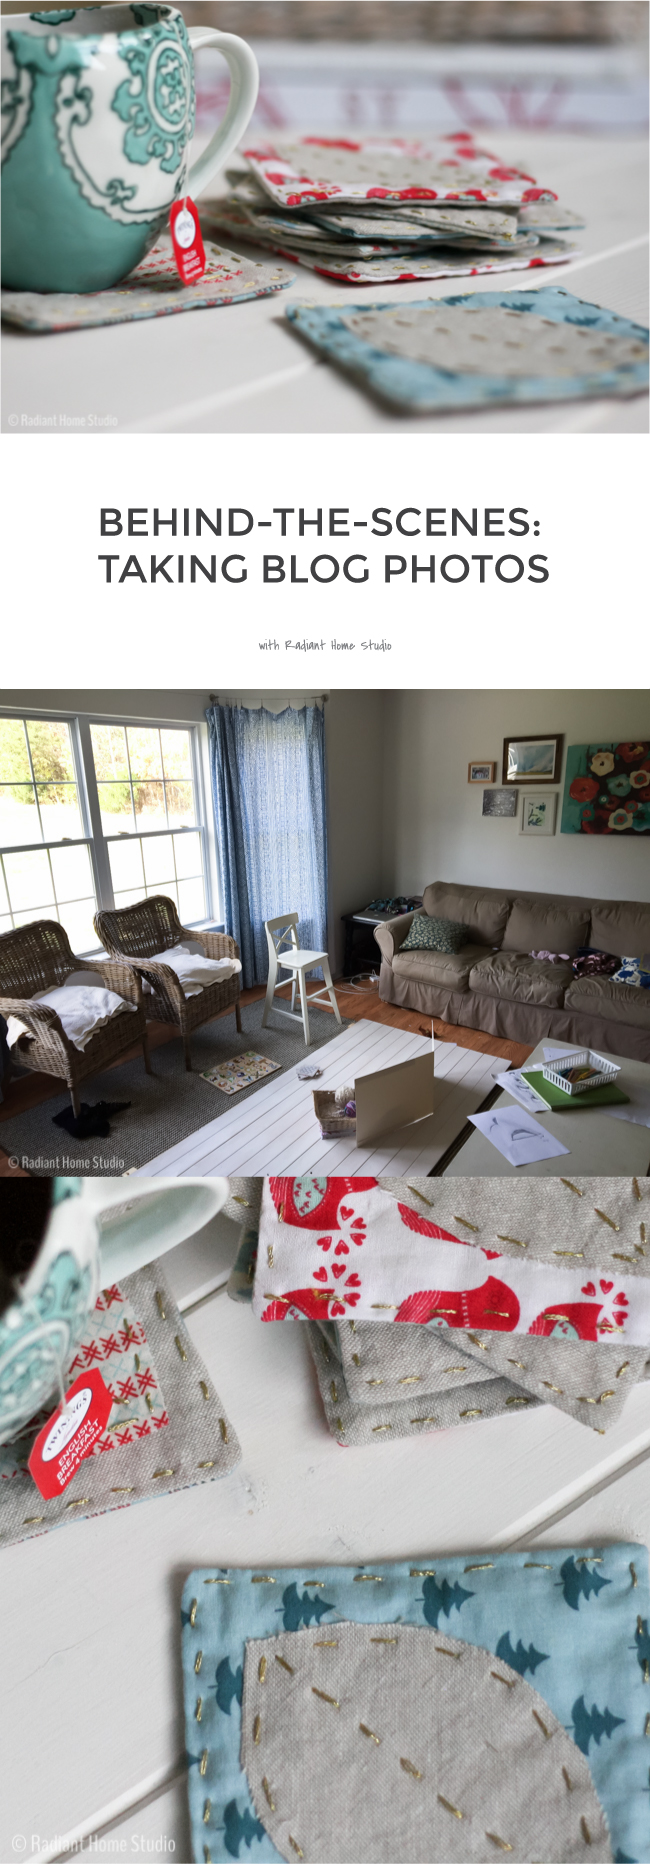
I thought it would be fun to share a pulled back photo of my setup, so you can see that not everything is as perfect as it appears. Images are styled and edited, just like the words of a good book. It takes dozens of photos to get 3-4 that are right for a blog post. (If you are interested, I shared more about these coasters on Betz White’s blog last month.)
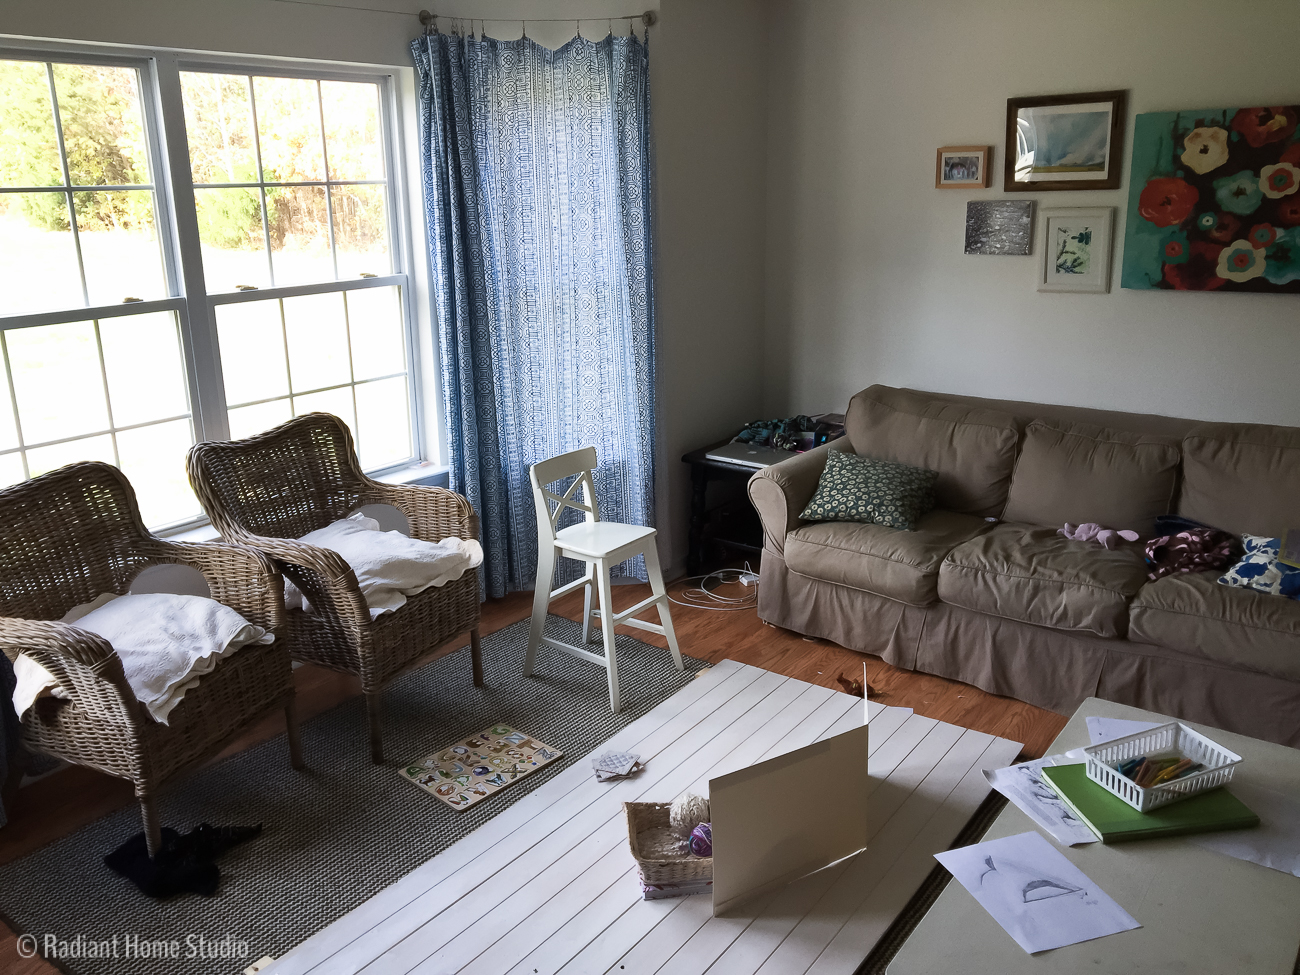
This is my living room on a normal day. There are toys out, pillows aren’t fluffed, and drawing supplies are everywhere. I get great natural light through these big windows so I like to set up my backdrop on the floor there. It’s a light-weight wall that I constructed for this purpose. I also have a disassembled Anthropologie box that I use as a white background and a way to reflect light.
I don’t use any expensive camera equipment like studio lights or external flashes. My camera is a Canon Rebel xTi with a 50mm f/1.8 lens. The camera has been excellent as an entry-level DSLR and the 50mm f/1.8 lens is one of the least expensive lenses you can buy (and a must-have for craft photos!). Though I’m considering a camera upgrade soon, basic equipment is really all you need if you have good natural light.
See the white chair? I stand on that and lean out over the board to take overhead shots.
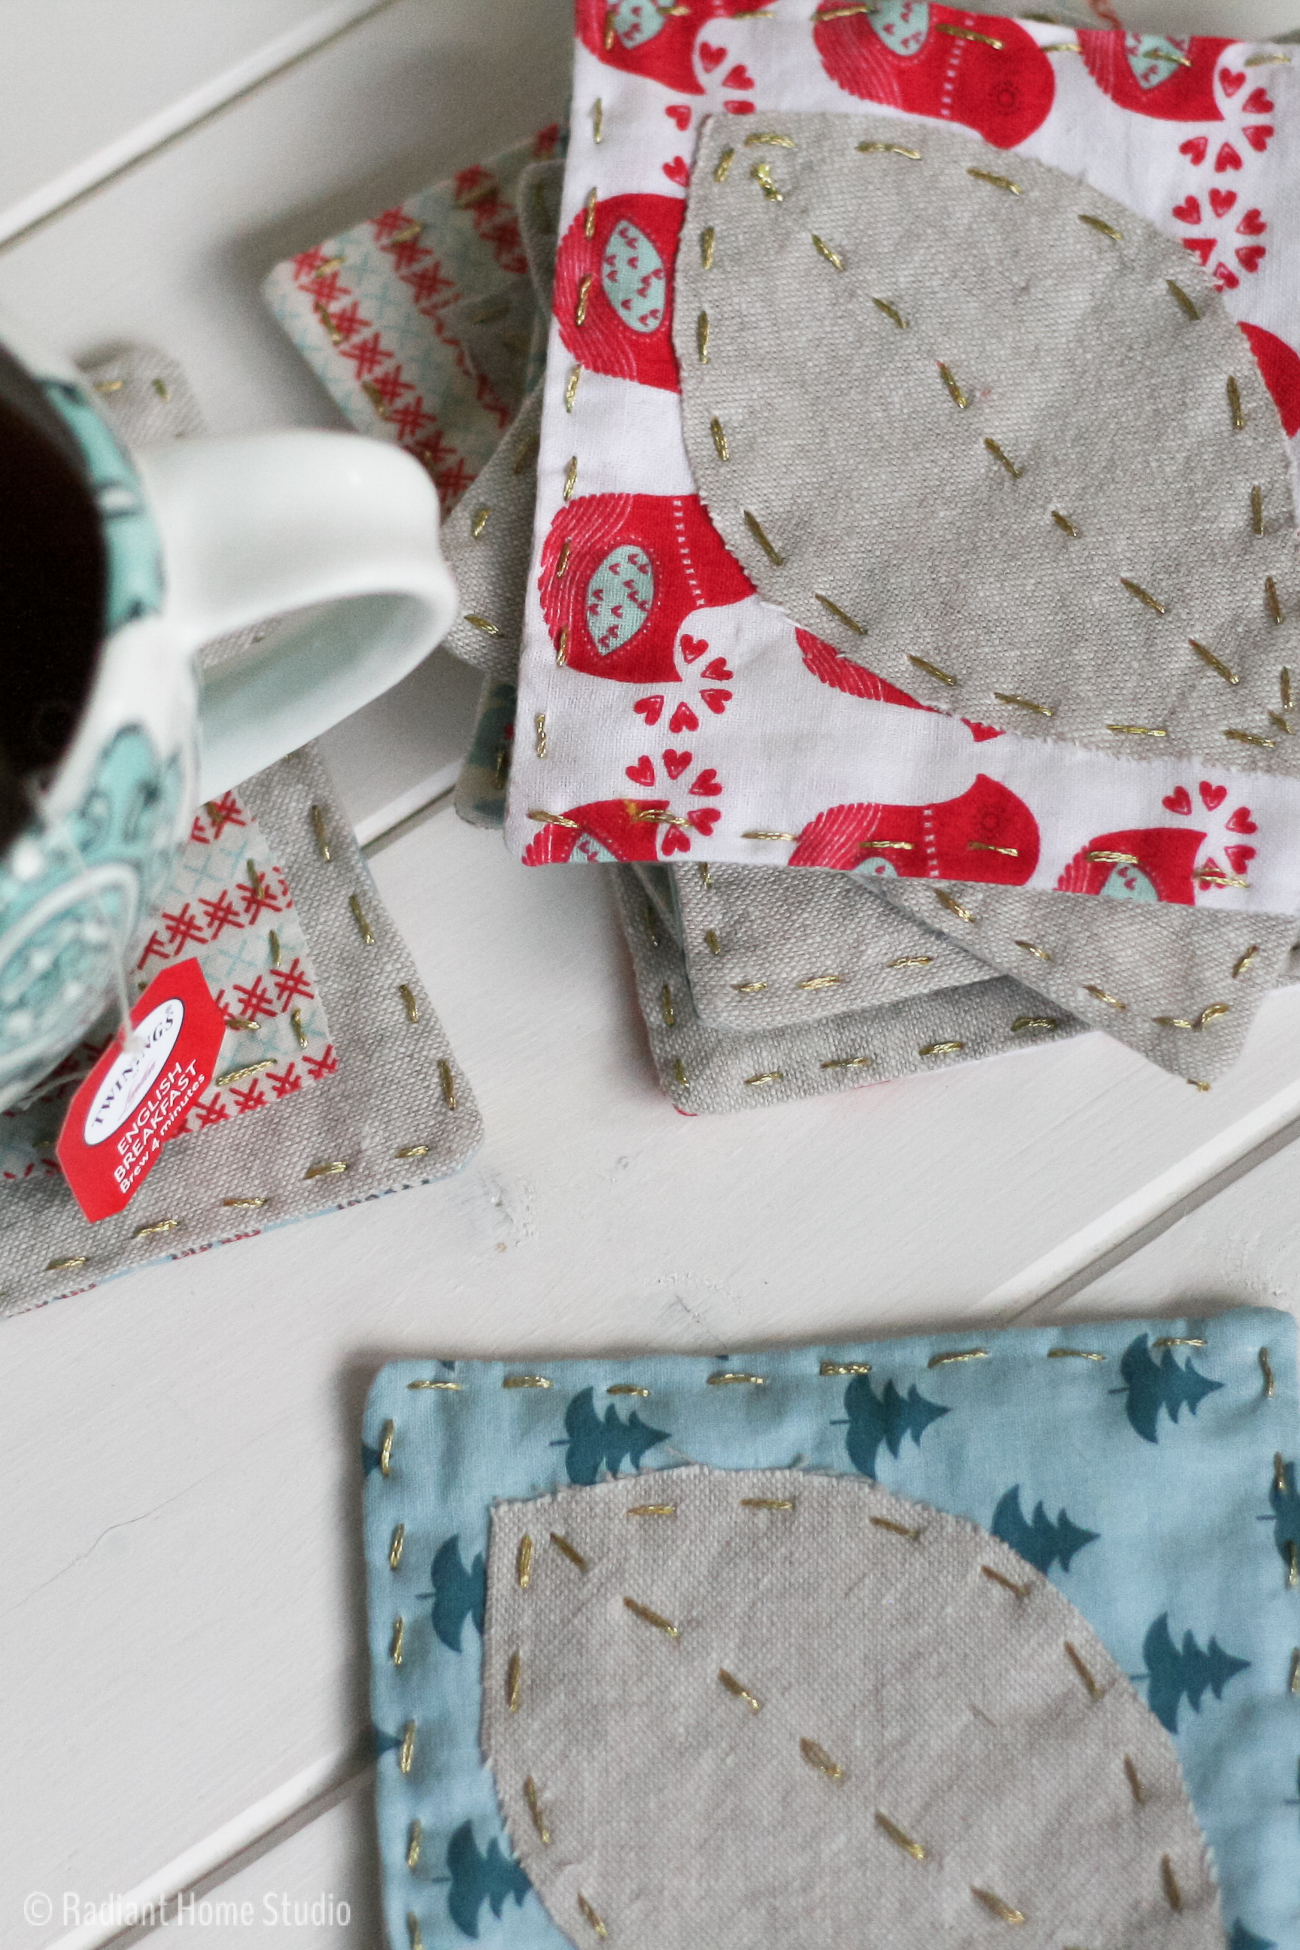
Sometimes with a 50mm lens, I need to get even higher to include more in the frame. That’s when I stand on my tiptoes and try to balance. Sometimes I balance on the arms of the wicker chairs. Maybe more equipment would make this easier, but after talking to other photographer friends I’m certain that I’m not the only one lying on the ground and standing on chairs to get a good shot!
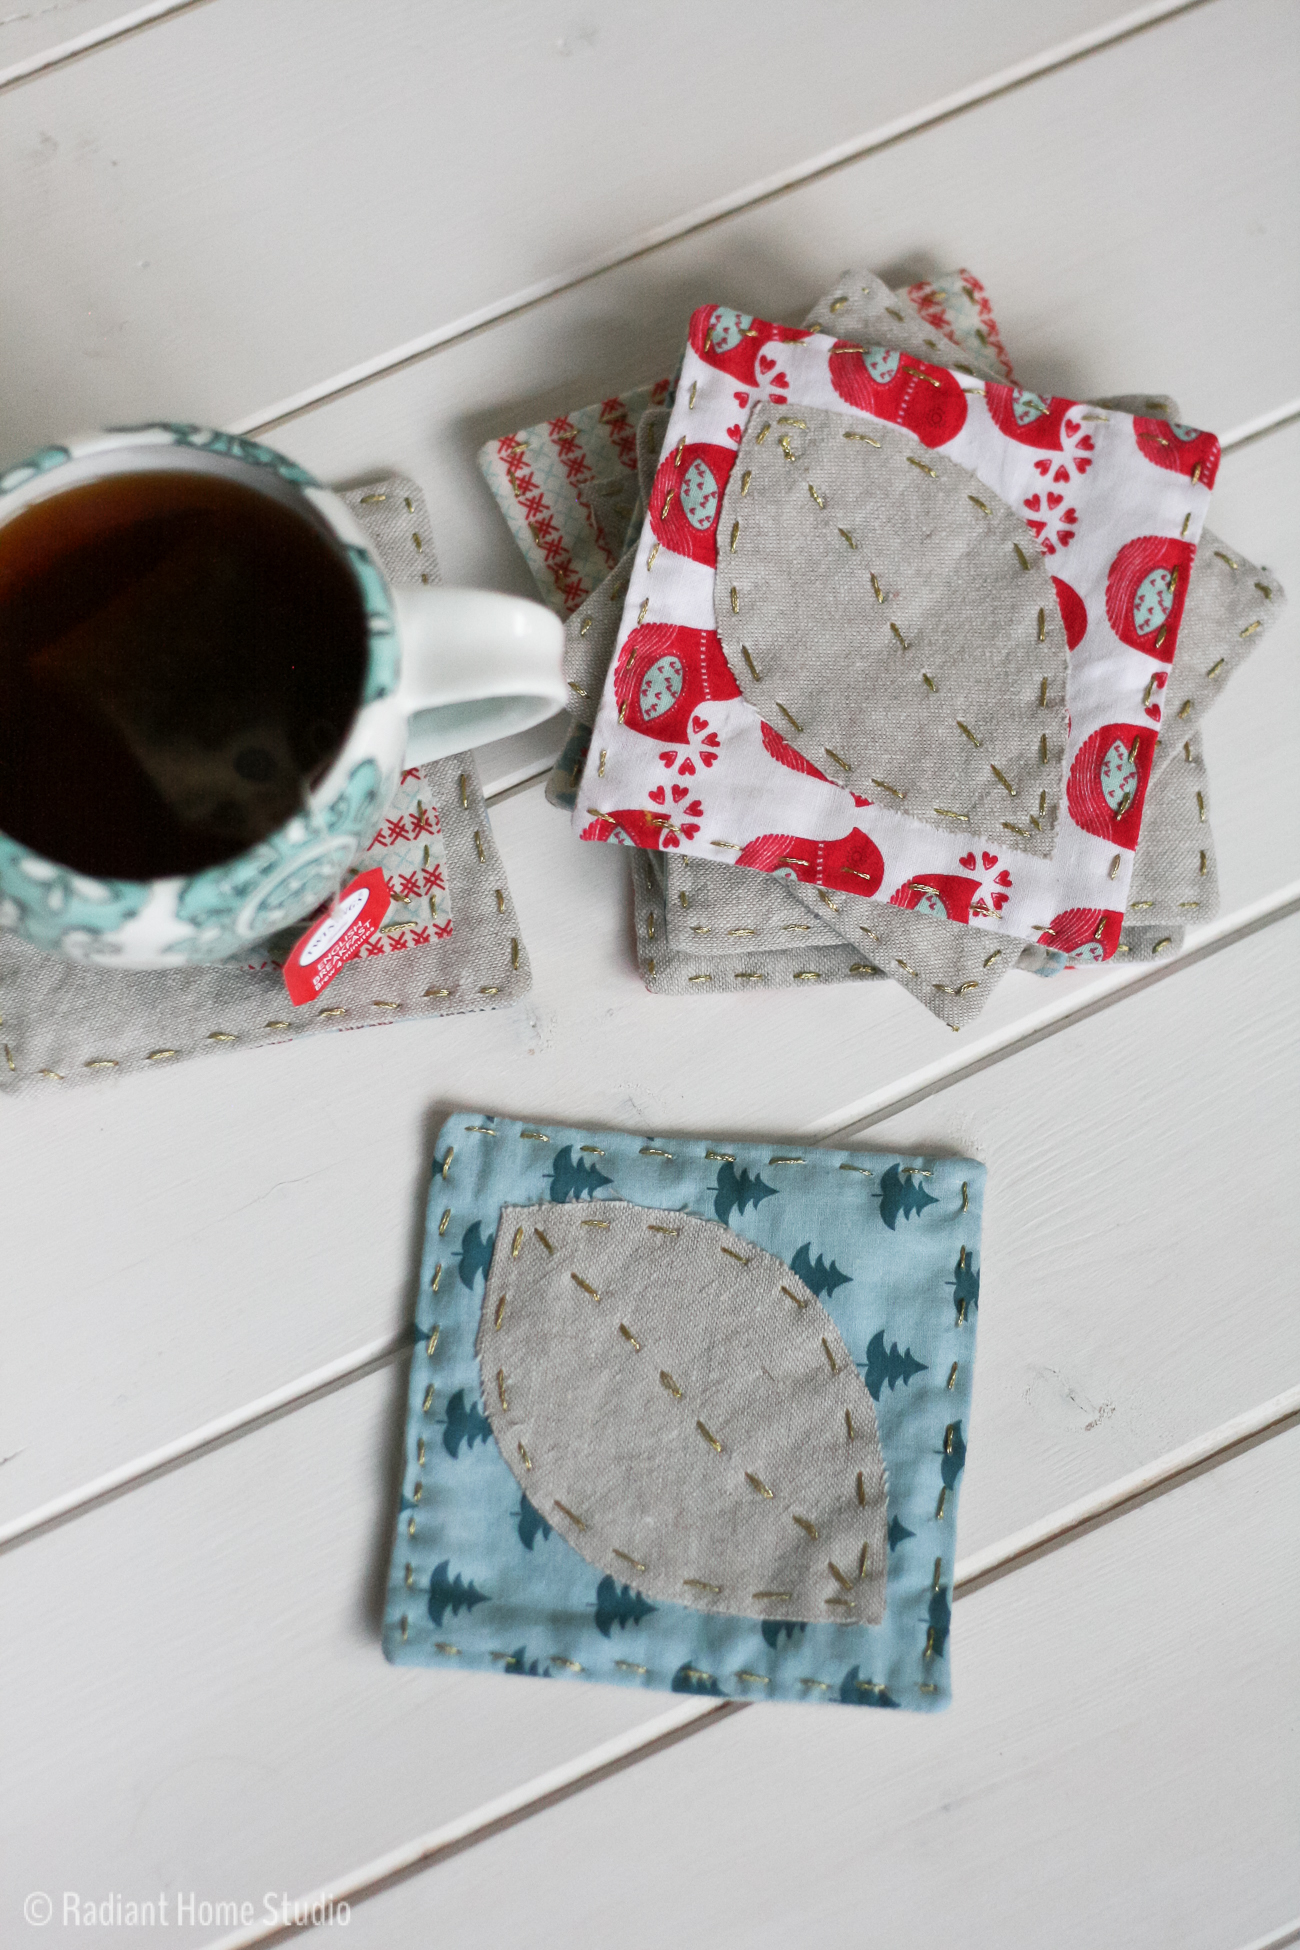 Now imagine a 15 step tutorial… My sewing room is upstairs. I sew a step or two, then run down to take a few photos. Then back up to sew a few more steps, and back down for more photos. My kids have gotten used to seeing me running up and down the stairs with random pieces of fabric and my camera, but I think I would look crazy to anyone that doesn’t have a sewing or DIY blog! But that’s what I do.
It turns out that I’m not the only one though. I find it fascinating to see what other people are doing behind-the-scenes. Lots of bloggers are taking great photos near their windows (standing on chairs in in other crazy positions) using minimal equipment. Here are a few other posts (plus a great class) that will give you some ideas for setting up photo spots around your home:
- Though I’m not taking photos of food, I find that food bloggers often have a similar setup, so this Behind-the-Scenes With Food Bloggers article is helpful. Food bloggers are photographing similarly sized subjects and tend to take close-ups of details like craft bloggers.
- There are some great tip in this behind-the-scenes post from Paper & Stitch. Point #5 – It’s going to get messy!
- A few months ago, I watched “Craft Photography Fundamentals” on CreativeLive. Candice has a ton of great tips for setting up in a small space and styling products for blogs and shops, all using natural light and basic equipment. If you are taking pictures for a craft blog or Etsy shop, you’ll appreciate her specific focus on those types of photos.
- Here’s another post with food blog photo tips, but look at how she’s standing on the chair in front of the window! It’s a similar setup to mine…
If you aren’t a blogger, is this what you imagined? And if you are, does your setup look similar?



LOVE this post. As a fellow blogger, learning to get good photos, I’m eating up all these posts on things I need to think about.
I love this post! It’s so great for me to see the photo setups of other bloggers, but even more so… to see that their homes are usually a mess outside the camera frame, just like my home! 🙂 Lisa
I love seeing other blogger’s setups too. That’s why I included the links at the end. I’m glad it was encouraging to you!
(Oh, and those coasters are so cute! Love ’em!)
Thanks for this post, Sara! I love to see what the picture really looks like before editing – it helps me take better pictures, myself, and ignore the distractions!
Thanks for these tips! May I ask — how did you build the white wall? I like how that looks for highlighting the colors of things you sew.