I remember the first time I carved a lino block in 5th grade art class. It was one of my favorite school art projects, and I think it was my first introduction to the concept of tiling and repeating patterns. (Thank you, Mrs. S! I wish I could tell you how helpful that lesson has been!)
Basic block printing is easy and fun. The supplies are relatively inexpensive, and even if you don’t have the “proper” supplies you can use items that you probably already have in your craft closet. For this hand stamped tote bag, I used 2 simple geometric shapes to create a pattern on my plain tote bag.

(This post contains affiliate links to some of the materials I recommend, which means I earn a small commission at no cost to you. Thanks!)
I used a Speedball Speedball Speedy Carve block and linoleum cutter
for my stamps. The speedy carve block is more pliable and easier to carve than a traditional lino block. Though I prefer using those, there are plenty of other options for making stamps. If you have some extra pencil erasers, you can also carve small stamps from those. You can also use store-bought stamps or objects from around the house (think blocks or containers from the recycle bin).
The best fabric ink I’ve tried is also from Speedball. It’s water soluble and non-toxic, so it washes off your hands easily. But it also stays permanently on fabric. I have some tea towels that have been washed dozens of times and the ink still looks great. Another option is acrylic paint. It’s not quite as thick and will fade with multiple washings, but for the cost, you can’t beat it. It’s perfect for practice and printing with kids.

Materials:
• canvas tote bag
• geometric stamps
• fabric ink (I mixed red with a little bit of yellow and black to get this deep red-orange.)
• stamp carving block and linoleum cutter (optional)
• brayer and flat surface (optional)
Hand Stamped Tote Bag Tutorial:
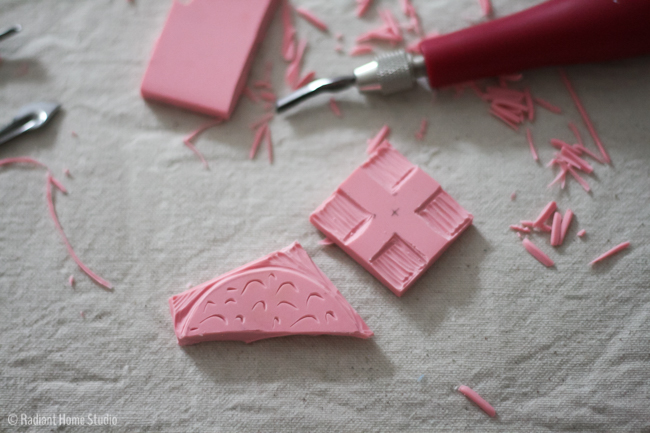
To carve your stamp, draw some shapes onto your block with a pencil. To begin carving, hold the carving tool in your hand like a pencil with the end resting between your thumb and forefinger. I like to use the smallest attachment to outline my shape first. Once you have an outline, you can systematically carve away the excess. Carve toward the outer edge in lines. You can always go back and take out more, so it’s best to remove small sections at a time.
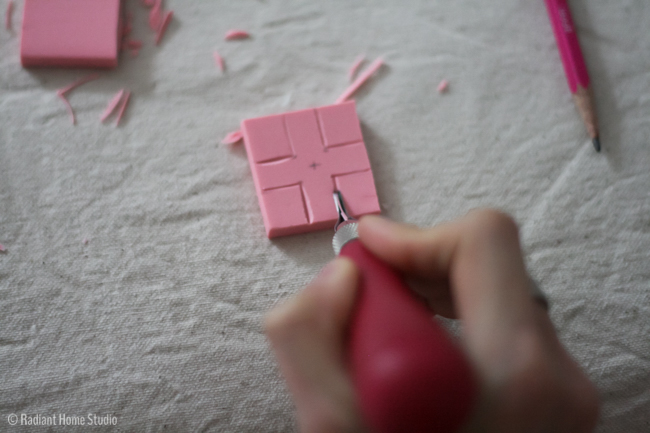
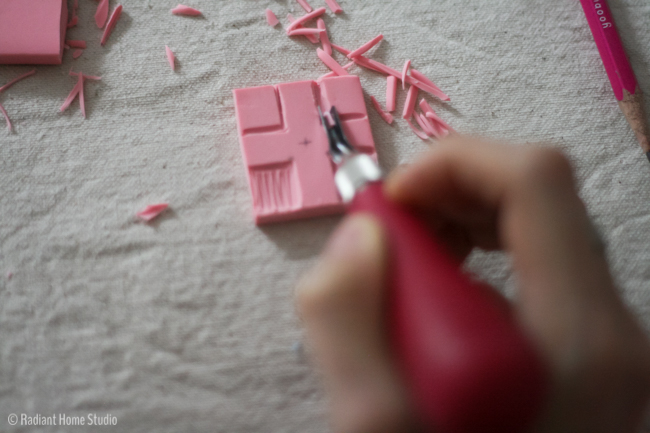
When you finish carving your stamps (or if you have opted to use store-bought stamps), you can practice your pattern on paper. I like to use washable marker. It’s quicker and easier than ink, especially if you want to carve any more sections out of the stamp after trying it.
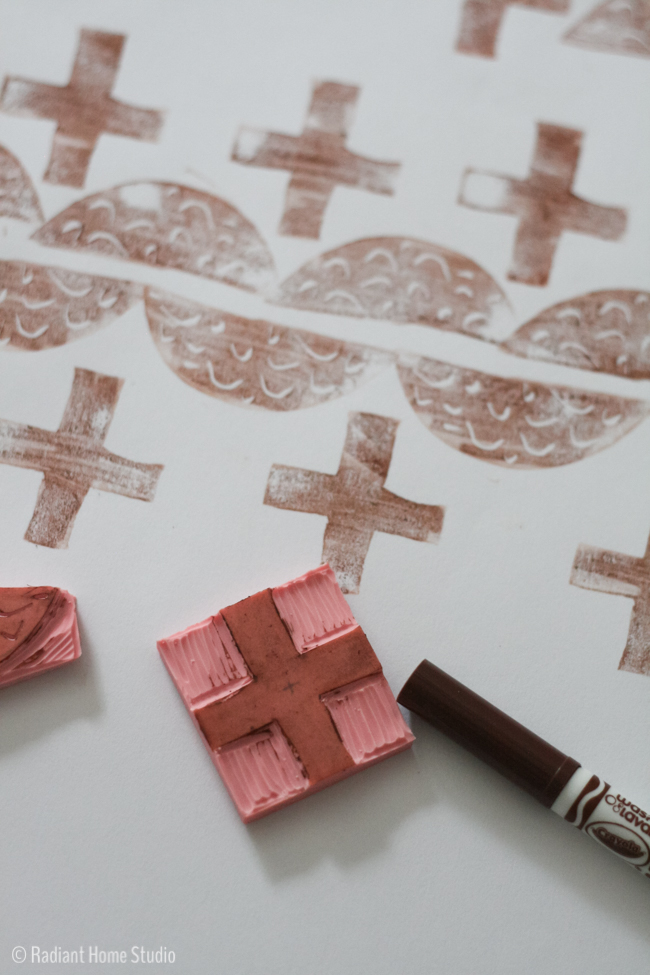
Once you have a good pattern and have perfected your stamping technique, you can move on to your bag. With screen printing ink, you’ll need a brayer and glass or plastic surface. Acrylic paint can be applied with a sponge.
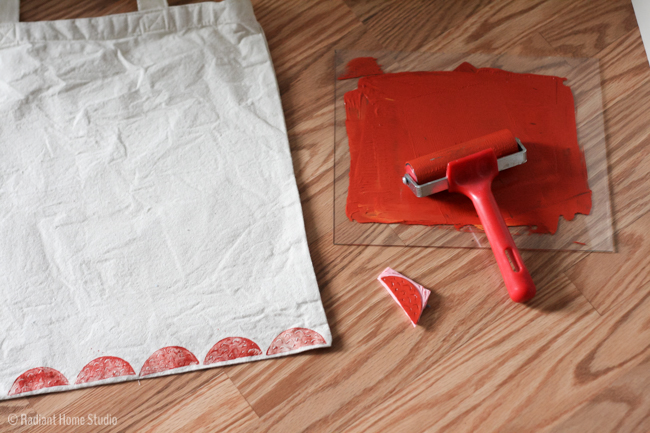
Just keep stamping until you finish your pattern! Don’t worry too much about getting everything perfect. You’ll have some stray ink blots and crooked shapes, but that’s what makes your bag look unique.
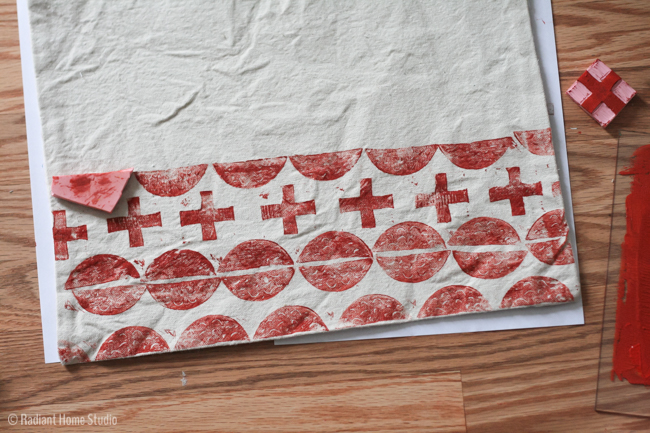
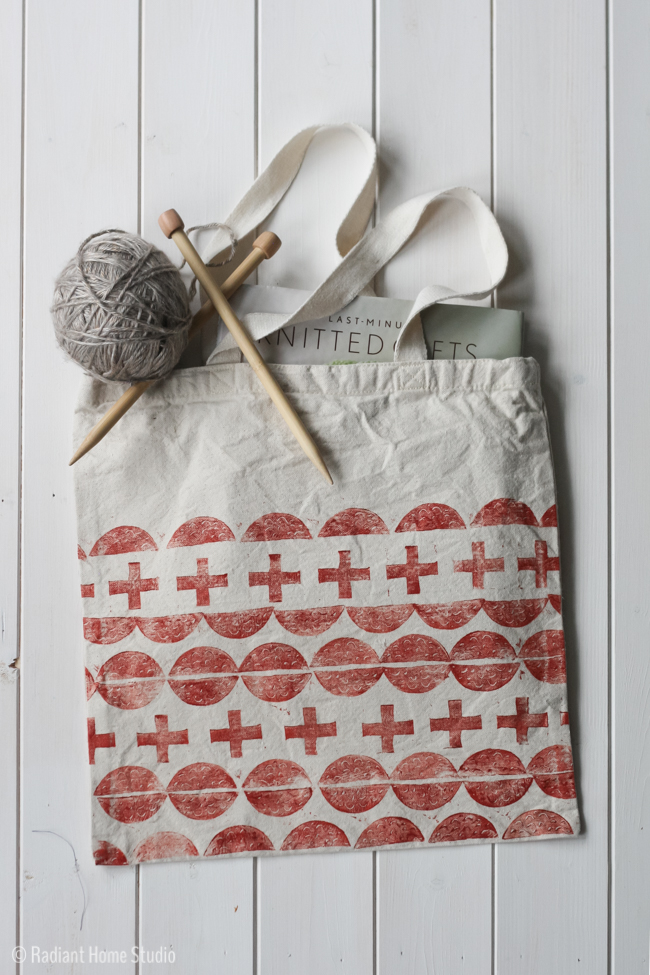
Would you like to add a lining to your hand stamped tote bag? How about a cargo pocket or an interior zipper pocket?


This is such a fun and quick tutorial. i love painting things because you make it your own.
I am obviously hungry because the round shapes with the color reminded me of pepperoni lol.
Ha! My daughter said the same thing and I was like,”Huh? Crazy kids…” So, it’s not just you 🙂
Well way to reinforce that I am forever a child lol