I hope you have been enjoying your summer! We’ve been camping and visiting family, but we are back and getting organized at home again. I have several projects around the house that I’m working on, including some decorating in my bedroom and kitchen.
One small thing I noticed in the kitchen is that many of my towels and potholders, which were wedding gifts 13 years ago, are pretty worn out. I bought some new towels, but I’ve been planning to sew some new potholders. It’s a really quick project and great for using up scraps!
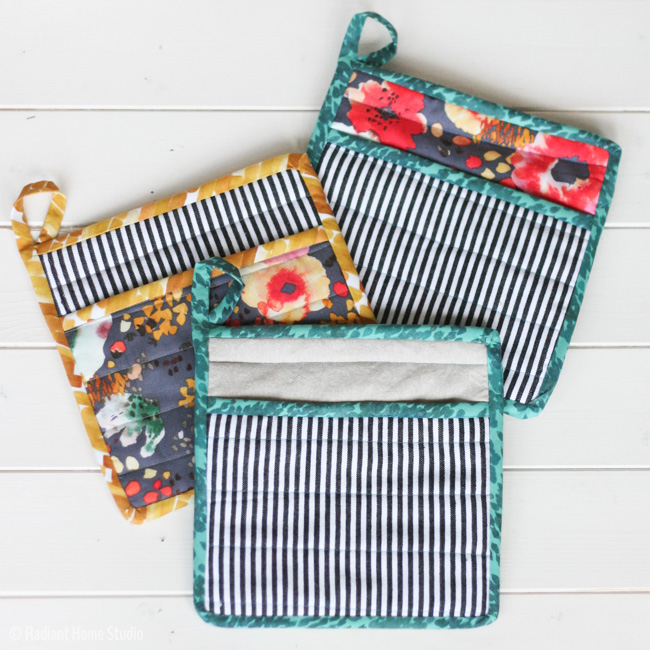
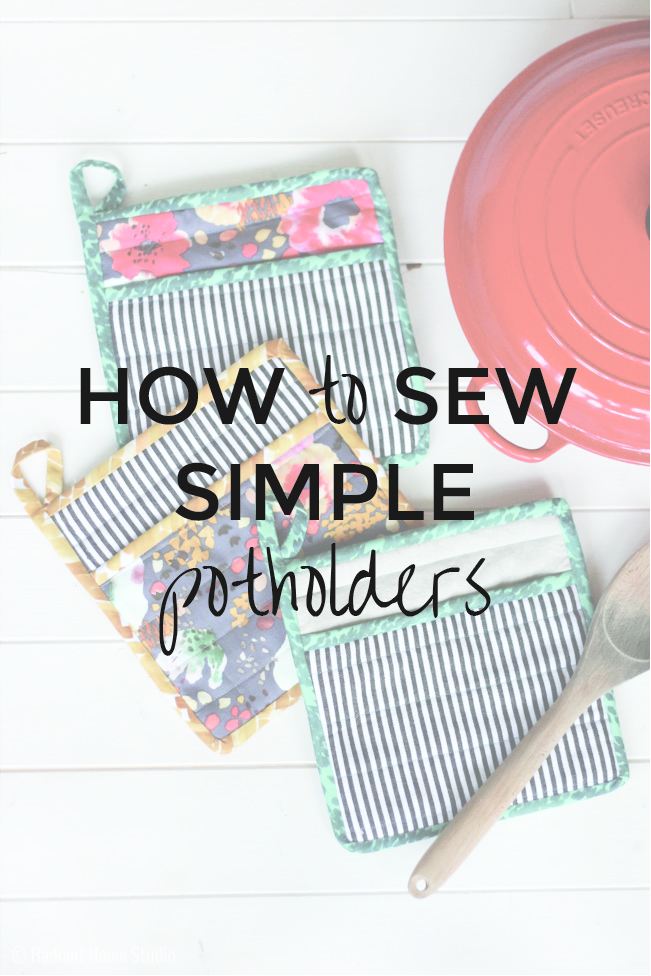
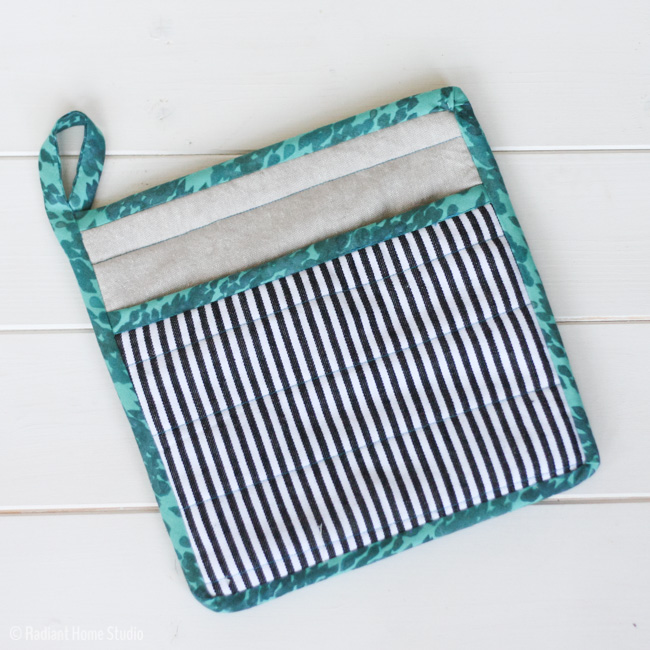
I know there are lots of other cute potholder tutorials out there, but I figured I would take some process photos and share my method with you anyway. I chose to sew a simple potholder with a basic square shape and a pocket. I made some more elaborate potholders a few months ago, but I haven’t used them because I didn’t want to ruin them! That’s no good, right? For something that is going to get dirty and needs to be washed regularly, you need to stick with easy construction and durable fabrics.
Quick Update:
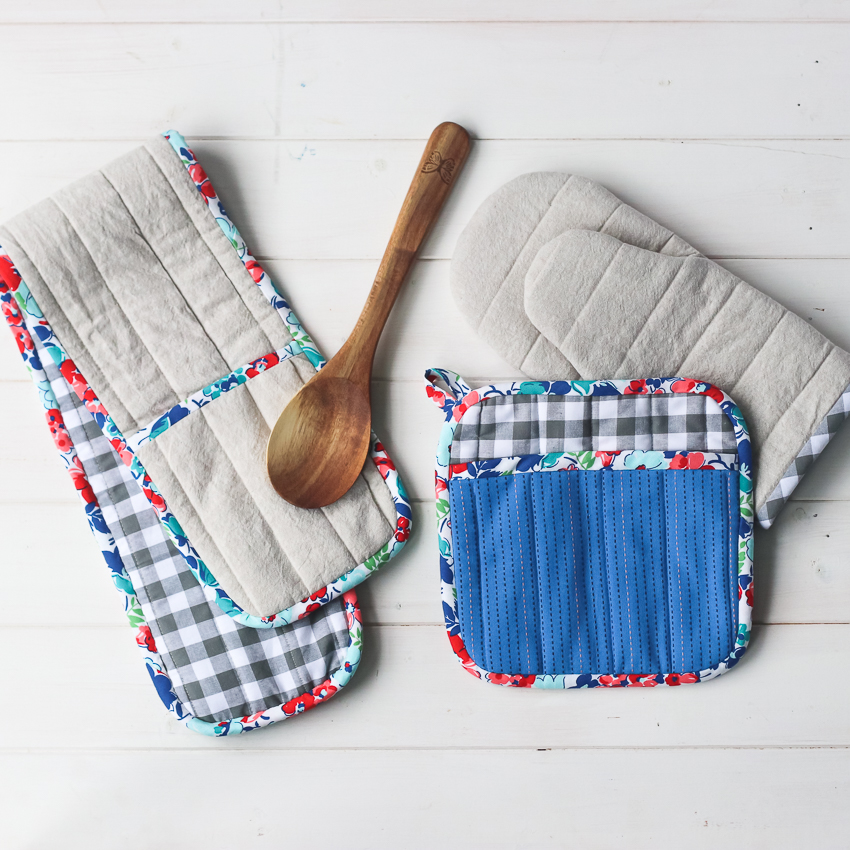
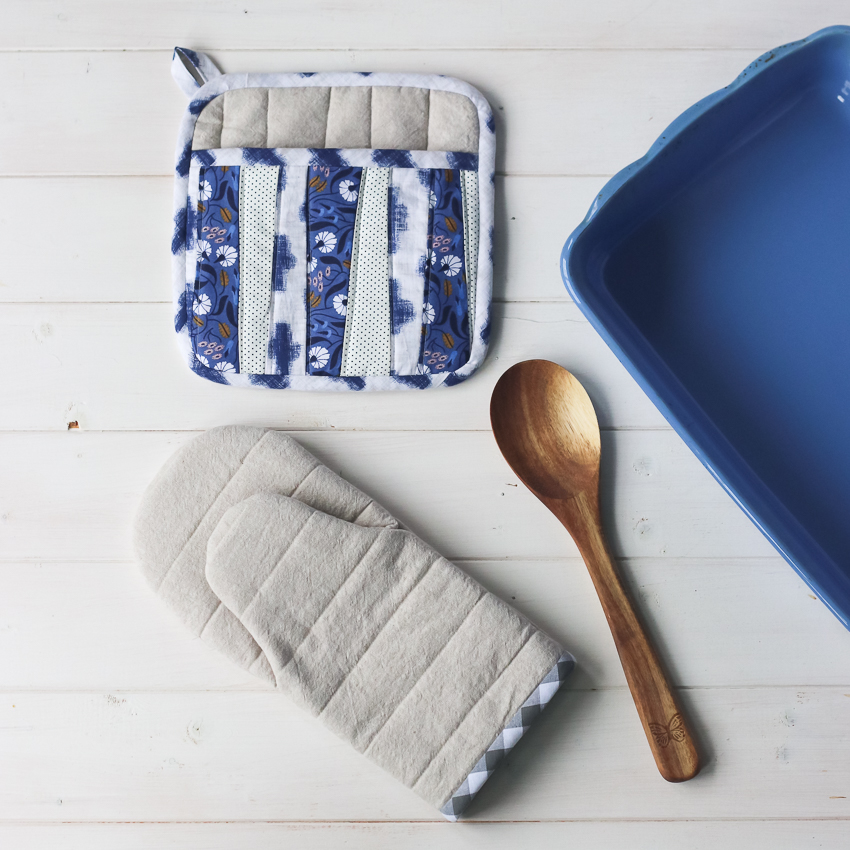
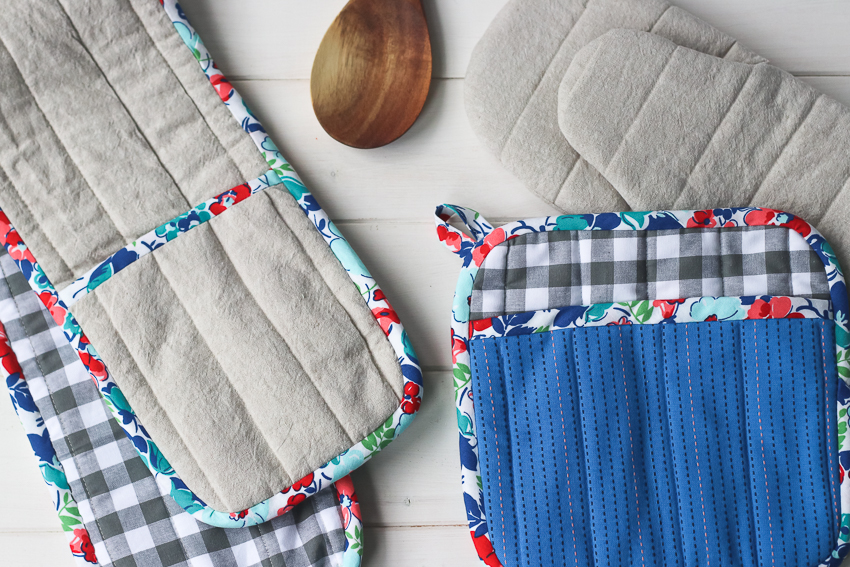
This post has become so popular that I have created the Flower City Potholders pattern. It’s a set of 3 potholders with simplified instructions, printable pattern pieces, step-by-step illustrations, and bonus instructions for creating patchwork potholders and bias binding. You’ll want to check it out if you are looking for a little more help, simplified directions, or coordinating designs.
(Some links may be affiliate links, which means I earn a small commission at no cost to you. Thank you for supporting my business in this way!)
Gather Your Materials:
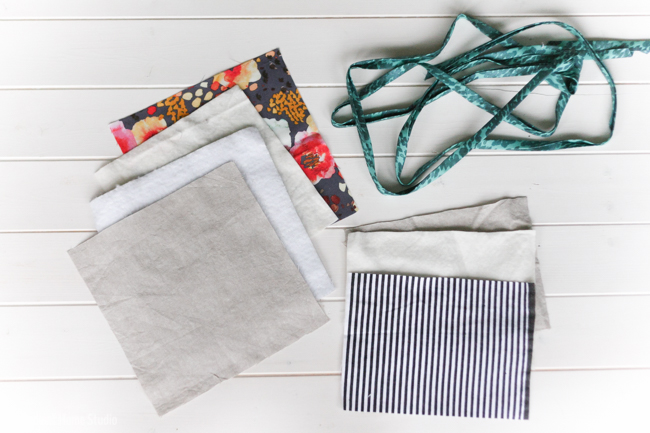
• Scraps of cotton or linen fabric
• Lightweight cotton quilt batting
• Thermal batting (like Insul-bright)
• Bias tape maker & Wonder Clips (optional, but easier!)
• Coordinating thread
Let’s talk about fabrics. You need to use fabric that is 100% cotton or linen. Synthetic fabrics, like polyester, can’t handle the heat. Polyester will melt (which you may have learned the hard way if you have used a too-hot iron on your poly fabric…). So, choose some lightweight canvas, denim, or linen and mix in a little quilting cotton for color. Most of you probably have plenty of scraps that you can use for these!
You also need to make your own bias tape. The bias tape that is most readily available at the craft store is a poly/cotton blend. It does not work for potholders! Bias tape is easy to make. If you need more detailed directions, you can look at my step-by-step bias tape post.
Thermal batting is also an essential part of a safe potholder. It includes a layer of mylar to protect your hands from the heat. Please do not try to use quilt batting alone without the thermal layer!
Ok, I think those are all of the most important things you need to know before you start!
How to Sew a Simple Potholder:
1. Cut out the following pieces from your fabric. You can decide which fabric designs to use on each part.
- cut two 9″ squares from fabric
- cut two 9″ x 6 1/2″ rectangles from fabric
- cut one 9″ square from thermal batting
- cut one 9″ square and one 9″ x 6 1/2″ rectangle from quilt batting
- cut and make 1/2″ double-fold bias binding about 45″ long (2″ wide when unfolded)
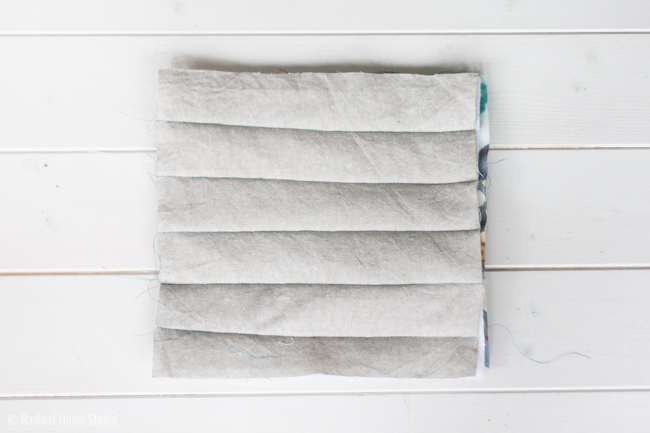
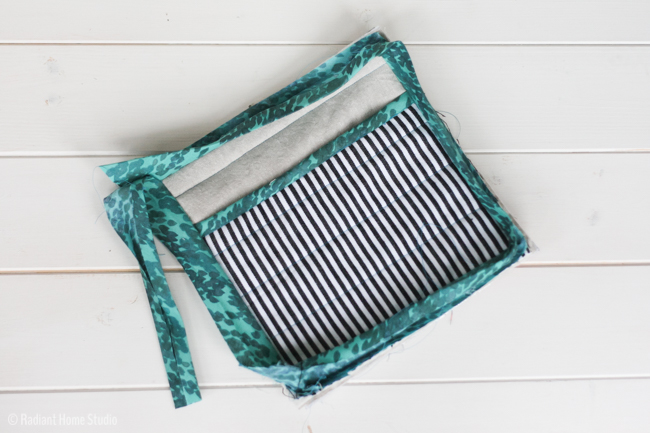
2. Place the squares of fabric wrong sides together. Sandwich the squares of thermal batting and quilt batting between the layers. Quilt through all layers by sewing horizontal lines, spaced about 1 1/2″ apart, across the width of the potholder.
3. Place the smaller rectangles of fabric wrong sides together. Sandwich the rectangle of quilt batting between the layers. Quilt through all layers by sewing horizontal lines, spaced about 1 1/2″ apart, across the width of the potholder. This will be the pocket piece.
4. Trim the uneven edges of the quilted pieces using a rotary cutter. It’s more important to have straight, even edges than to have perfect 9″ squares. If you need to make them a little smaller to even up the edges, don’t worry about it.

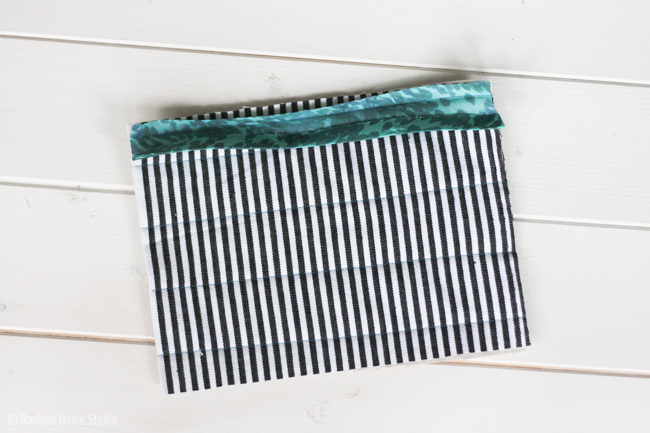
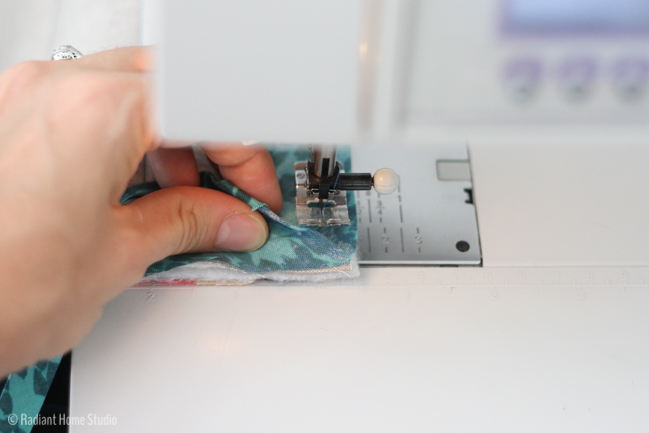
5. Add bias binding to one long edge of the pocket piece. Place one raw edge of the bias binding right sides together with the pocket edge. Stitch with a 1/2″ seam allowance, in the first fold of the bias binding. Press the binding up.
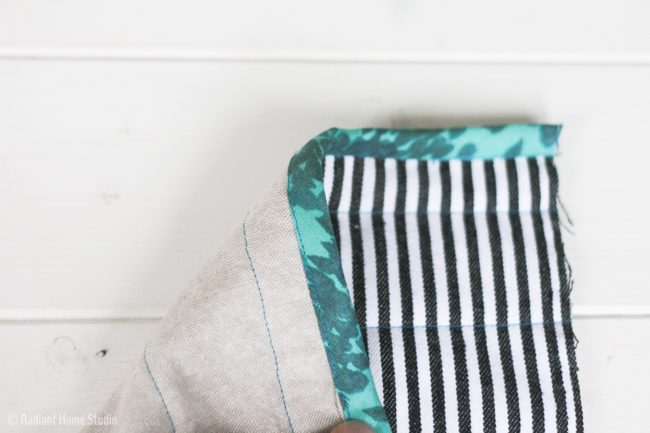
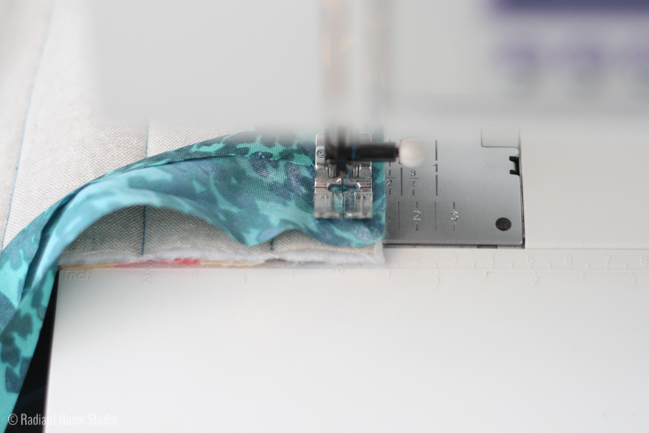
6. Fold the binding over and line up the folded edge on the back of the pocket so that it covers the stitching line from the front and extends about 1/8″ beyond it. Clip it or pin it in place. On the front side of the pocket, stitch in the ditch (where the seams meet), catching the back side of the binding in the stitching. This can be tricky if you don’t get the back side lined up correctly. I actually prefer to hand-stitch the back side of the binding. If you can’t get a straight line on the binding, try hand-stitching.
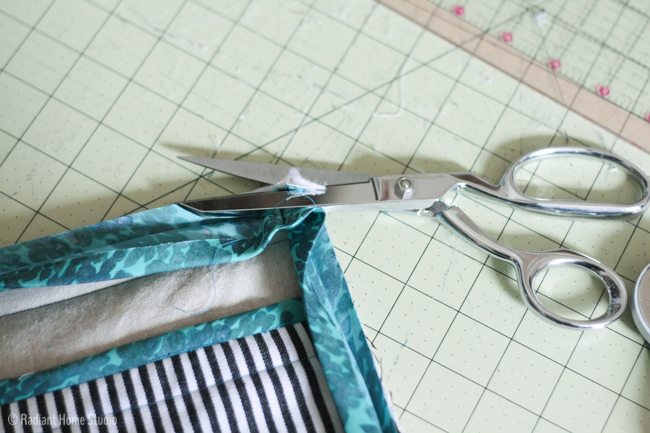
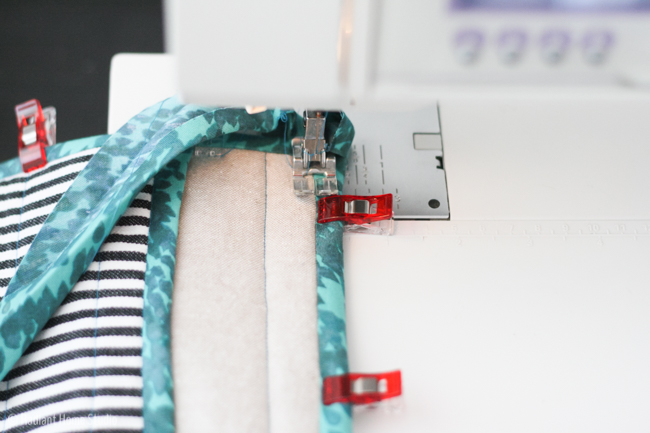
7. Place the pocket on the square potholder piece and pin it in place. Begin sewing the binding to the top left corner of the potholder, right sides together as you did on the pocket. At each corner, stop and fold the fabric 90° and tuck it under the presser foot. Slowly make a couple of stitches catching the folded corner. Leave the needle down and pivot the potholder. Move the binding so that you don’t catch any extra layers as you round the corner. (Yup. I had to pick out the stitches in a couple of the corners because I wasn’t paying attention!) Continue sewing the binding until you reach the first corner. Stop and backstitch right at the edge of the first line of binding.
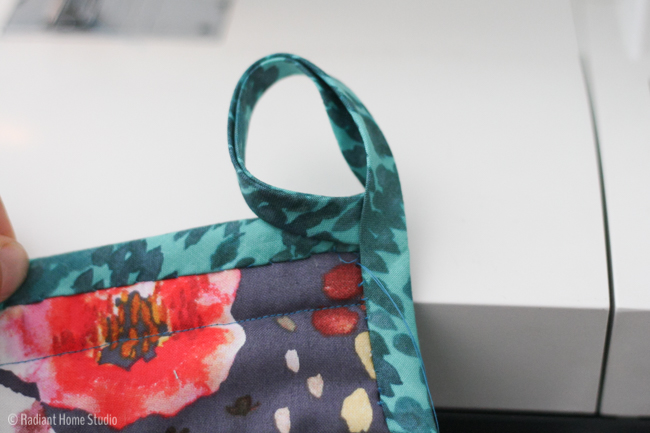
8. Trim the corners. Press and fold the binding to the back, lining up the edge about 1/8″ past the first line of binding stitching, as you did with the pocket. I prefer using sewing clips for binding, but you can pin if that’s what you have. Trim the beginning of the binding to meet the edge of the potholder. Trim the end, leaving a 6″ tail. Tuck the beginning edge into the tail binding. Fold the end of the binding tail around and tuck it in the corner to form a loop.
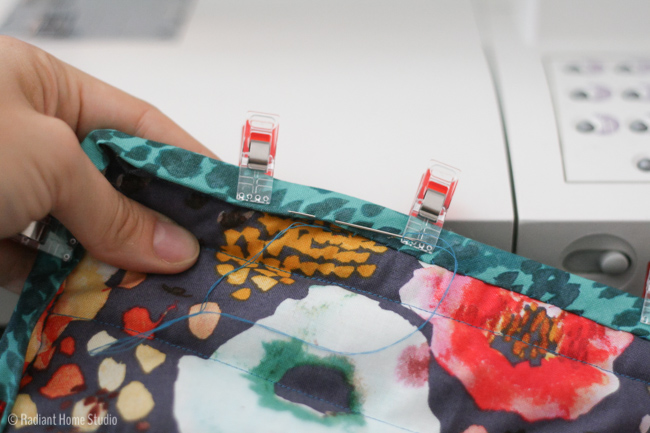
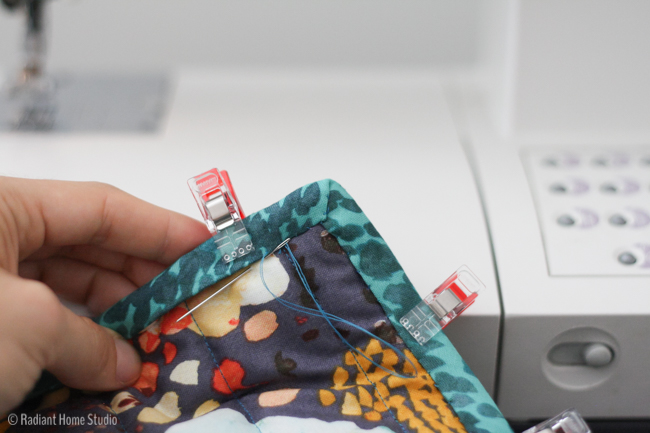
9. As I said above, I prefer to hand-stitch the back of the binding. It takes less than 15 minutes. Usually, that saves me time. If I miss a spot while machine sewing and have to pick out stitches…that easily takes the 15 minutes. It’s up to you though. If you machine stitch, topstitch along the folded edges of the tail and tuck it back in. Machine stitch on the front of the potholder, in the ditch, all the way around. Try to stop and make nice tucks in the corners as you go. OR Hand-stitch the back of the binding using a ladder stitch. I have a few photos to help you see how it looks. You can also tack down the corners with little hand stitches too. When you get to the loop, hand-stitch all of the loose edges, including the inside of the loop.
That’s it! You should be able to make one in less than an hour, using scraps…so don’t feel bad about using them to handle hot food! As quick as they are, they would also make lovely wedding shower or housewarming gifts 🙂
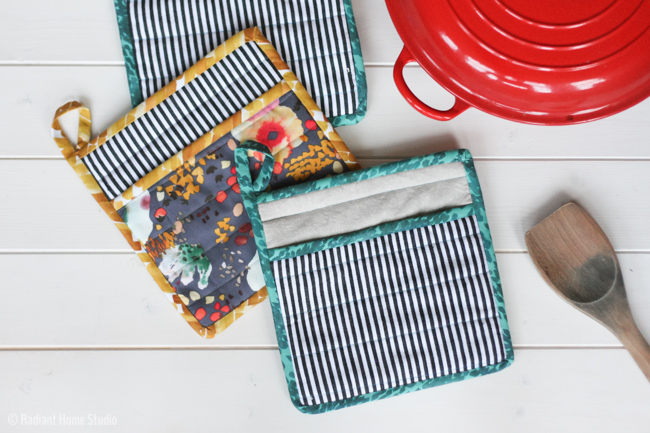

If you’d like to make a coordinating set with

Your mittens look so cute. Definitely is worth a try!!!!
I am sharing this on our fb fan page!
You can find us on fb:
https://www.facebook.com/maluartperu/
And our etsyshop:
https://www.etsy.com/shop/MALUARTPERU
Great website!!!
Thank you!
Sara, I really love your sense of color and the materials you have! I don’t have any scraps that quirky and fun!? I am going to make a few. Thanks for the very informative instructions!?
Thanks Denise! You have a great sense of style too. I’m sure you have some good stuff in your stash 🙂
I always feel the need to justify making a tutorial that already exists, but reading you do it makes me realize how silly that is 😛 These are beautiful, pinning them!
There are always people that will like your style or way of doing things better than someone else’s! Plus, a great picture on pinterest can attract new readers too 🙂
These are great. I’ve always wanted to do hot pads, but wasn’t sure about what to use for the batting to make it actually protective. I love your fabric choices too!
Thanks! Glad to help! I think a lot of people probably make them with regular batting, but I really don’t think that’s safe! The thermal batting should be available at any craft store 🙂
Thanks for this easy step-by-step procedure for potholders. I want to sew mine because I’ve found that even the expensive designer kitchen potholders rarely have decent or any thermal insulation in them. I had an accident with a hot dish right from the oven once that made me always want to use thermal potholders only in both hands. I am going to make your potholder an inch larger each direction, for handling the 9 x 13″ or larger pans from the oven. Sometimes with a smaller potholder, you need a larger coverage to steady a heavy pan out of the oven safely. Oven mitts can be cumbersome to me because of the extra thickness of the mitt, making it hard to steady the hot pan easily. Also, thanks for the bias tape instructions.
Thanks! Sizing them up should be a pretty easy alteration. I’m not a fan of oven mitts either, though my daughter says she likes them because it protects her arm. She wants one that goes up to her elbow 🙂
Great easy instructions! I maybe able to teach a group of women who don’t sew but want to make thing how to do this! I’ll let you know before hand if I do!
Thanks,
Cathy
Great! Yes, I think the most difficult part for a beginner would be the binding. It’s not hard, it’s just hard to get it as “perfect” as they imagine. But it’s definitely a good project to practice binding.
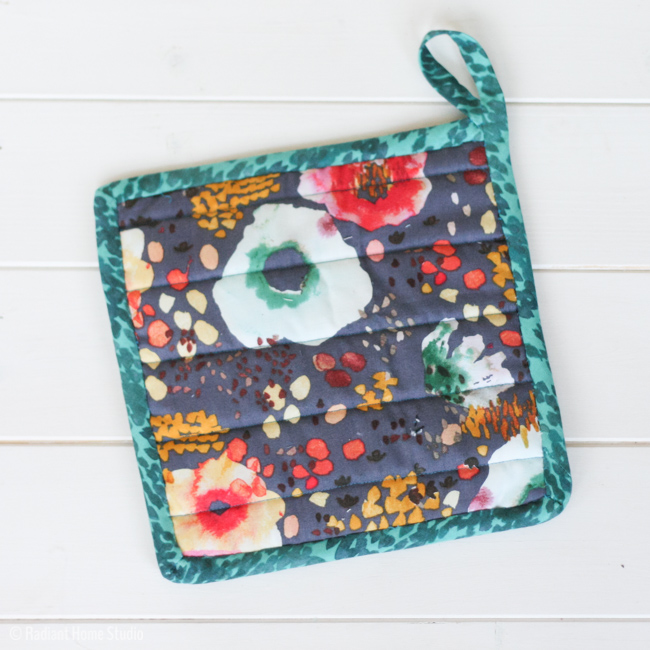
What a great tutorial! I have a toooon of fabric to use up, and pot holders seem like a great way to display my fabric in my home! Your pairing of the floral fabric with the striped is beautiful 🙂
Thank you!
Have been looking for a good potholder pattern/tutorial and yours is the best I have seen. Thanks for all of the pictures and great tips.
Thank you! Glad to know it is helpful!
Now, that’s my kind of potholder. It’s what I’m presently using but yes, I need to make new ones too. Thanks for the “gentle push”!!
These instructions were great! I had never sewn anything before and I was able to make one of these for my mom in one evening, all by myself! She loves it and I am super impressed with how it turned out. Thanks!
Thank you for letting me know! I love to hear feedback like this!