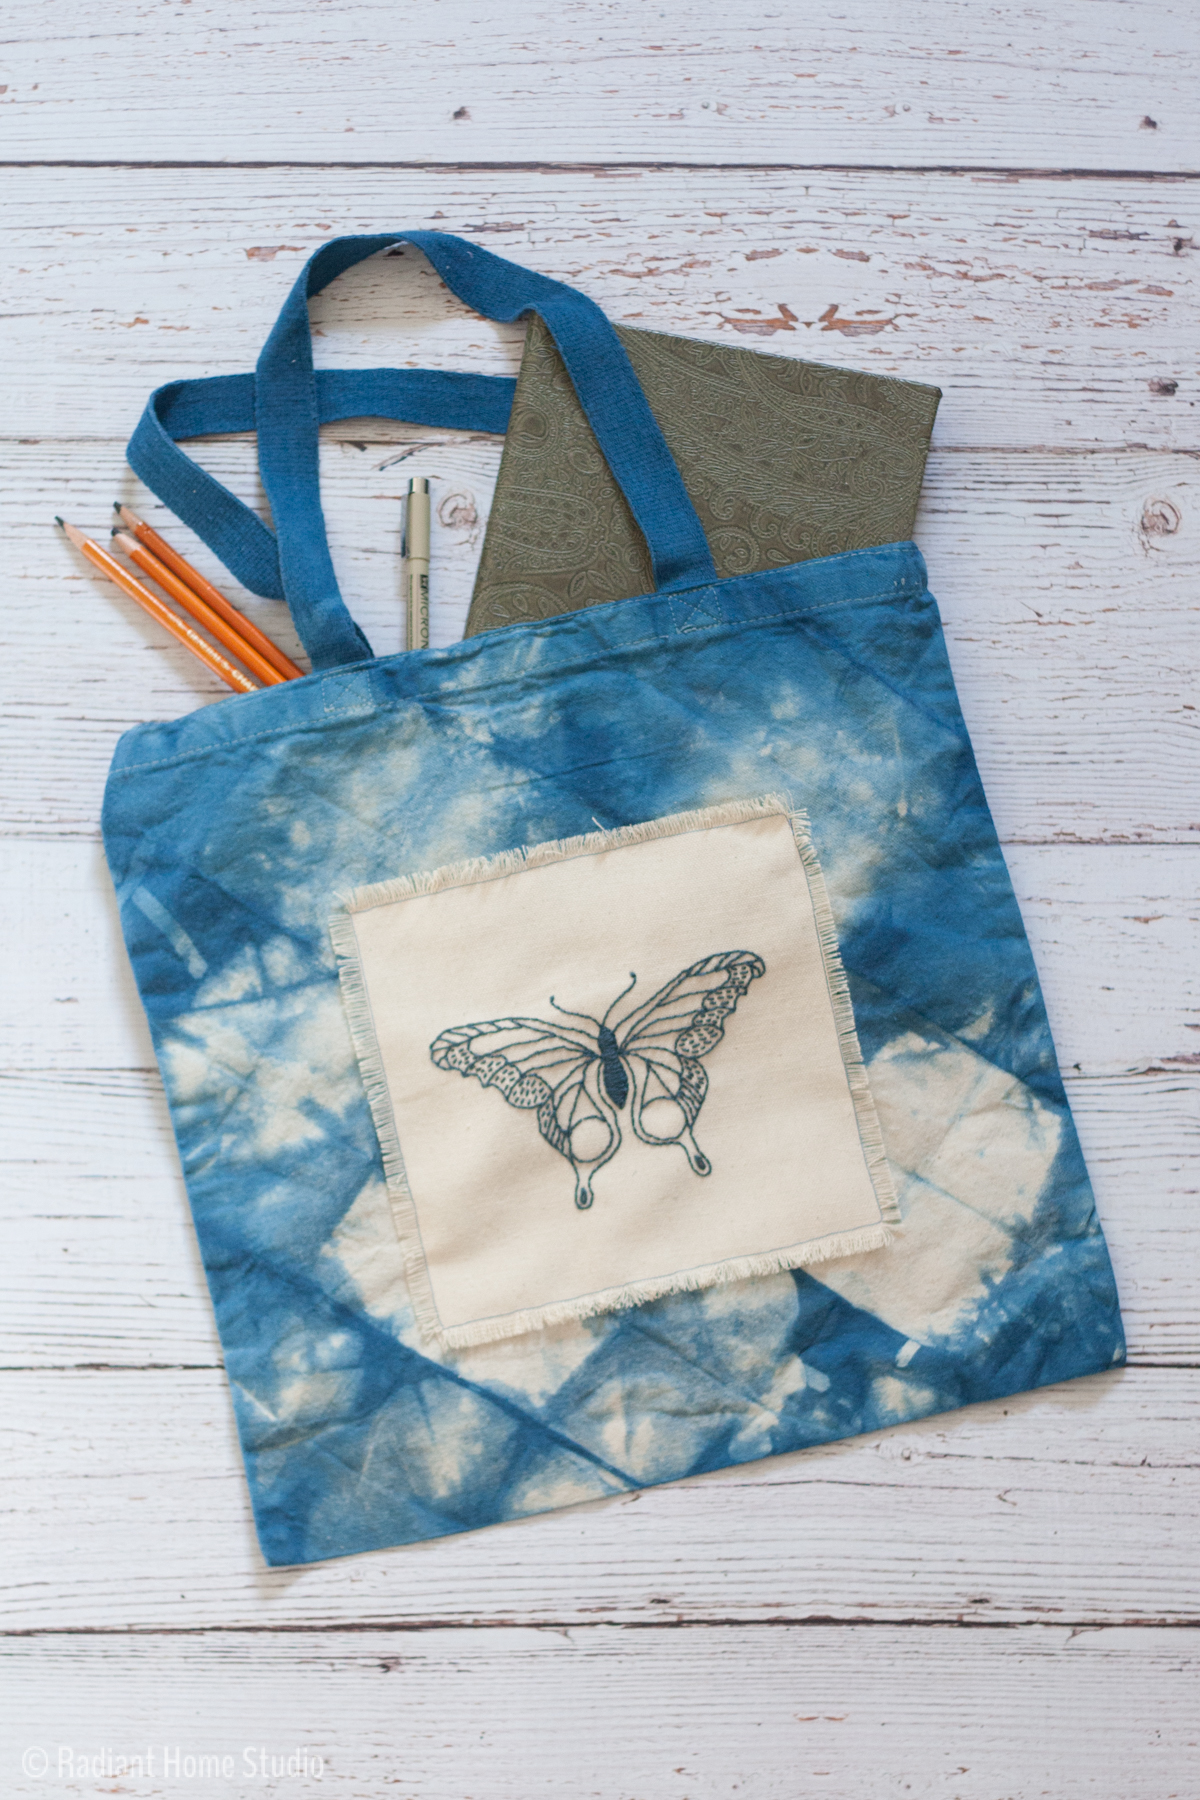
Remember my tote bag upgrade series from a couple of years ago? Today I have a new tote bag tutorial to share with you! This one is an indigo dyed tote with an embroidered butterfly patch.
(This post contains affiliate links, which means I make a small commission at no cost to you. Thanks!)
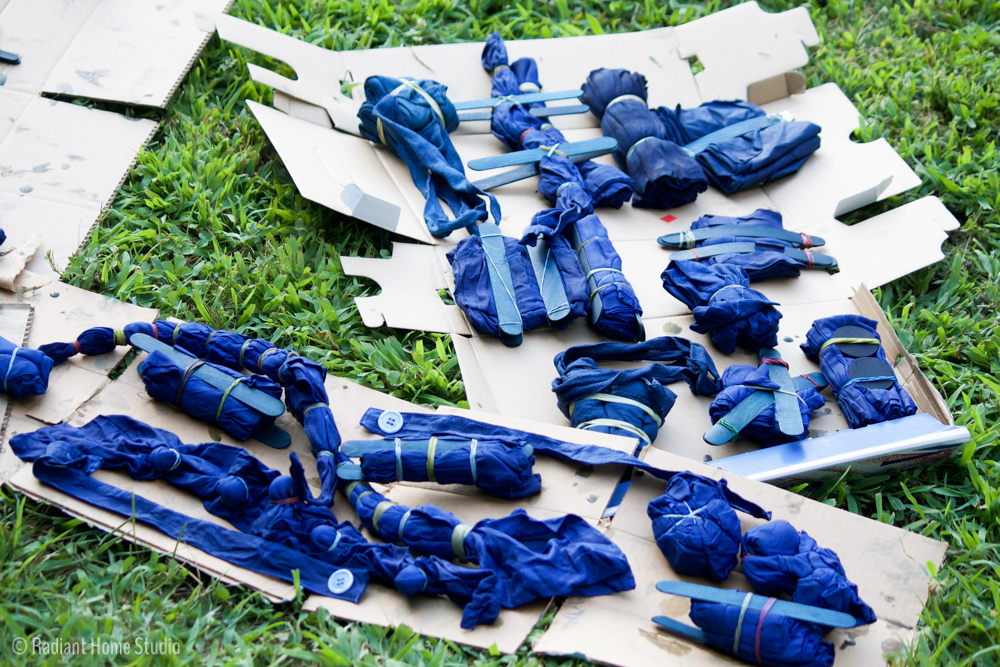
A few weeks ago, we spent the day indigo dying several yards of fabric as a family project. I also dyed a couple of plain tote bags at that time. They came out okay for a first try, but I would have greatly benefitted from the Shibori & Natural Dyeing Course (no longer available) that is included in the bundle. It’s basically a whole book about dyeing with indigo and natural dyes and includes 10 DIY dyeing projects. It’s normally $26, but the whole bundle with dozens of other patterns is only a couple dollars more!
I highly recommend finding some type of book, or class, or friend to help you with your first indigo dyeing experience. It isn’t hard, but experienced friends will have some helpful tips. I’ll list some other resources (including links to the plain tote bags and indigo dye kit I used) at the end of this post.
My indigo-dyed tote bags ended up being a little bit plain. I decided to add an embroidered patch using the butterfly embroidery pattern from I Heart Stitch Art. I honestly how long it would take to stitch this, but it went much more quickly than I anticipated!
I always find that embroidery is easy to work on if I just get it started. I picked it up while I was nursing the baby, while I kept an eye on dinner and other moments during the day when I tend to pick up my phone and mindlessly scroll. Stitching during those moments was much more relaxing and productive, and I finished it in only two days.
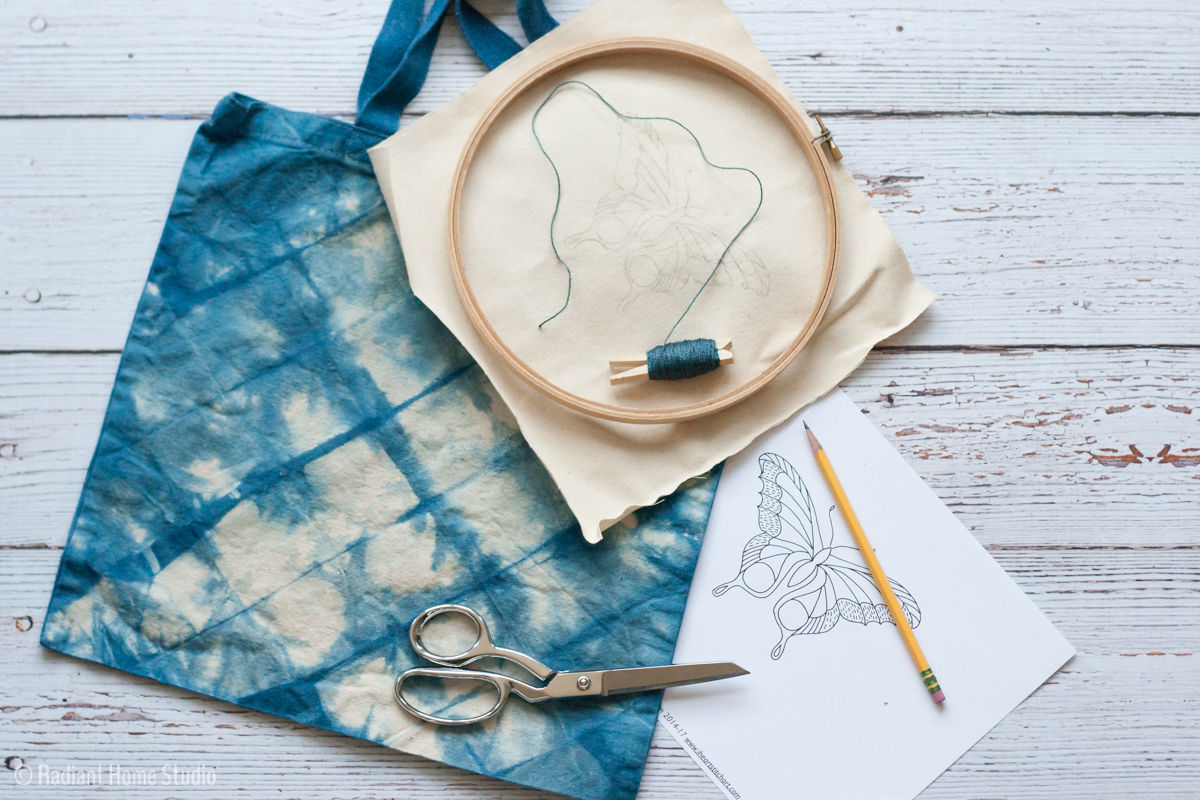
I used the pearl cotton thread that was recommended in the pattern and I LOVE how it turned out. I’ve always stitched with regular embroidery floss, but I have to say the pearl cotton was much easier to work with and I think the finished piece looks much more polished. The pattern has lots of other great tips for transferring and stitching the details, so I’m happy to recommend it without reservation.
So…this is sort of an open-ended tote bag tutorial. Plain tote bags are cheap and perfect for experimenting with different craft ideas. You can try dyeing your bag with indigo or with some of the fruits and vegetables mentioned in the Shibori & Natural Dyeing Course. You can add traditional shibori patterns, experiment with your own shapes, or dye the bag a solid color. You can add a butterfly or any other embroidery pattern you like. (This grizzly bear would look so cool for a boy’s tote bag!) Or you can use one you already have.
Make an Indigo Embroidered Tote Bag:
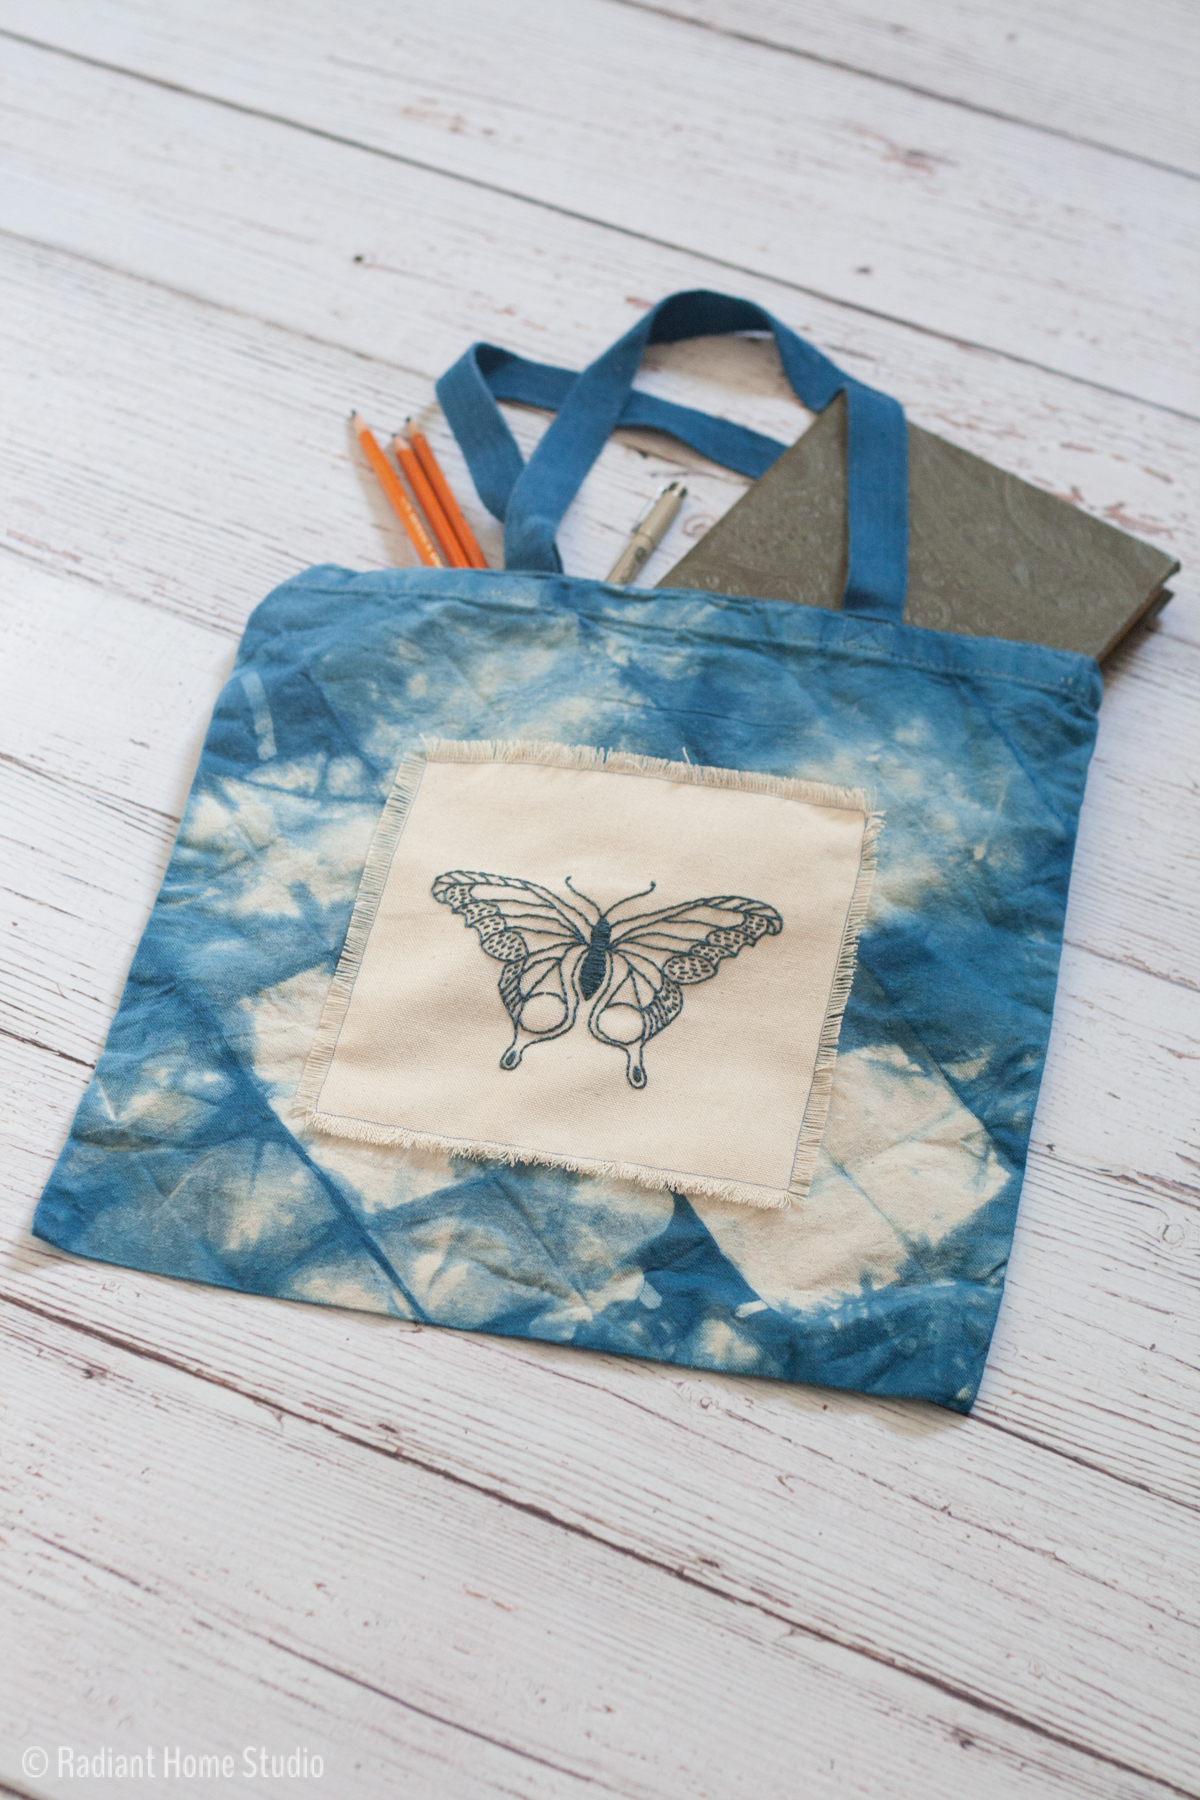
Materials:
Tote Bag
Natural Dye and Supplies
8″ square natural canvas or linen fabric
Medium embroidery hoop
1 skein of pearl cotton thread
Embroidery pattern of your choice
1. Plan a few days to finish your project! You can make several at a time more efficiently.
2. Plan one session for dyeing your tote bag. Follow the instructions on your indigo dye box, the online dyeing course, or dyeing book. Let your bag dry overnight. Wash if recommended.
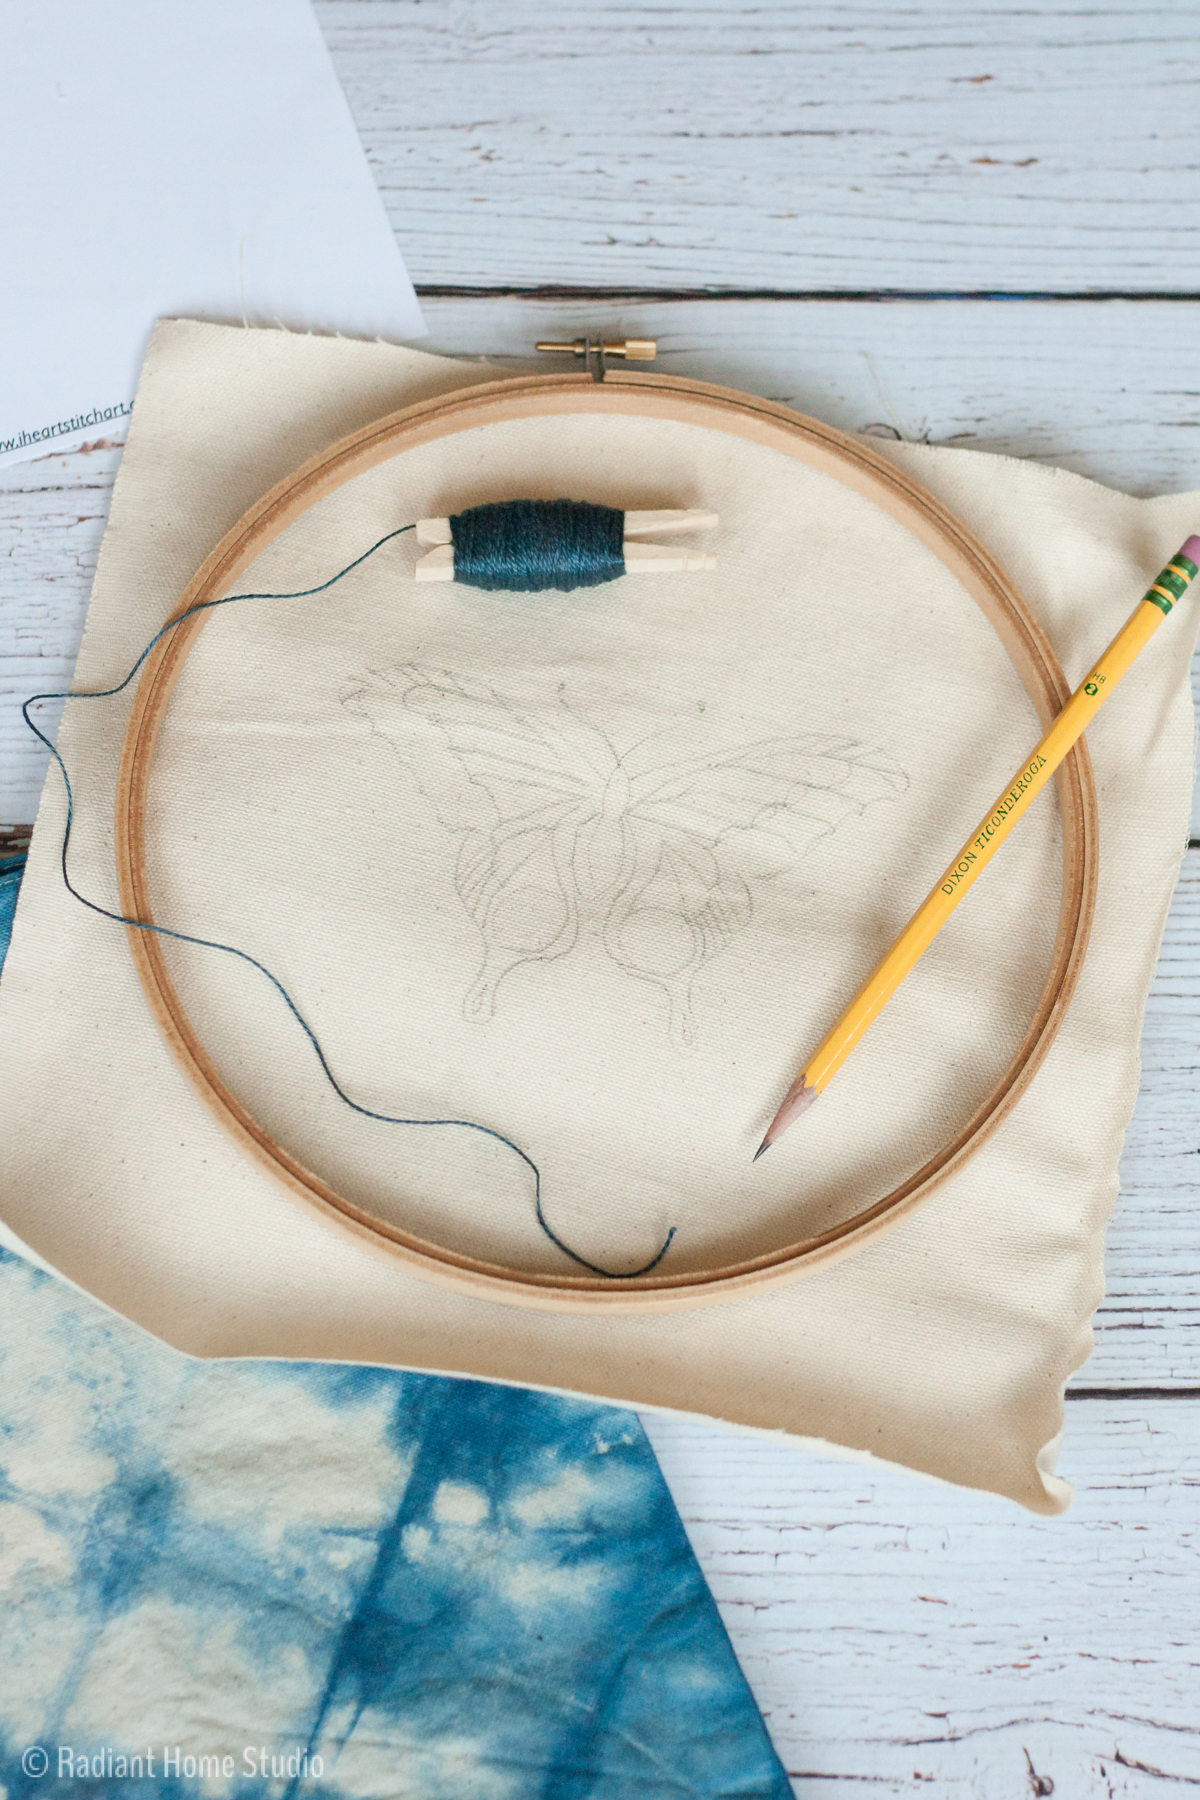
3. Transfer the embroidery pattern on to your fabric square. I prefer to hold my pattern and fabric up to the window and trace it with a pencil. Put the fabric in the embroidery hoop and stitch as directed in your pattern.
4. Trim the edges of your embroidered fabric to the desired size, centering your embroidery design. Use some small strips of fusible tape on the back edges of the embroidered fabric to hold it in place on the tote bag. Hand stitch or machine stitch around the embroidered fabric to finish. Pull the loose threads around the edges to create a frayed border.

Recommended Resources for making your own embroidered tote bag:
Tote Bags
Indigo Dye Kit
Pearl Cotton Thread
Embroidery Needles
Embroidery Hoops
More tote bag upgrade tutorials


so pretty!
BEAUTIFUL! Indigo is my favorite blue ?
That’s a beautiful bag, the delicate embroidery works so well with the dye pattern – very light and dreamy effect overall!
Thank you!
I have made purses like this and love to do the same as you did with the butterfly patch. I have embroidery machines and I like to embroider something and then fray the edges as you have done here and then I sew it on an outside pocket. I was happy to see someone else does this too, I think it adds a lot to the purse or item you are making. I also print on fabric and use graphics I find on the internet that are free to download. Love your bag and other things you have made. I stumbled on your website while looking for a certain brand of embroidery thread.
Thanks! And thank you for taking the time to comment!