This is the final post for the Mom’s Minivan Organizer from On the Go Bags. If you are just joining, check out the intro post, and the first, second, and third sew-along posts.
In this post, we’ll be adding the binding and handles to finish the organizer!
You can find the instructions on page 180 of the book.
(This post contains affiliate links, which means I make a small commission at no cost to you. Thanks!)
Adding the binding:
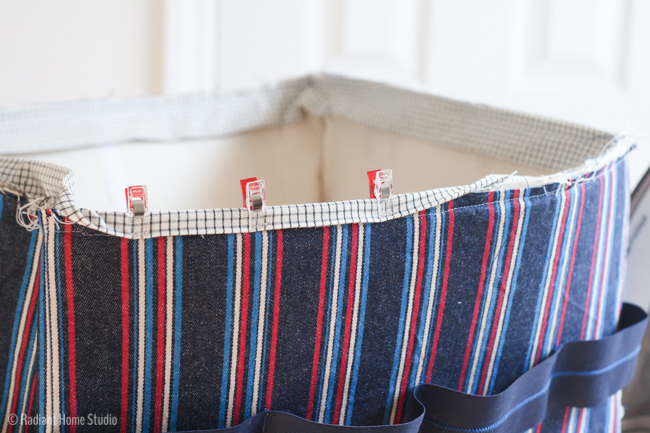
I highly recommend making your own binding strips from the fabric you chose. Either the lining fabric or the exterior fabric will work for this. Or you can use a contrasting color as I did. Since you don’t need to cut on the bias for this binding, you only need 6″ cut across the width of the fabric. You might have some scraps in your stash that you can use to make a contrasting binding if you like.
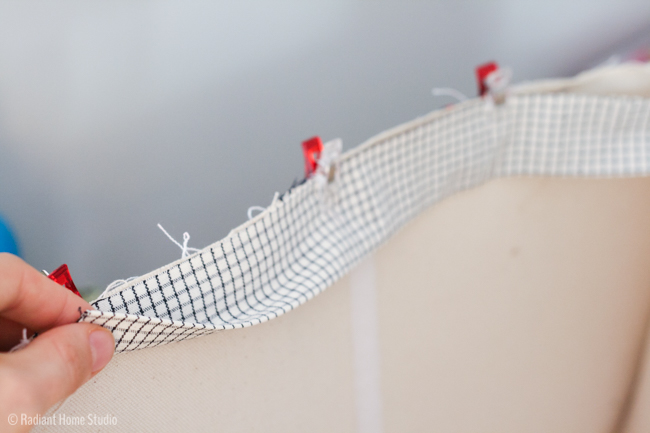
Above, you can see that we used a double-fold binding technique. This means that you fold the binding before sewing it on. You sew through both layers and then you have a nice clean folded edge on the front. Sewing the binding is probably the trickiest part of this organizer. It’s all straight stitching, but the bulk of the organizer makes it difficult to hold it in the right place.
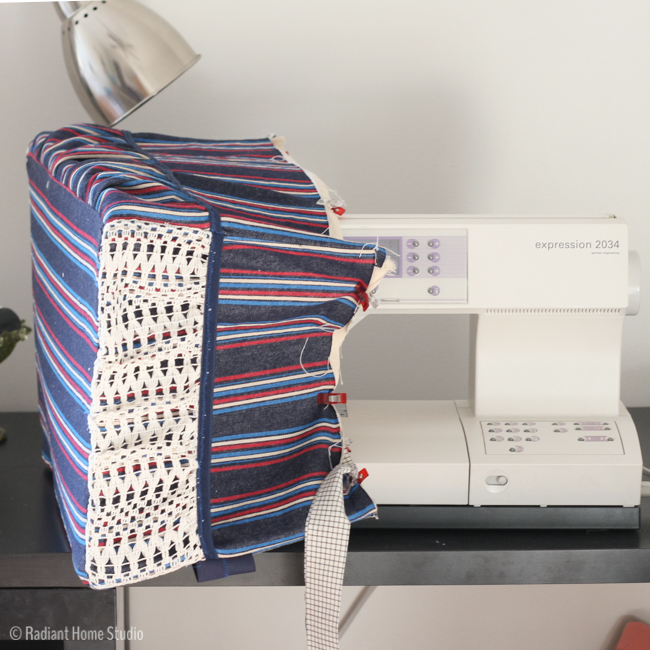
The first time around, the bulk of the organizer will be up in the air because you are stitching on the inside. It helps to keep the needle down while you are sewing, so you can make adjustments. The second time around (if you are brave enough to machine stitch this part), the bulk of the organizer will be hanging down. I found that it helped to move my sewing machine to the edge off the table so that the organizer could hang off the side. Just work slowly, making small adjustments as you go.
If you find that it’s too difficult to manage the binding on your machine (especially the second pass), you can also hand stitch the binding. I actually prefer this method. It only takes about 15 minutes and looks much cleaner!
Attaching the grommets and handles:
Last step! Mark your grommet placement and add the grommets. If you need more detailed grommet instructions, check out my beach tote tutorial post. I have such detailed directions there already, so it seemed silly to redo all of the grommet photos.
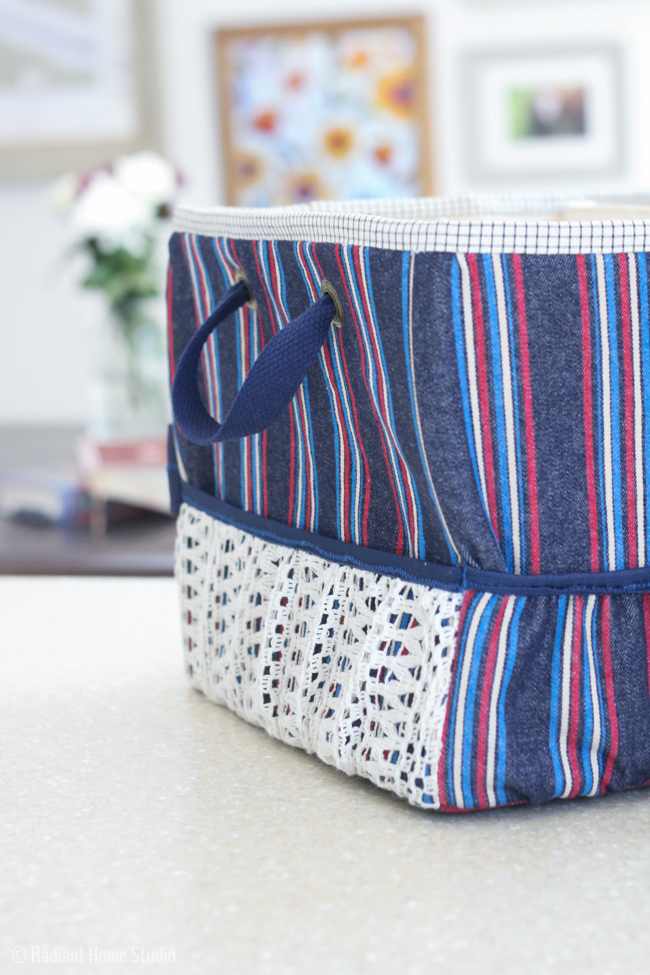
Cutting through a couple layers of interfacing is a little bit tricky. Just take it slowly. I like to use an X-acto knife and small sharp scissors to make the hole.
I noticed that there is a mistake on page 105 (the cutting list) that instructs you to cut the webbing into 9″ strips. The handles should be 18″ long as mentioned in the second to last step on page 108.
Tie those handles on, and we’re done!

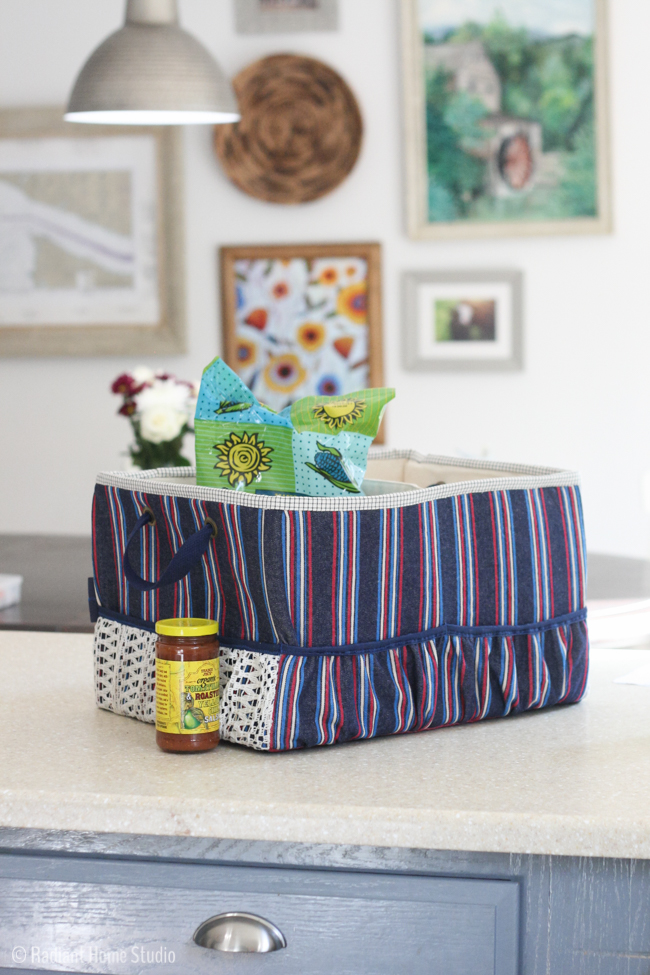
I’d love to see how you plan to use this organizer. It’s great for the car, of course, but I’m sure you can think of many other uses.
Please link up your finished organizers below! The link-up will be open until the end of September.


Is there a pattern available for your large organizer? It looks great
Yes! The pattern is available in the book “On the Go Bags” by Lindsay Conner and Janelle MacKay. There are several links to the book throughout the posts 🙂