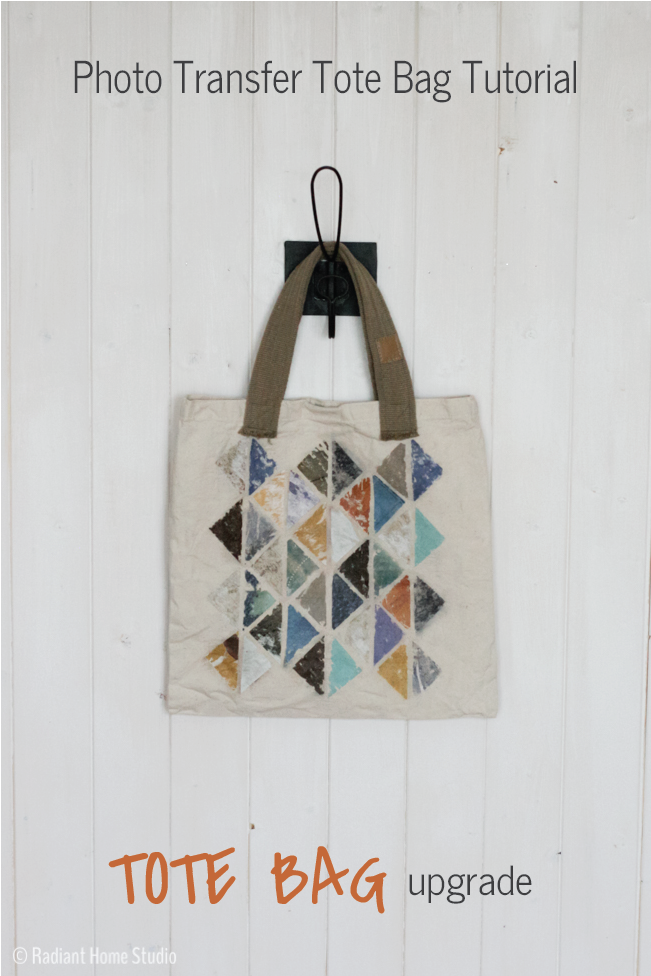
So far, the tote bag upgrades have been mostly sewing related. I thought it would be fun to add some other craft techniques into the mix for variety, so today I’m going to show you how to make a photo transfer tote bag. I had so much fun with my half square triangle sketchbook cover that I decided to use magazine images to mimic the quilted triangle pattern. You can make a modern quilt design even if you are not a quilter!
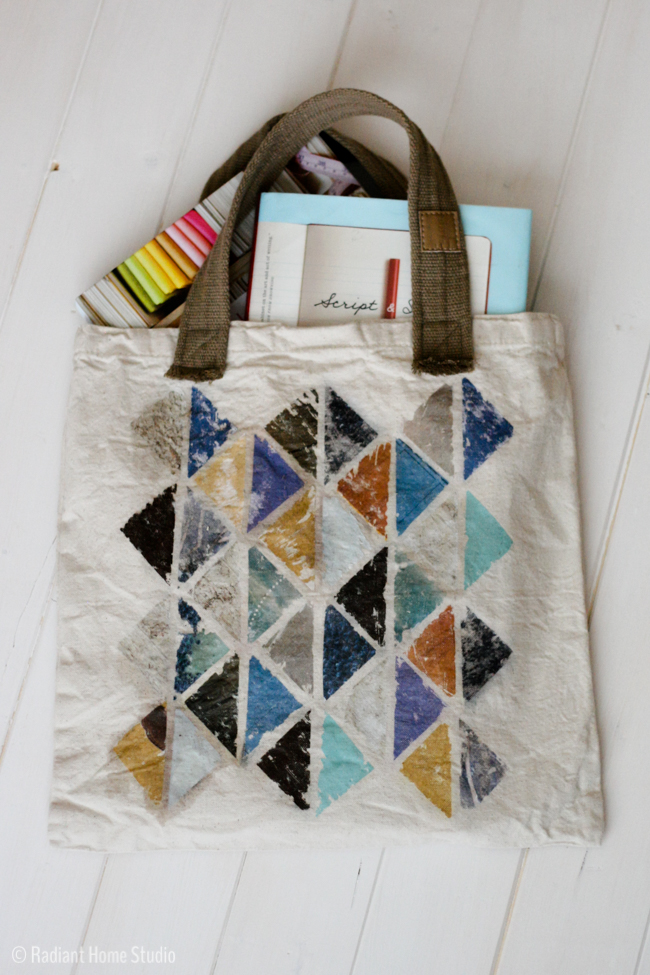
I’ll also show you how to do a quick upgrade to the straps with an old canvas belt, which will only require minimal sewing. The photo transfer tote bag looks great without a lining since there is no stitching to hide on the inside of the bag. But if you would like, you can add a lining using my tote bag lining tutorial.
This tutorial for transferring images will work with any photo, magazine image, or laser printed image. Just keep in mind that any image you choose will be backward after transfer, so it’s best not to use images with words. The finished image will also be a little bit rough around the edges, giving the photo a worn, vintage look. You can use any image shape or size. I highly recommend practicing on some scraps first though. It took me 3 tries to get the right mix of gel medium, patience, and water for removal. You’ll have to wait overnight for the gel to dry, but it’s worth practicing to get it right!
Materials:
• canvas tote bag
• a couple of old magazines
• gel medium
• a canvas belt (or new belt webbing)
• rotary cutter and mat
• coordinating thread
• spray bottle (optional)
Preparation:
Practice. (I’m serious! Don’t skip this and ruin your bag!)

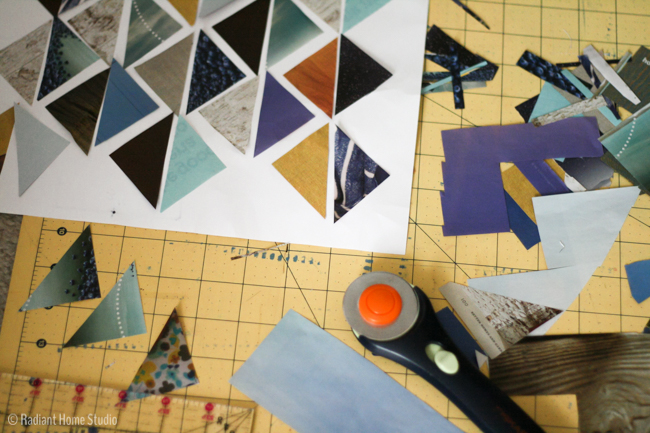
To make the triangle design, decide on a color scheme and cut several large pieces out from your magazines. My colors were aqua/blue and gold/brown. To form the triangles, cut 2″ squares. Then cut across the diagonals to form the triangles. You’ll need 18 squares, cut in half to make 36 triangles. Arrange the triangles into a pattern.
Make a Photo Transfer Design on a Tote Bag:
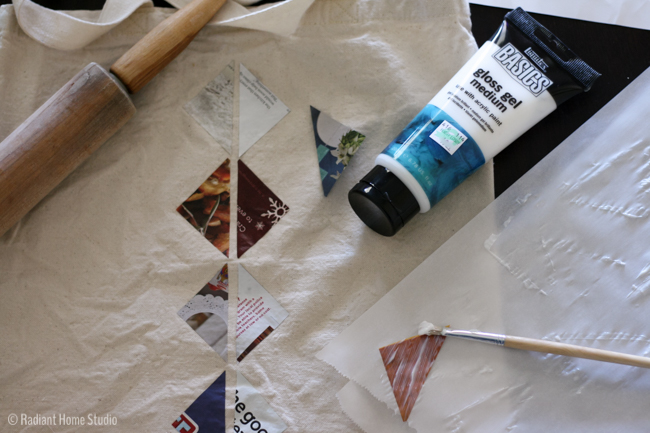
1. Use a paintbrush to cover the front of your image with a thick, even coat of gel medium. Press the images onto the front of your tote bag. You may want to use a rolling pin to make sure the gel medium at the edge of each image adheres to the fabric. (Do not paint gel medium over the back of the image. As I learned from experience, the paper will not come off.) Let everything dry overnight. You want to make sure it is completely dry or the image will not adhere to the fabric correctly.
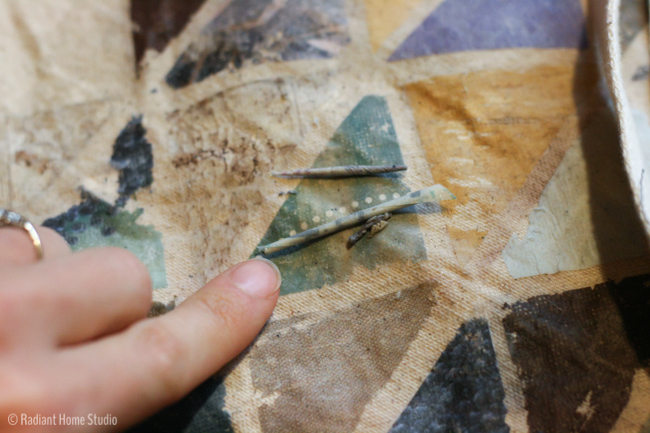
2. Lightly wet the paper (you can use a spray bottle or just use the faucet and your fingers to dampen it). Remove the excess paper. Most of the instructions I read suggested rubbing off the excess paper. I found that some of the paper just peeled right off, while other bits took more effort. This is why I suggest experimenting on scraps first.
3. Let the bag dry for an hour or so, and then paint over the image with a light coat of gel medium to seal the image. This will protect the images but does not make the bag machine washable. If you need to wash your bag, I recommend washing it by hand.
4. To add new straps, cut off the old straps as close to the stitching as possible. Cut your canvas belt into two 12″ lengths. Remember that canvas webbing will fray. I like the rough edges for a casual bag. But to keep it from fraying too far, stitch across the width 1/2″ from each end.
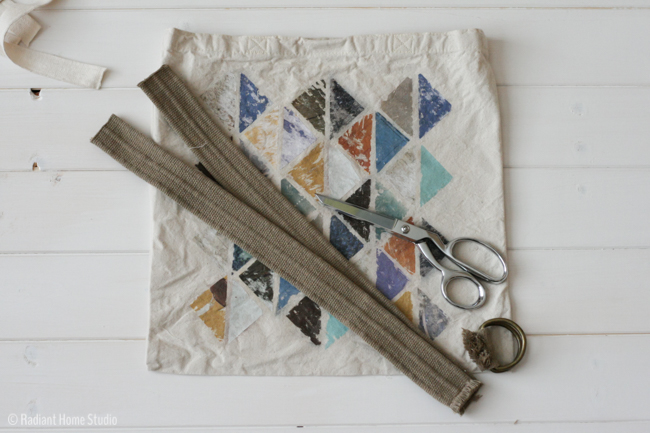
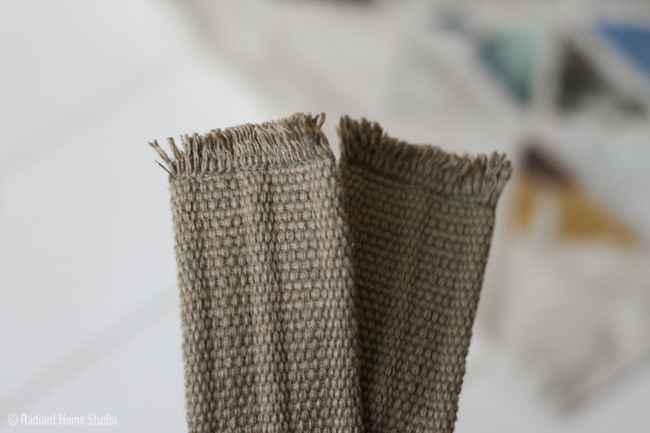
5. Align the belt ends on the bag where the old strap ends were attached. Sew each end by stitching a square with a diagonal line across it.
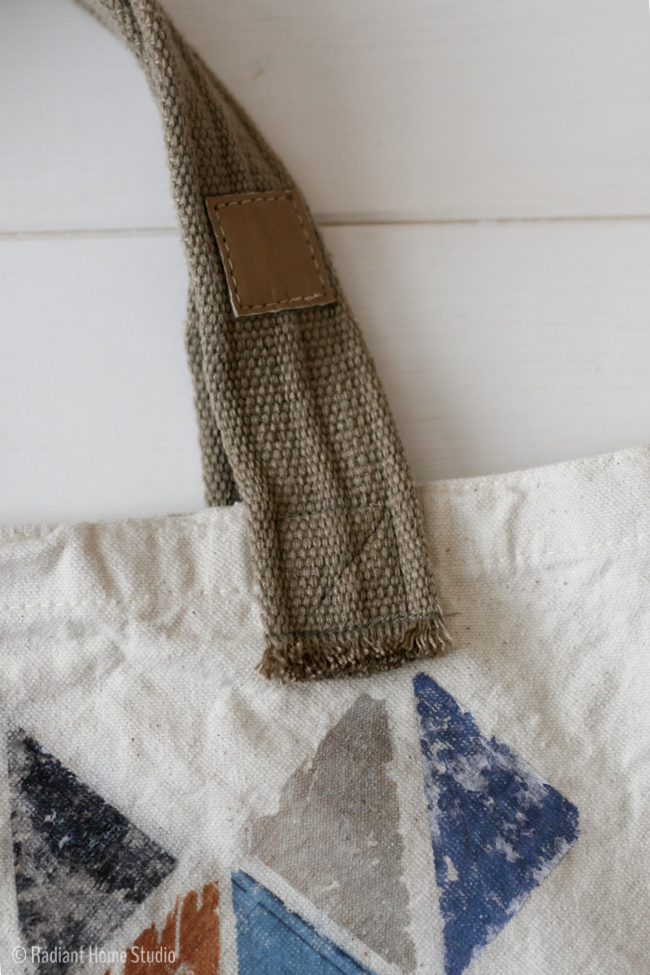
This bag requires a little bit of patience and planning, but it is easy to make and requires very little sewing. You can use the same technique to transfer any image to the tote bag. Try personalizing it with photos of your kids, pictures from your travels, Instagram photos, vintage graphics, or funny magazine ads.
(This post is linked with: The Makers)
Have you tried any of the other tote bag upgrades yet? I’d like to see what you’ve made. Should we plan a link-up for the summer?
Reversible Tote Bag with Strong Straps
Sew a Cargo Pocket on a Tote Bag





This is a brand new technique to me–I was looking up gel medium and found that it comes in gloss and matte types–is it okay to use either one?
That’s a good question Krista! As far as I know, both should work for this project. Mine was gloss, though it doesn’t look very glossy…
Great idea! I like the color combination you choose. You end up with a beautiful and unique tote bag.
Thank you Ama!
This is so cool! This would also be neat to do to the front of a pillow cover. I’ve got a Craft Gossip post scheduled for this evening that links to your tutorial:
http://sewing.craftgossip.com/tutorial-upgrade-a-tote-bag-with-a-photo-transfer-technique/2015/03/23/
–Anne
Oh yes, a pillow cover would be great too. And thank you! I always appreciate the link from your site!